Terra sigillata is an extremely fine clay slip made by letting clay settle in water and keeping only the smallest particles. Brushed thinly onto unfired pottery and polished, it creates a smooth, silky sheen without a true glaze. The technique dates back to ancient Greek and Roman pottery, and today it’s especially popular for decorative, low fired, pit fired, and smoke fired work.
If you’ve spent any time around more experienced potters, you’ve probably heard someone mention terra sigillata, or terra sig for short, usually while admiring a piece with a soft, satiny glow that doesn’t look quite like glaze. It’s one of those techniques that sounds mysterious until you understand what it is, and then it becomes genuinely fascinating.
At Le Studio Art Space in Mordialloc, terra sigillata tends to come up once members start exploring surfaces beyond standard glazing. This guide explains what terra sigillata actually is, how it’s made, how it’s applied, where it comes from, and how it compares with glazing, so you can decide whether it’s worth adding to your own practice.
What Terra Sigillata Actually Is
At its simplest, terra sigillata is a slip, which is clay mixed with water, but refined so that only the very finest clay particles remain. Because those particles are so small and flat, they line up neatly when applied to a pot, creating an incredibly smooth layer that can shine when polished.
It’s important to understand that terra sigillata isn’t a glaze. A glaze contains glass-forming materials that melt in the kiln to create a glassy coating. Terra sigillata is still just clay. Its sheen comes from particle alignment and polishing, plus a small amount of sintering in the kiln, rather than from melting into glass.
The name is Latin and is often translated as sealed earth, although many historians link it to sigilla, meaning small stamps or images, a reference to the stamped decoration and maker’s marks found on Roman pieces. Either way, potters today usually just call it terra sig.
It can be made from almost any clay, which means it can be white, buff, red, or brown depending on the source. Potters also add colourants or stains to make coloured terra sigillata for more painterly effects.
How It Is Traditionally Made
Making terra sigillata is mostly a matter of patience. A clay, often a red earthenware or a ball clay, is mixed with a generous amount of water and a small amount of deflocculant, a material that helps clay particles separate and stay suspended rather than clumping together.
The mixture is left to settle, commonly for a day or so. Heavier particles sink to the bottom, a layer of clear water sits on top, and in the middle is a band of very fine clay suspended in water. That middle layer is the terra sigillata, and it’s carefully siphoned off, leaving the coarser material behind.
The collected slip is then adjusted for thickness, usually by letting some water evaporate, until it reaches a thin, creamy consistency with a specific gravity many potters measure with a hydrometer. Recipes and ratios vary a lot between potters, and part of the fun is testing to see what works with your clay.
Because the process wastes a fair amount of raw clay and takes time, some potters buy ready made terra sigillata. Making your own, though, gives you more control and can be a satisfying studio project.
A quick practical note if you do make it yourself. Deflocculants such as sodium silicate or soda ash are used in small amounts, and like all dry ceramic materials, clay powder should be mixed carefully to avoid breathing in dust. Mixing clay into water rather than stirring dry powder in the open air, and cleaning up with a damp sponge rather than sweeping, are simple habits that keep the process safer.
How It Is Applied And What It Does
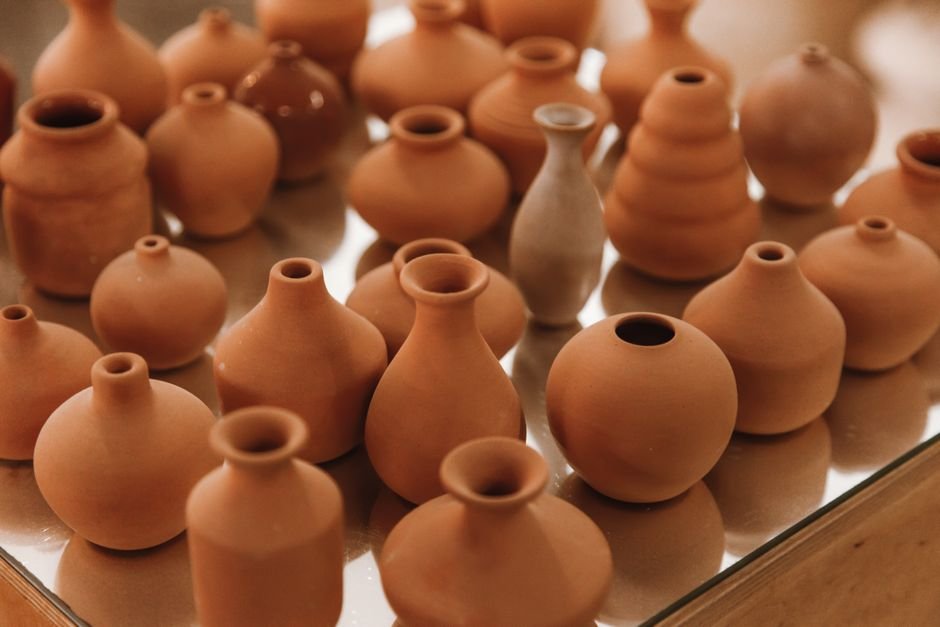
Terra sigillata is usually applied to unfired pottery, most often at the bone dry stage, though some potters prefer leather hard. It’s brushed or sprayed on in several very thin coats, allowing each to lose its wet shine before the next goes on. Thick applications tend to crack or flake, so thin is definitely better.
Once the final coat has dried slightly, many potters polish the surface with a soft cloth, a piece of plastic, or even their fingertips. This aligns the fine particles further and brings up that distinctive satin or glossy sheen. It’s gentler and quicker than traditional burnishing with a stone, although some potters combine the two.
After firing, the surface feels silky and smooth, with a soft glow rather than a glassy gloss. It also shows off the form of the pot beautifully, since it follows every curve without pooling or running like glaze can.
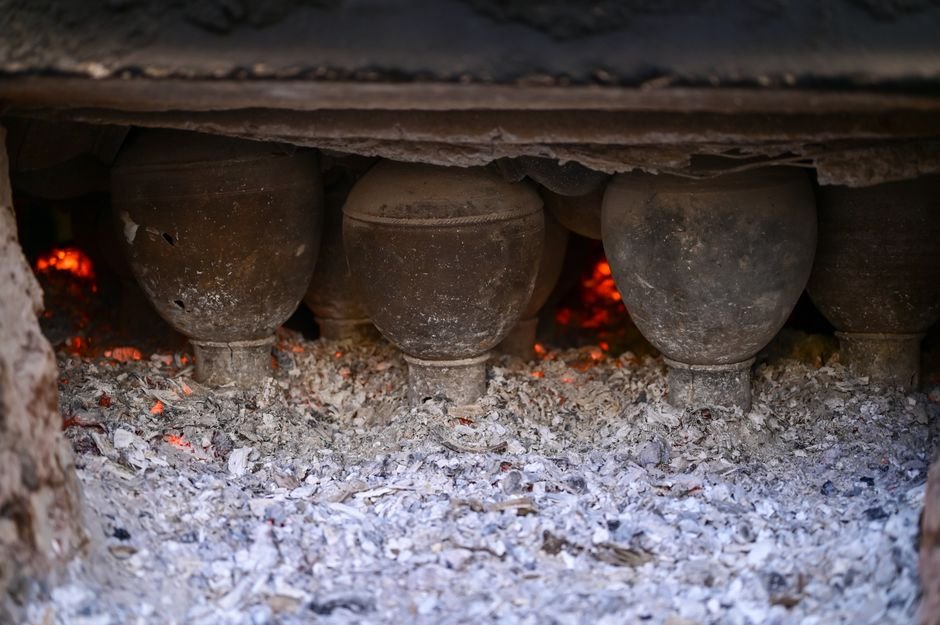
Terra sigillata is especially loved for alternative firing methods such as pit, saggar, and smoke firing, where it picks up dramatic carbon marks, flashes, and colours from the fire.
It also pairs nicely with carving, sgraffito, and resist techniques. Because it’s so thin, you can scratch through a layer of coloured terra sig to reveal the clay underneath, or mask areas off to create crisp contrasts between polished and unpolished surfaces. Many potters find that a simple form with a well polished terra sig surface needs very little extra decoration to look striking.
Where This Technique Comes From Historically
The roots of terra sigillata go back to the ancient Mediterranean. Greek potters used a refined clay slip to create the gleaming black surfaces of their famous black-figure and red-figure pottery, controlling the kiln atmosphere to turn the slip black while the clay body stayed red.
Roman potters developed the glossy red tableware now known as terra sigillata or Samian ware. Workshops in Arezzo in Italy, which produced what’s called Arretine ware, and later large centres in Gaul, made enormous quantities of mould-decorated bowls and plates that were traded across the Roman world.
These pieces were fired at relatively modest temperatures, roughly 950 to 1050 degrees Celsius, where the fine slip sintered into a hard, glossy, fairly water resistant coat. Their consistency and scale are remarkable, and fragments of sigillata turn up at archaeological sites from Britain to North Africa.
Modern studio potters rediscovered and adapted the technique in the twentieth century, and it’s now a well-loved surface in contemporary ceramics, especially among hand builders. You can read more about ancient methods in our article on pottery in ancient times.
What Competing Guides Leave Out
Many guides show beautiful terra sigillata pieces without explaining how it behaves on functional ware. On most studio pottery, a terra sig surface isn’t fully waterproof or food safe on its own, particularly at low firing temperatures. It’s best suited to decorative pieces, sculpture, and the outside of vessels, with a glazed interior if the piece will hold food or liquid.
Firing temperature matters more than people expect. Terra sigillata usually keeps its best sheen at lower temperatures. As firing temperature rises, the surface can lose its shine and become more matte, so potters who fire stoneware to high temperatures often find their terra sig looks duller than hoped.
Another gap is compatibility. If the terra sigillata shrinks differently from the clay body underneath, it may peel or flake, so testing on a few small tiles first is wise. Applying it too thickly causes similar problems.
Finally, handling after firing. Polished terra sig surfaces can mark easily with oily fingerprints, and a light coat of wax is often used on decorative pieces to protect and enrich the finish.
Terra Sigillata Versus Traditional Glazing
Look is the most obvious difference. Glaze creates a glassy coating that can be glossy, satin, or matte, with depth, colour variation, and effects like pooling. Terra sigillata gives a thinner, silkier, more natural-looking sheen that shows the clay and form rather than covering them.
For durability, glaze usually wins. A well formulated, properly fired glaze is hard, waterproof, and suitable for daily use and washing. Terra sigillata is more delicate and better for pieces that won’t face constant handling, washing, or food contact.
Effort is more balanced than you might think. Making terra sig takes time upfront, and applying and polishing it is careful work, but you skip the mixing and testing of glazes. Many potters use both, choosing terra sig for the outside of a piece and glaze inside.
If you’d like to explore advanced surfaces, our workshops and classes are a great way in, and members of our ceramic studio can talk to us about suitable firings through our firing service.
Keen to explore surfaces beyond glaze? Ask about terra sigillata and other advanced techniques during a workshop at Le Studio Art Space in Mordialloc, where you can test ideas with guidance and the right kiln support.
Frequently Asked Questions
Is terra sigillata the same as a glaze?
No, it isn’t. Terra sigillata is a very fine clay slip that gets its sheen from polishing, while glaze melts into a glassy coating in the kiln.
Can I drink from a mug finished with terra sigillata?
It’s generally not recommended for surfaces that touch food or drink, since terra sig isn’t reliably waterproof or food safe on its own. Many potters glaze the inside and use terra sig on the outside only.
Why did my terra sigillata lose its shine in the kiln?
Terra sig often loses sheen at higher firing temperatures. It usually looks best at lower temperatures, so firing it with high fire stoneware can leave it looking matte.
Do I have to make terra sigillata myself?
Not at all. Ready made versions are available from some suppliers, although many potters enjoy making their own to control colour and texture.
Is terra sigillata too advanced for someone still learning?
It suits potters with some experience, but it isn’t out of reach. At Le Studio Art Space, members often try it on small hand built pieces once they’re comfortable with basic forming and drying.
This article is provided for general educational purposes by Le Studio Art Space. Terra sigillata recipes and firing results vary with clay type and kiln conditions, so always test on sample tiles first.