The essential clay sculpting tools for beginners are a small set: a needle tool, a wooden modelling tool, a loop or ribbon tool, a metal or rubber rib, a sponge, and a wire cutter. With those six you can shape, carve, join, smooth, and cut almost anything. Most studios already provide these, so beginners rarely need to buy much before their first sessions.
Walk into any art supply shop and the wall of clay sculpting tools can feel overwhelming. There are dozens of shapes in wood, metal, rubber, and plastic, often bundled into big kits with names that don’t explain much. It’s easy to assume you need all of them before you can make anything worthwhile.
The good news is that you really don’t. At Le Studio Art Space in Mordialloc, we see new members make wonderful pieces with a handful of basic tools, and often with their fingers alone. This guide keeps things simple, covering the clay sculpting tools that genuinely matter at the start, what a studio usually provides, and how to grow your kit sensibly over time.
The Small Handful Of Tools You Actually Need First
Your hands are the most important sculpting tool you’ll ever own. Pinching, pushing, smoothing, and pulling clay with your fingers teaches you how the material behaves, and many experienced sculptors still do most of their shaping by hand. Tools are there to help with the jobs fingers can’t do cleanly.
A needle tool is the first essential. It’s a thin metal point in a handle, used for scoring clay before joining, trimming edges, piercing air holes, and marking lines. It’s cheap, versatile, and you’ll reach for it constantly.
A wooden modelling tool, usually with a rounded end and a flat or angled end, is next. It helps blend joins, push clay into place, and add simple details. A wire cutter, which is just a wire with a handle at each end, lets you cut clay from the bag and slice forms cleanly.
Add a loop or ribbon tool for carving, a rib for smoothing, and a sponge for moisture control, and you have a genuinely complete starter set. Many basic kits include all six for a modest price.
A rolling pin and a couple of wooden guide sticks are worth a mention too, even if they’re not strictly sculpting tools. If you plan to do any slab work, rolling clay to an even thickness makes a big difference to how pieces dry and fire. An ordinary kitchen rolling pin kept just for clay works perfectly well, and paint stirrers or strips of wood make easy thickness guides.
Basic Clay Sculpting Tools For Shaping And Carving
Loop tools and ribbon tools have a loop of metal wire or flat metal strip attached to a handle. They’re used to carve away clay, hollow out solid forms, and refine surfaces. The loop shapes vary, including round, square, and teardrop, and each leaves a slightly different cut.
For beginners, one double-ended loop tool with a small and a medium loop covers most carving needs. It’s ideal for hollowing out a solid sculpture from underneath, carving details like eyes or grooves, and refining the shape of a form as it firms up.
Wooden modelling tools are the gentle partner to loop tools. They’re used for pushing, blending, and shaping rather than removing clay. Many sculptors keep one or two favourite shapes that feel comfortable in the hand and naturally suit their style.
A simple craft knife or fettling knife is also useful for cutting slabs and trimming edges. It’s not strictly essential if you have a needle tool, but it makes cleaner straight cuts, especially for slab work.
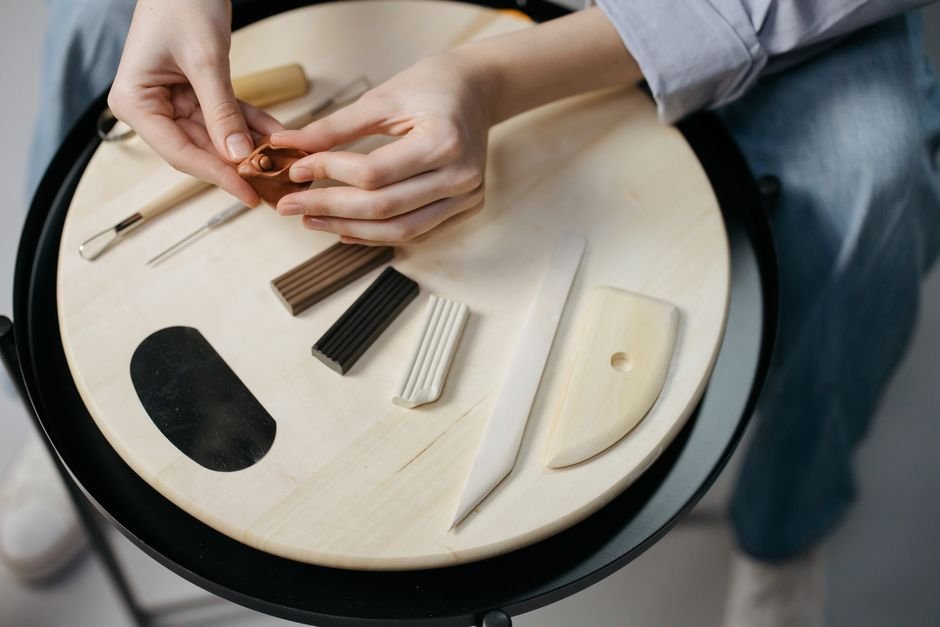
Tools For Smoothing And Finishing
Ribs are flat tools, usually in metal, wood, rubber, or silicone, used to smooth and compress clay surfaces. Metal ribs are great for scraping and refining shapes, while soft rubber ribs are ideal for gentle smoothing and compressing without leaving marks.
If you only buy one rib, a medium-firm rubber rib is a friendly all-rounder for beginners. It helps smooth joins, remove fingerprints, and tighten the surface of the clay, which makes pieces stronger and less likely to crack.
A natural or synthetic sponge is invaluable for controlling moisture. You’ll use it to dampen dry areas, smooth rough edges, and clean up surfaces. A small sponge on a stick is handy for reaching inside narrow forms.
Brushes are useful too, especially a soft brush for applying slip and a small one for tidying fine details. Old paintbrushes work perfectly well, so there’s no need to buy special ones at the start.
Timing matters as much as the tool itself. Smoothing works best while clay is still soft to leather hard, when a rib or damp sponge can close up small cracks and blend marks easily. Once a piece is bone dry, heavy smoothing can weaken edges and create dust, so it’s better to finish surfaces earlier and only do very light tidying later with a barely damp sponge.
What A Studio Usually Already Provides
Most community studios, including ours, provide a shared set of basic tools for classes and members. That typically covers needle tools, wooden modelling tools, loop tools, ribs, sponges, wire cutters, and rolling pins, along with larger equipment like slab rollers, banding wheels, and kilns.
This means beginners can try a range of clay sculpting tools before deciding what to buy. You’ll quickly notice which ones you reach for again and again, and which ones don’t suit your hands or your style of making.
Shared tools do have limitations. Popular tools may be in use when you need them, and they can wear from heavy use. That’s often the moment people decide to buy a few favourites of their own.
If you’re joining a class or workshop, it’s worth asking what’s included beforehand. In most cases, you can simply turn up and start, and members of our ceramic studio have access to shared tools and equipment during their sessions.
What Competing Guides Leave Out
Many tool guides recommend big kits of twenty or thirty pieces, but most beginners end up using only a handful of them. Common tools that sit unused include very specialised loop shapes, multiple nearly identical wooden tools, and plastic tools that bend too easily to be useful.
A realistic starting cost for a genuinely useful beginner set is often quite modest. You can typically assemble the six core tools for the price of a casual meal, and many basic kits cover them for less. Spending more early on rarely makes a big difference to your results.
Another overlooked point is that everyday objects make excellent sculpting tools. Old credit cards work as ribs, forks and combs create texture, chopsticks and skewers act as modelling tools, and plastic bags help keep work damp. Many experienced potters still use these alongside purpose-made tools.
Finally, quality matters more than quantity. One well made loop tool with a sturdy handle and sharp loop will outperform a whole kit of flimsy ones. It’s better to buy a few good tools slowly than lots of cheap ones at once. Our guide to building a starter tool kit on a budget has more tips.
It’s also worth knowing that tool care is simple. Rinse clay off after each session, dry metal tools so they don’t rust, and store them somewhere they won’t get bent. Well looked after basic tools can easily last for years.
Growing Your Clay Sculpting Tools As You Progress
Once you’ve found your style, it becomes much clearer which tools are worth adding. Figurative sculptors often add finer detail tools and small loop tools for faces and hands. Abstract or textural sculptors may collect stamps, texture rollers, and paddles.
If you start building larger pieces, a banding wheel, which is a small turntable, makes it easier to view and work on all sides. A sturdy board to build on and a spray bottle for keeping clay moist also become more useful as projects grow.
When you’re ready to invest further, our article on clay sculpting equipment worth investing in covers upgrades that genuinely make a difference.
The best approach is to add tools in response to real needs. When you catch yourself wishing for a tool to do a specific job, that’s usually the right time to buy it. In our experience, kits built this way stay small, useful, and well loved.
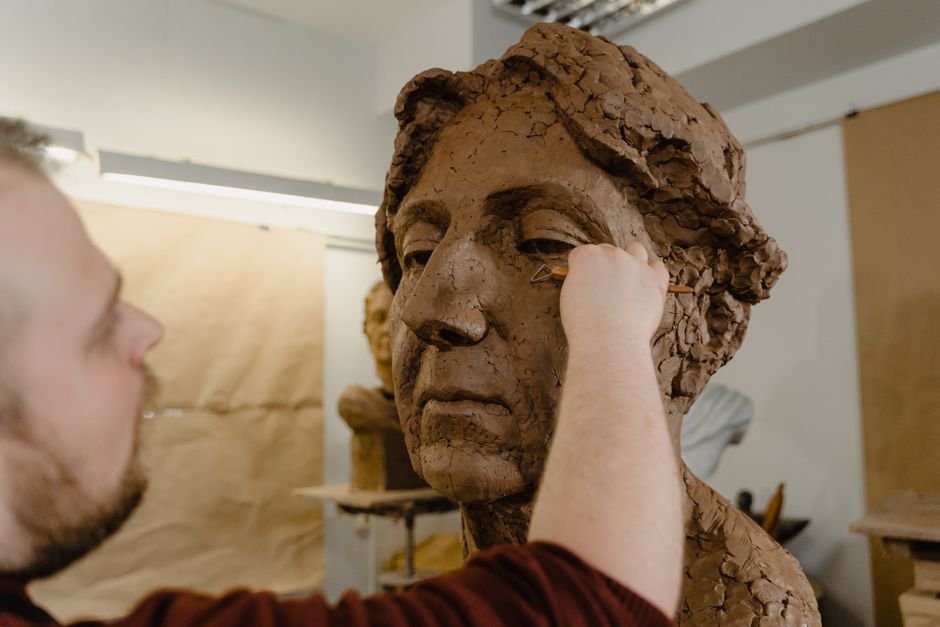
Want to try sculpting tools before you buy? Get hands-on with a full set during a beginner hand building class at Le Studio Art Space in Mordialloc, and find out which tools genuinely suit you.
Frequently Asked Questions
Do I really need to buy clay sculpting tools before my first class?
Usually not, since most studios provide basic tools for classes. It’s worth trying a few first so you know what suits you before spending money.
Are cheap tool kits a waste of money?
Not always, as some basic kits include decent needle tools, ribs, and wooden tools. The main downside is that they often include pieces you’ll rarely use, and plastic tools can be flimsy.
What’s the single most useful sculpting tool?
Many potters would say the needle tool, because it scores, cuts, pierces, and marks. A good loop tool is a close second for carving and hollowing.
Can I use household items instead of proper tools?
Yes, and lots of potters do. Old cards, forks, chopsticks, and sponges can all work well, especially while you’re learning.
Does Le Studio Art Space provide tools for members?
Yes, Le Studio Art Space provides shared basic tools for classes and studio members. Many people bring a few personal favourites once they’ve settled into their practice.
This article is provided for general educational purposes by Le Studio Art Space. Tool availability and inclusions vary between studios and classes.