Preparing ceramic bisque to paint mostly comes down to cleaning off dust, checking the surface for rough spots, and setting up a tidy workspace before you start, since a little prep up front makes a noticeable difference to the finished piece. None of it takes long, but skipping it is one of the more common reasons a first painting session doesn’t go as smoothly as hoped.
How To Prepare Ceramic Bisque To Paint
There’s a real temptation to grab a brush and start painting the moment you’re handed a bisque piece, and honestly, for a lot of simple projects that’s fine. But taking a few extra minutes to properly prepare ceramic bisque to paint genuinely changes how the finished piece turns out, especially once it comes back from its final firing. At Le Studio Art Space, this is one of the first things staff walk newcomers through before a paint-your-own session, since it’s a quick habit that pays off every single time.
None of the preparation steps are complicated or time consuming, and once you’ve done it a couple of times it becomes second nature. Here’s what actually matters and why.
Why Bisque Preparation Matters Before Painting
Bisqueware has a porous, slightly chalky surface, and that porosity is exactly what lets paint and glaze soak in and bond properly during the final firing. Anything sitting on top of that surface before you start, whether it’s dust, oil, or debris, can interfere with how evenly the paint takes hold.
A poorly prepared surface doesn’t always show a problem right away. Sometimes it only becomes visible after the final firing, when an area that looked fine while wet turns out patchy, thin, or uneven once the glaze has matured in the kiln.
Preparation also affects how enjoyable the painting itself feels. A clean, dust-free surface lets your brush glide more predictably, while a gritty or oily patch can drag unevenly and throw off fine detail work.
None of this means bisque preparation is difficult or technical, it’s genuinely just a few simple habits that make the rest of the process go more smoothly from start to finish.
Cleaning Dust And Debris Off The Surface
Bisque fired pieces often pick up a light coating of dust simply from sitting in storage or being handled before you get to them. A quick wipe with a soft, slightly damp cloth or sponge is usually all it takes to clear that off completely.
It’s worth avoiding anything too wet, since bisqueware is porous and will absorb water readily. A light dampness is plenty, there’s no need to properly wash or soak the piece before you start decorating it.
If you notice loose crumbs of clay or fine dust in crevices or textured areas, a soft brush, even something as simple as a clean paintbrush, can help work debris out of tighter spots that a cloth can’t easily reach.
Letting the piece air dry fully after cleaning is an easy step to forget, but it matters, since painting onto a surface that’s still visibly damp can affect how the paint initially sits before it has a chance to soak in properly.
Checking For Rough Spots Or Imperfections
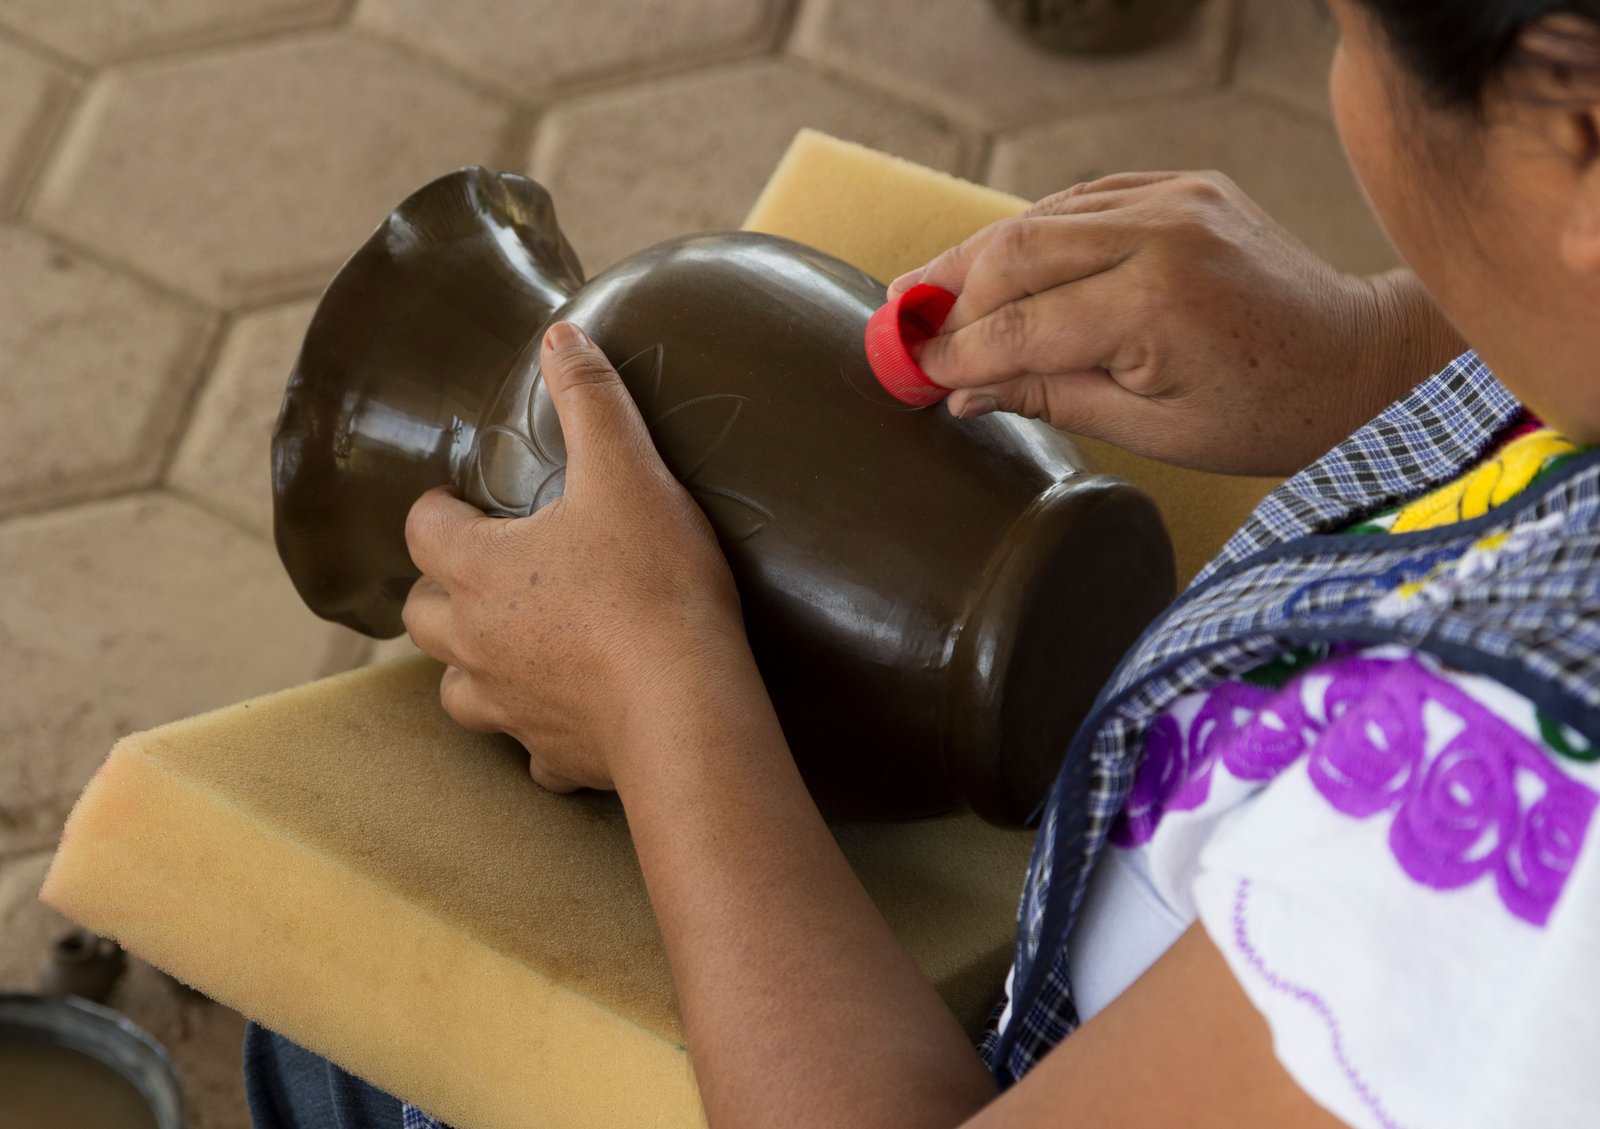
Running your fingers gently over the surface before painting is a simple way to catch any rough patches, small bumps, or seam lines left over from the piece’s original molding or shaping process. These are easy to miss by sight alone but obvious the moment you touch them.
A very light sanding with fine grit sandpaper can smooth out minor imperfections without damaging the piece. It only takes a light touch, since bisqueware is more delicate than it looks and heavy pressure can chip an edge or corner.
After sanding, it’s worth doing a second quick wipe to clear away the fine dust that sanding creates, since that dust behaves the same way as any other surface debris if it’s left sitting there when you start painting.
Not every piece needs sanding at all, and it’s fine to skip this step entirely if the surface already feels smooth and even. It’s simply worth checking rather than assuming, since a rough patch is much easier to fix before painting than after.
Larger pieces with more detailed molding, like figurines or textured planters, are worth checking a little more thoroughly, since seam lines from the original mold are more likely to show up in tucked-away curves and corners than on a simple flat-sided piece like a tile or plate.
Setting Up Your Workspace And Materials
Having your brushes, paints or underglazes, a water cup, and a paper towel or rag within easy reach before you start saves a lot of interruption once you’re actually painting. Getting up mid-design to fetch something is a common way small mistakes happen.
A clean, flat, well-lit surface makes a genuine difference too, both for seeing your colours accurately and for keeping the piece steady while you work on it. Good lighting in particular helps you judge how a colour actually looks rather than guessing under dim light.
It’s also worth having a stable way to hold or turn the piece as you paint, whether that’s a banding wheel, a lazy susan, or simply careful hand positioning, especially for anything with curves or an uneven base that’s awkward to hold steady otherwise.
Protecting your own workspace matters too, since paint and glaze can drip or splatter more than people expect. A simple covering under the piece saves cleanup time and protects the surface underneath.
What Competing Guides Leave Out
A detail that’s genuinely easy to miss is how much oily hands or skin contact can affect glaze adhesion on a bisque surface. Skin naturally carries oils, and repeated handling before painting can leave a light residue in spots that then resist paint or glaze ever so slightly.
This is exactly why some studios recommend a very light rinse under water before painting, particularly for a piece that’s been handled a lot during shaping, sanding, or general handling beforehand. It’s a quick step that closes this gap without adding much time.
Humidity and room temperature can also subtly affect how paint behaves on bisqueware, something most general guides skip entirely. A very humid room can slow how quickly paint sets between layers, which is worth knowing if you’re building up colour in multiple coats.
Another overlooked point is that different brands of underglaze and ceramic paint can have slightly different viscosity and drying behaviour, so it’s worth doing a small test stroke on an inconspicuous spot first if you’re using a product you haven’t worked with before.
What To Do Once Your Piece Is Painted
Once you’ve finished decorating, the piece typically needs to dry fully before it’s ready for its final firing. Most paints and underglazes are touch dry fairly quickly, but giving it a bit of extra time before handling reduces the risk of smudging fine detail.
This is also a good moment to check your work under good lighting one more time, since it’s easier to spot a thin patch or missed area before firing than after, when the design becomes permanent.
From there, the piece goes into a kiln for its final firing, which is what actually makes the paint or glaze permanent, food safe if relevant, and properly durable for regular use. This step can’t be skipped if you want a lasting result.
Turnaround for that firing depends on the studio’s kiln schedule, so it’s always worth asking directly how long a typical wait is, especially if you’re hoping to have the finished piece ready by a particular date. Planning ahead for that wait, especially around gift-giving occasions, saves a lot of last-minute stress later on.

Ready to prep and paint a bisque piece the right way? Come get hands-on guidance during a session at Le Studio Art Space in Mordialloc.
Frequently Asked Questions
Do I really need to clean a bisque piece before painting, or am I overthinking it?
It’s genuinely worth doing, even if it only takes a minute. A quick wipe removes dust and debris that can otherwise interfere with how evenly paint or glaze adheres once fired.
Is it okay to wet the whole piece before painting?
A light dampness from a soft cloth is fine, but soaking the piece isn’t necessary and can leave it too wet to paint comfortably straight away. A quick wipe and a short air dry is usually all that’s needed.
What if I find a rough spot after I’ve already started painting?
It’s best to stop and gently sand the area first if possible, then clear away the dust before continuing. Painting over a rough patch rarely improves it and can make the final texture uneven.
Does touching the piece a lot while painting actually cause a problem?
It can, in a minor way, since skin oils can leave a light residue in some spots. A light rinse before you start, especially if the piece has already been handled a lot, helps avoid this.
How do I know if my piece is dry enough to be fired?
It should feel completely dry to the touch with no cool or damp patches remaining. Staff at a studio like Le Studio Art Space can also check a piece for you before it goes into the kiln if you’re unsure.
This article is provided for general educational purposes by Le Studio Art Space and reflects common studio practice. Individual results may vary depending on the piece and materials used.