Centering, throwing, and trimming are three distinct stages of wheel throwing, with centering preparing the clay, throwing shaping it into a form, and trimming refining the piece once it’s dried to leather-hard. Each stage depends directly on the one before it, which is why they happen in this specific order.
New wheel throwing students at Le Studio Art Space often hear centering, throwing, and trimming mentioned in the same breath during a first class, without always understanding how these three stages actually connect to one another. Once the sequence clicks, the whole process of making a piece on the wheel makes a lot more sense.
Here’s a clear breakdown of what each stage actually involves, and why the order genuinely matters for a successful finished piece.
Centering The Clay First
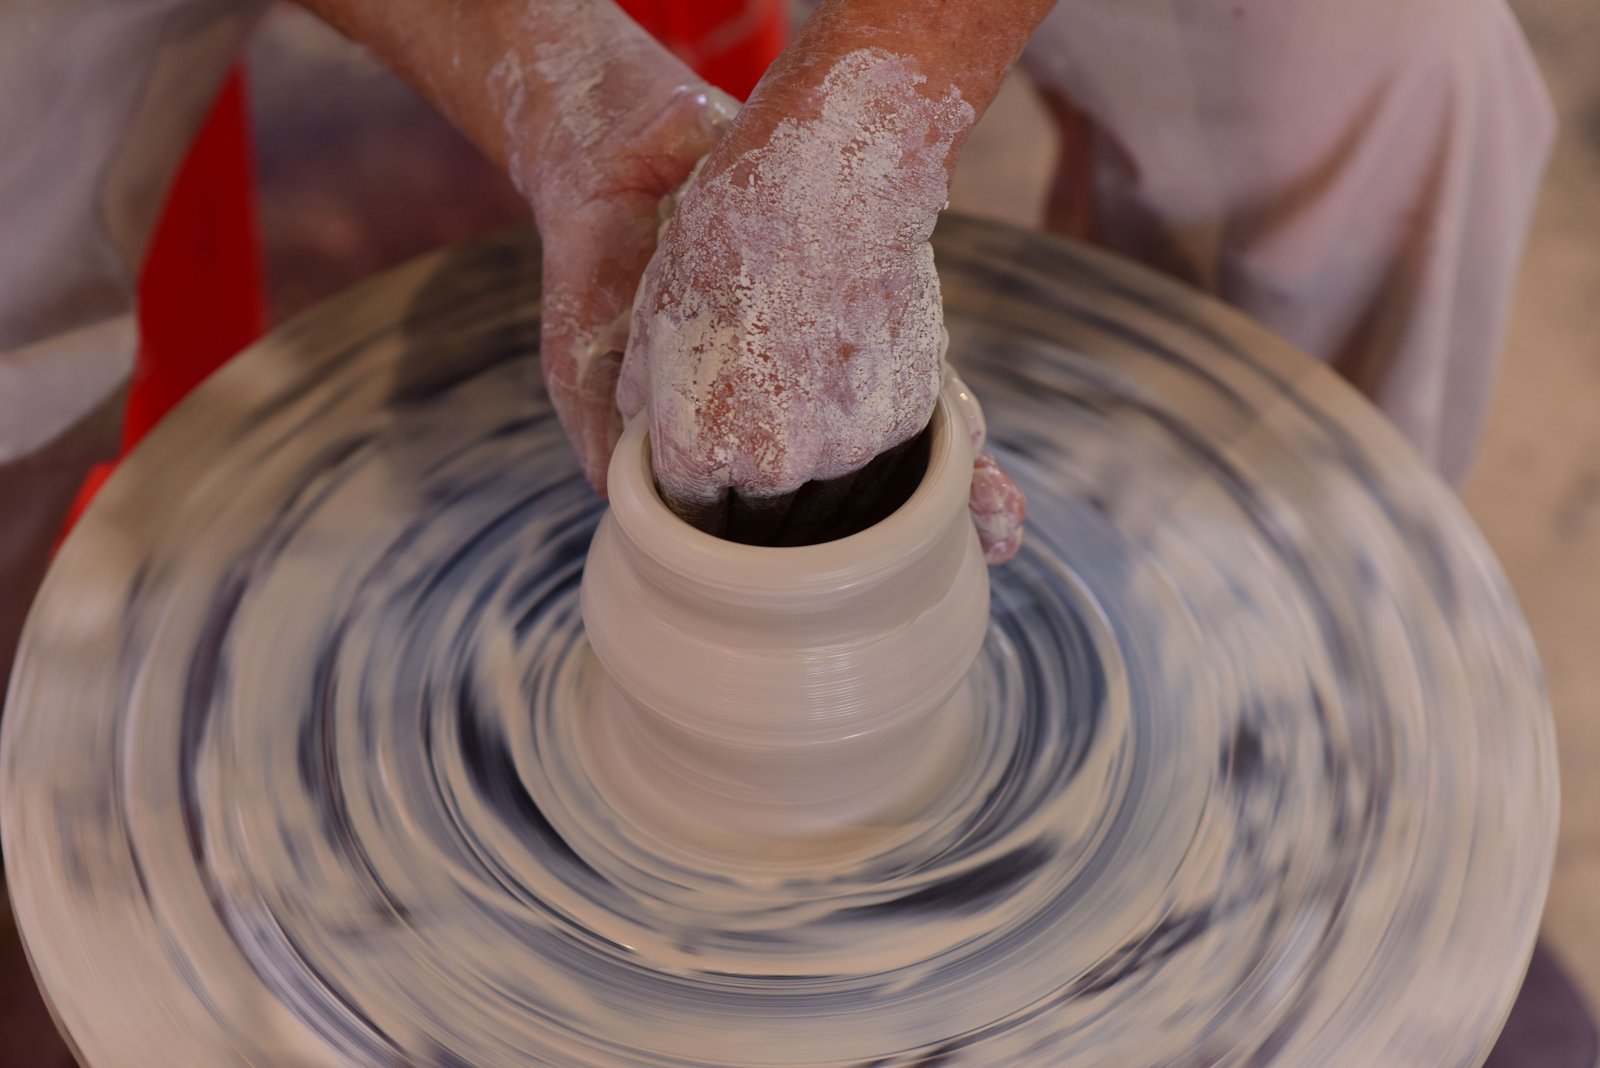
Centering is the foundational first step, where a lump of clay is worked until it sits perfectly balanced and symmetrical on the spinning wheel head, with no wobble or unevenness remaining.
This step is genuinely deceptively difficult for beginners, since it relies on a feel for pressure and hand position that’s hard to explain verbally and usually takes real hands-on repetition to click into place.
Without proper centering, every subsequent step becomes considerably harder, since an off-centre lump of clay will continue wobbling unevenly no matter how carefully you try to shape it afterward. It’s genuinely worth stopping and re-centering rather than pushing forward with clay that still feels noticeably off balance.
Many instructors, including those at Le Studio Art Space, spend a significant portion of early lessons purely on centering, precisely because it’s the foundation everything else in wheel throwing depends on. Some beginners spend several entire sessions on centering alone before moving on to actually opening and shaping a form.
Throwing The Form
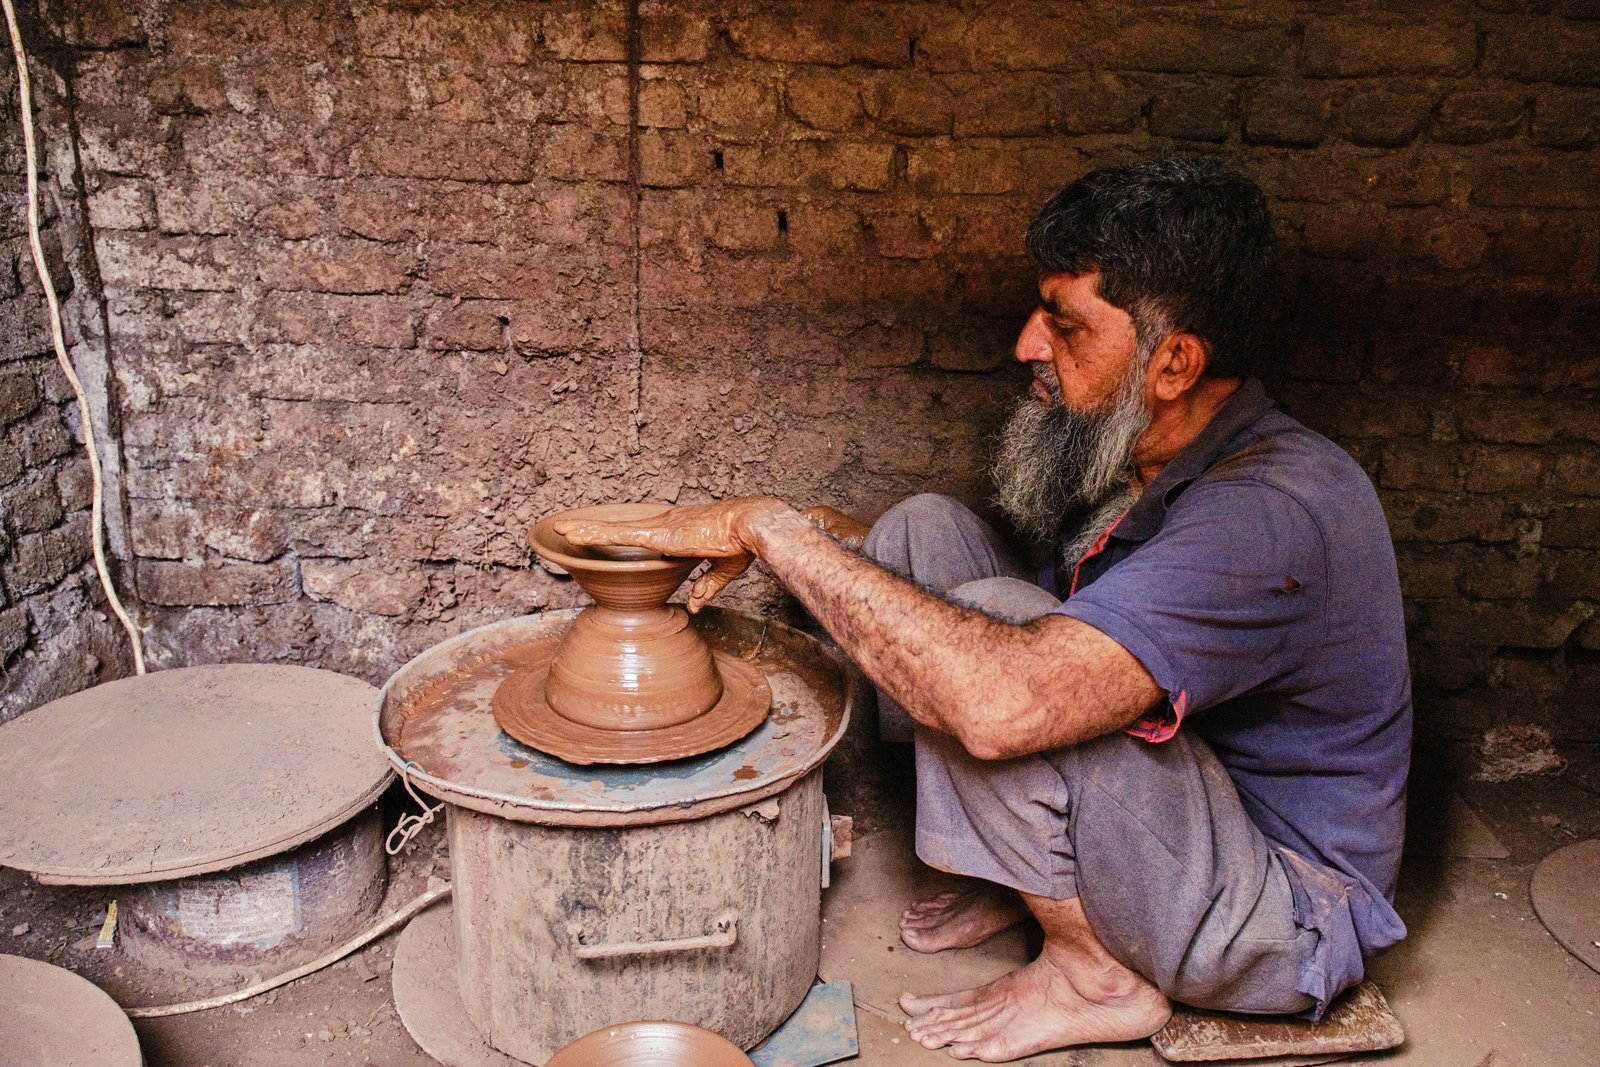
Throwing refers to the actual shaping process, opening up the centred clay and pulling its walls upward and outward to create the piece’s basic form, whether that’s a bowl, cylinder, or more complex shape.
This stage involves several distinct movements, opening a hole in the centred clay, pulling the walls upward evenly, and shaping the piece’s overall silhouette, all while maintaining consistent wall thickness throughout the entire form.
Throwing genuinely builds directly on successful centering, since any unevenness left over from centering tends to show up magnified once you start opening and pulling walls on an already imperfect base. A small wobble at the centering stage can turn into a genuinely lopsided rim by the time throwing is finished.
This is typically the stage people picture when they imagine wheel throwing, and it’s genuinely the most visually dramatic part of the process, transforming a shapeless lump into a recognisable vessel form. It’s also the stage most students find genuinely the most satisfying once centering starts to feel more reliable.
Trimming After The Piece Has Dried
Trimming happens once a thrown piece has dried to leather-hard, a stage where the clay is firm enough to handle but still slightly moist and workable, typically a day or more after throwing depending on conditions.
At this stage, the piece is flipped upside down and re-centred on the wheel, then carved to refine the base, remove excess clay, and often create a proper foot, the raised ring a finished piece typically stands on securely.
Trimming genuinely can’t happen at the same time as throwing, since the clay needs to firm up enough to hold its shape under the pressure of trimming tools without collapsing or distorting. Trying to trim too early is one of the most common ways a promising piece gets accidentally ruined.
This stage often surprises beginners with how much it changes a piece’s final appearance, frequently transforming a functional but slightly clunky thrown form into something noticeably more refined and finished looking. A well trimmed foot in particular can make a simple bowl look considerably more intentional and professional.
Why These Steps Happen In This Order
Each stage genuinely depends on a specific clay consistency that the previous stage produces, meaning skipping or reordering these steps simply doesn’t work with how clay physically behaves at each point.
Centering requires soft, fully workable clay to shape effectively, while throwing needs that same workability to open and pull walls without the clay resisting or cracking under pressure.
Trimming specifically requires the firmer, leather-hard consistency that only comes from allowing a thrown piece to dry partway, since wet clay simply can’t hold up to trimming tools without collapsing. This is exactly why the three stages can’t be compressed into a single sitting no matter how eager you are to finish.
Understanding this dependency helps explain why patience between stages, particularly the drying period before trimming, is a genuine, unavoidable part of the process rather than an optional step you can rush through. Rushing any single stage tends to create problems that carry forward into every stage that follows it.
What Competing Guides Leave Out
A detail many general guides skip is how much time typically passes between throwing and trimming, which can range from overnight to a couple of days depending on clay thickness, ambient humidity, and the specific clay body used.
Checking a piece periodically as it dries, rather than guessing based on a fixed schedule, is a genuinely more reliable way to know when it’s actually ready for trimming, since drying speed varies so much between pieces and conditions. A quick fingernail test on the base is a simple, low-risk way to gauge readiness.
What happens if you skip or rush a step is another gap worth addressing directly. Trimming a piece that’s still too wet risks collapsing or distorting it, while waiting too long can make trimming considerably harder as the clay becomes increasingly stiff and resistant to the trimming tool.
It’s also worth mentioning that some simple forms, like a basic cylinder, may not need extensive trimming at all, while more complex or footed forms genuinely benefit from a more thorough trimming stage. Knowing which category your piece falls into helps you plan your studio time more realistically.
Where Beginners Usually Struggle Most
Centering is genuinely the most common early struggle, since it relies so heavily on a physical feel that’s difficult to develop without repeated, hands-on practice over multiple sessions.
Maintaining even wall thickness during throwing is another common early challenge, with beginners often producing walls that are thicker at the bottom and thinner near the rim, or genuinely uneven all the way around. This particular struggle tends to improve noticeably once you develop a better feel for pressure through repetition.
Trimming, once beginners reach that stage, often proves trickier than expected too, since re-centering an already-formed piece upside down requires a different kind of careful attention than centering a fresh lump of clay. It’s a subtly different skill that deserves its own dedicated practice rather than being treated as an afterthought.
None of these struggles are unusual or a sign you’re not cut out for wheel throwing, they’re genuinely universal parts of the learning curve that improve steadily with consistent, patient practice over time. Every experienced potter you’ll ever meet went through this exact same sequence of frustrations on their way to feeling confident.
Ready to practice the full centering, throwing, and trimming sequence? Join a class at Le Studio Art Space in Mordialloc and build your skills step by step.
Frequently Asked Questions
Do I really have to master centering before I can start throwing?
Yes, genuinely. Centering is the foundation every subsequent step depends on, and trying to throw an off-centre piece of clay generally leads to a wobbly, uneven result no matter how careful you are afterward.
How do I know when my piece is actually ready for trimming?
It should feel firm but still slightly moist, known as leather-hard. Checking periodically as it dries is more reliable than following a fixed schedule, since drying speed varies with humidity and clay thickness.
What happens if I try to trim a piece that’s still too wet?
It’s likely to collapse or distort under the pressure of trimming tools, since wet clay doesn’t yet have the structural firmness trimming genuinely requires to work properly.
Is it normal to struggle with even wall thickness while throwing?
Completely normal for beginners. Maintaining consistent wall thickness is a genuine skill that develops with practice, and uneven walls are one of the most common early challenges in wheel throwing.
Do all pieces need trimming, or can I skip it sometimes?
Simple forms like a basic cylinder may need minimal trimming, while more complex or footed forms genuinely benefit from a thorough trimming stage to look properly finished.
This article is provided for general educational purposes by Le Studio Art Space and reflects common wheel throwing technique. Individual timing and results vary by piece and clay body.