The three core hand building methods are pinch, coil, and slab. Pinching shapes a ball of clay by pressing it between thumb and fingers, coiling builds forms by stacking and blending ropes of clay, and slab building joins flat sheets of rolled clay. Most beginners start with pinch pots, then add coil and slab work, often combining all three in one piece.
If you’ve signed up for a hand building class, you’ll hear the words coil, slab, and pinch within the first ten minutes. These three coil, slab, and pinch hand building methods are the foundation of making pottery without a wheel, and between them they can produce almost any form you can imagine, from a tiny bowl to a large sculpture.
At Le Studio Art Space in Mordialloc, we introduce all three in our beginner sessions, because understanding each one gives you a toolkit you’ll use for the rest of your clay life. This guide breaks down what each method involves, how they combine, and which one might be the best place for you to start.
Pinch Pottery Explained
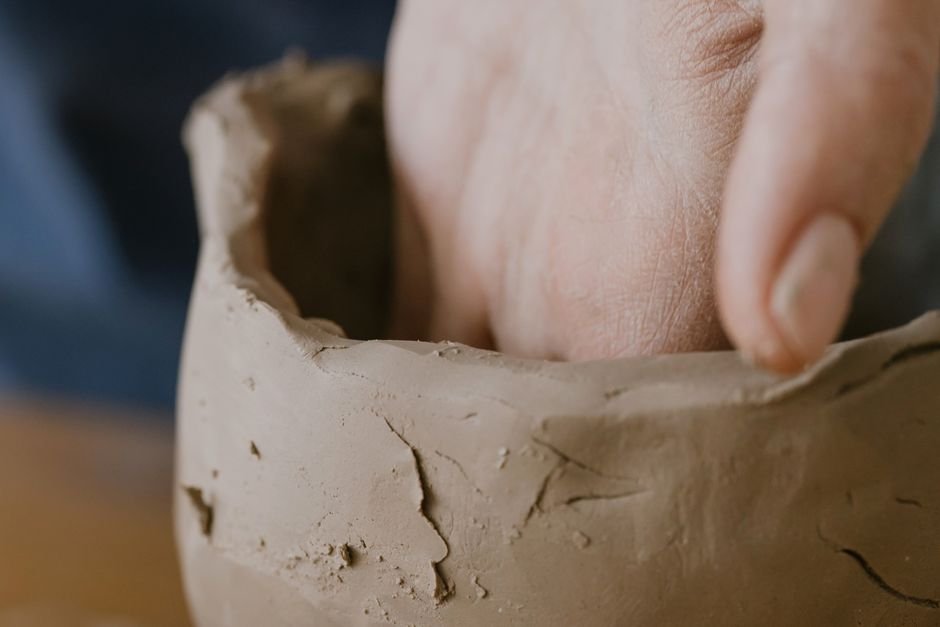
Pinching is the simplest and most direct way to shape clay, and it’s likely the oldest. You start with a ball of clay roughly the size of an orange, press your thumb into the centre, and then gently pinch the walls between your thumb and fingers while rotating the ball in your other hand. Slowly, the walls thin and rise into a small bowl.
The key is patience and evenness. Pinching a little at a time, working around the pot in a spiral from the base upward, helps keep the walls consistent. Rushing tends to create thin spots that crack or collapse, and a thick base that dries slowly.
Pinch pots are ideal for small bowls, cups, tea light holders, and little planters. They also make great building blocks for sculpture. Two pinch pots joined rim to rim create a hollow sphere that can become a creature, rattle, or abstract form.
Because pinching needs no tools and gives instant feedback, it’s the best way to learn how clay responds to pressure, moisture, and warmth from your hands. Many experienced potters still return to pinching as a calming, meditative practice.
A handy tip is to keep your hands only slightly damp. Too much water makes the surface slippery and weak, while dry hands can cause small cracks at the rim. If cracks appear, smooth them closed with a fingertip straight away. And if the rim starts to flare too wide, gently pinch small darts or tap it back inward before the clay firms up.
Coil Building Explained
Coil building uses long ropes of clay, called coils, that are stacked on top of one another to build walls. You roll coils by hand on a table, keeping them an even thickness, then lay them around a base, blending each one into the one below to create a solid wall.
Blending is the crucial step. Each coil must be smoothed into the one beneath, on at least one side and ideally both, so the layers fuse. If coils are simply stacked without joining, they’ll separate during drying or firing. Many potters blend the inside for strength and choose whether to smooth or show the coils on the outside.
Coiling allows you to build taller and more complex forms than pinching. By placing each coil slightly outward or inward, you can make walls swell, narrow, and curve. It’s how many large traditional pots were made long before the wheel, and it’s still loved by sculptors today.
The trade-off is time. Coil building is steady, rhythmic work, and tall pieces often need to firm up partway so the lower walls can support the weight above. It’s perfect for anyone who enjoys a slower, more deliberate process.
Slab Building Explained
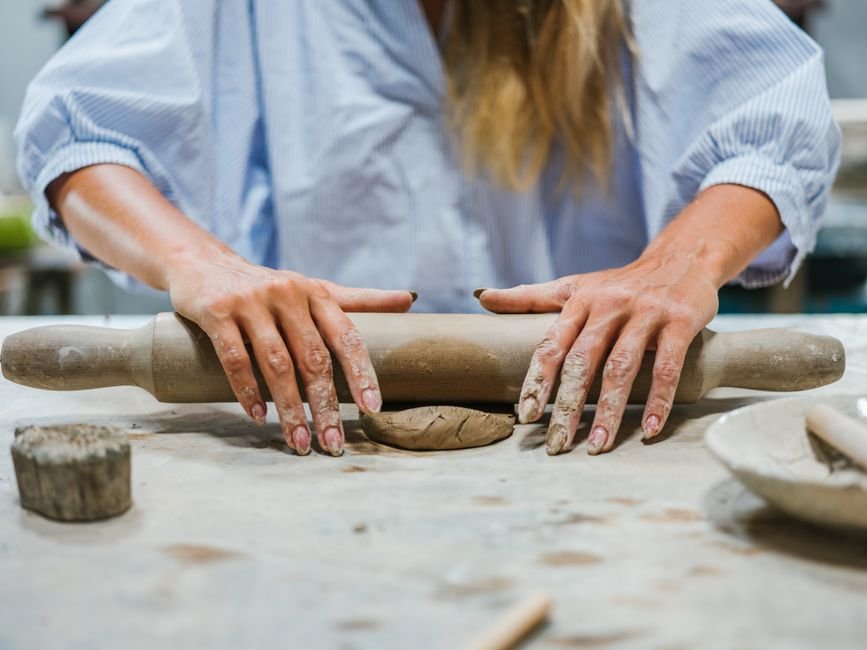
Slab building uses flat sheets of clay, rolled to an even thickness with a rolling pin and guide sticks or a slab roller. The slabs can be cut into shapes, then joined together, bent around forms, or draped into or over moulds to create a wide range of pieces.
Timing is everything with slabs. Soft slabs are ideal for curving and draping, such as making a plate over a bowl form or wrapping a cylinder around a tube. Leather hard slabs are stiffer and better for crisp, geometric construction like boxes, planters, and architectural forms.
Joining slabs properly is essential. Edges are scored, which means roughing them up with a needle tool or fork, then coated with slip, a creamy mix of clay and water, before being pressed together. A small coil worked into inside corners adds extra strength.
Slabs are great for texture. You can roll patterns into the clay using lace, leaves, stamps, or textured mats before cutting and assembling, which gives pieces a decorative surface from the start. Mugs, trays, tiles, and vases are all common slab projects.
Paper templates make slab work much easier. Sketching and cutting the shapes you need from card or baking paper, then laying them on the clay to cut around, helps pieces fit together neatly and lets you repeat a design later. Many potters keep a folder of favourite templates for boxes, cups, and plates that they reuse and adjust over time.
How These Hand Building Methods Are Often Combined
Although each method can stand alone, most hand built pieces use a mix. A slab-built mug might have a pinched handle and a coiled foot. A coil-built vase might start with a pinched base. A sculpture might combine a slab body with coiled limbs and a pinched head.
Combining methods lets you use each one where it works best. Slabs give flat, strong surfaces. Coils allow gradual curves and height. Pinching creates small, organic, hollow shapes quickly. Once you’re comfortable with all three, you start choosing techniques almost instinctively.
The same joining rules apply whenever methods meet. Score and slip every join, make sure the pieces are at a similar moisture level, and blend or reinforce the seam. Joining a soft pinched piece to a dry slab is a common recipe for cracks.
If you want to see how these methods show up in more sculptural work, our article on ceramic sculpture explores how artists combine them at a larger scale.
What Competing Guides Leave Out
Most guides explain the three methods but don’t say which is easiest to learn first. For most people, it’s pinching. It needs no tools, gives immediate feedback, and teaches you how clay behaves. Coil building usually comes next, and slab building, with its focus on timing and joins, often takes a little longer to master.
Another gap is how each method affects drying and firing. Pinch pots can end up with thick bases and thin rims, which dry at different rates and can crack. Coil pots may hide weak joins that only show up as cracks during drying. Slab pieces are prone to warping, especially if slabs weren’t compressed well or if one side dries faster than another.
Compressing clay helps all three methods. Running a rib or your fingers firmly over surfaces aligns clay particles and strengthens the piece. With slabs, compressing both sides after rolling is one of the best ways to prevent warping.
Finally, slow, even drying matters across the board. Covering pieces loosely with plastic and turning them occasionally reduces the risk of cracks. Our guide to common hand building mistakes covers these issues in more depth.
Choosing Which Of The Hand Building Methods To Start With
If you’re brand new, start with pinch pots. Make a few, focusing on even walls and a smooth rim, and notice how the clay responds as it warms and dries in your hands. This builds a feel for the material that makes the other methods easier.
If you enjoy slower, rhythmic work and want to make taller pieces, try coil building next. A small coil pot or planter is a great second project. If you like clean lines and planning, you might gravitate to slab building, starting with something simple like a tray or a straight-sided cup.
There’s no wrong order, and many people find one method clicks more than the others. It’s worth trying all three, though, because each teaches something the others don’t, and combining them opens up far more possibilities.
The easiest way to learn is with guidance. Our workshops and classes introduce all three methods, our ceramic studio offers space to practise, and our firing service takes care of the kiln once your pieces are dry.
Want to try all three methods with friendly guidance? Join an intro hand building class at Le Studio Art Space in Mordialloc and make your first pinch, coil, and slab pieces in one relaxed session.
Frequently Asked Questions
Which hand building method is easiest for beginners?
Pinching is usually the easiest place to start. It needs no tools and teaches you how clay responds to your hands.
Why do my coil pots crack between the coils?
Usually because the coils weren’t blended together well or dried at different rates. Smoothing each coil into the one below, especially on the inside, helps prevent this.
Do I need a slab roller for slab building?
No, a rolling pin and two guide sticks work perfectly well. A slab roller is handy for larger or more consistent slabs, and many studios have one to share.
Can I combine coil, slab, and pinch in one piece?
Yes, and most hand built pieces do. Just make sure every join is scored and slipped and the pieces are at a similar dryness.
Are hand built pots as strong as wheel thrown ones?
They can be, as long as walls are even, joins are well made, and the clay is compressed. At Le Studio Art Space we see plenty of sturdy, functional hand built pieces.
This article is provided for general educational purposes by Le Studio Art Space. Results vary with clay type, technique, drying conditions, and firing.