A ceramic materials workshop explores what clay bodies and glazes are made of and how they behave when fired. Most sessions combine short explanations with hands on testing, such as making test tiles, comparing clay bodies, and seeing how glazes respond in the kiln. They suit curious beginners and experienced potters alike, and help you understand why your work turns out the way it does.
After a few classes, many potters start asking deeper questions. Why does this glaze run on one pot and not another? Why does my clay crack when my friend’s doesn’t? What’s actually in that bucket of glaze? A ceramic materials workshop is where those questions get answered, not with theory alone, but with your hands in the materials.
At Le Studio Art Space in Mordialloc, members often reach a point where they want more control over their results, and that’s when materials knowledge really starts to pay off. This guide walks through what a materials focused workshop usually covers, what the hands on testing looks like, who it suits, and how to get the most out of your first one.
What A Ceramic Materials Workshop Covers
Most workshops start with clay bodies. You’ll look at the main families, like earthenware, stoneware, and porcelain, and learn what sets them apart. That usually includes the role of different clays, fillers like silica, and additions such as grog for texture and strength.
Next come glaze ingredients. A glaze is essentially a recipe of minerals that melt together in the kiln. You’ll learn about the three main roles: glass formers like silica, fluxes that help things melt, and stabilisers like alumina that stop the glaze running off the pot. Our guide to what is actually in a pottery glaze gives a taste of this.
Colourants are often a highlight. Metal oxides and commercial stains create colour, and seeing how small amounts change a base glaze can be eye opening. You might compare how the same colourant behaves in a glossy versus matte base.
Finally, most workshops look at firing. How temperature, cone, and kiln atmosphere affect both clay and glaze is central to understanding results. Our guide to what cone numbers mean is a helpful primer before you go.
Hands On Testing And Experiments
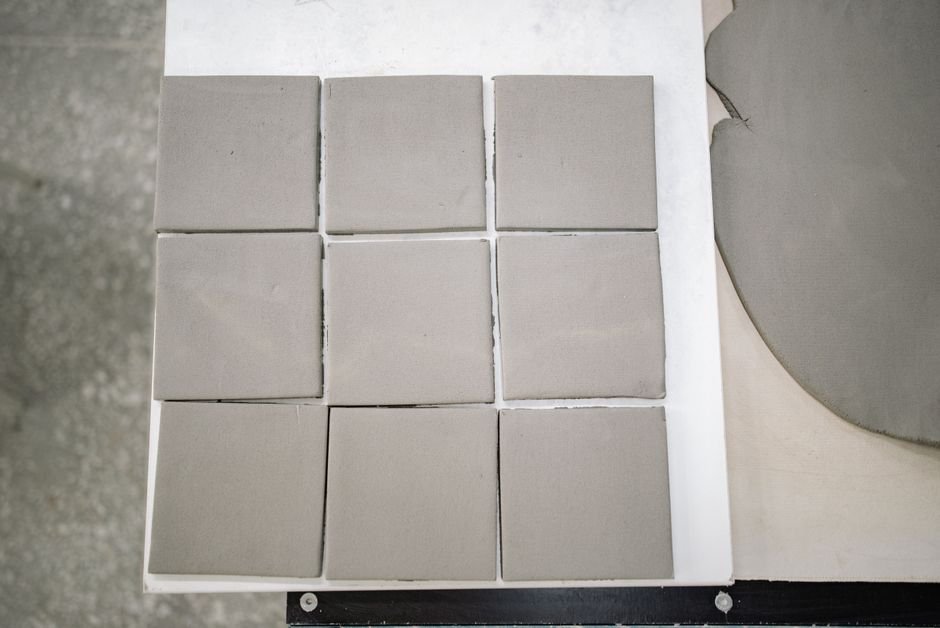
The heart of a ceramic materials workshop is testing. Test tiles are small pieces of clay, often shaped as little L shapes or flat tiles with a vertical section, used to try glazes and clay bodies without risking a whole pot. You’ll likely make and label a set early in the workshop.
Comparing clay bodies is a common exercise. You might make identical tiles from several clays, fire them together, and compare colour, texture, shrinkage, and how glazes look on each one. It’s a simple way to see the real effect of a clay body.
Glaze tests often involve applying the same glaze at different thicknesses, or layering two glazes, to see how they interact. Some workshops introduce line blends, where you gradually change the proportion of one ingredient across a row of tiles to see how it shifts the result.
Then comes the exciting part: opening the kiln. Seeing your tests side by side after firing, and discussing what happened and why, is where much of the learning sinks in. Many potters keep their test tiles for years as a reference.
You’ll also learn to record everything. Good notes on recipes, thickness, clay body, and firing conditions turn a pile of tiles into genuinely useful knowledge.
Who A Ceramic Materials Workshop Suits
Materials workshops suit a wider range of people than you might expect. Curious beginners who’ve done a few classes often love them, because understanding the why behind clay and glaze makes everything else make more sense.
Intermediate potters frequently get the most immediate value. If you’ve been using studio glazes for a while and want to understand why some combinations work and others don’t, a materials workshop can answer a lot of questions at once.
Experienced potters who want more control over their results, perhaps to develop their own glaze palette or switch clay bodies, can use a workshop to fill gaps in their knowledge and learn testing methods they can continue on their own.
You don’t need to love chemistry. Most workshops explain things practically, focusing on what ingredients do rather than complex formulas. If you can follow a recipe and observe carefully, you’ll keep up just fine.
They also suit people who simply enjoy the detective side of pottery. If you’re the kind of person who picks up a finished pot and wonders how that colour or texture happened, a materials workshop gives you the tools to start answering those questions for yourself. Many people find it adds a whole new layer of enjoyment to their making.
What You Take Away
Most people leave a ceramic materials workshop with a set of fired test tiles, notes on what each one shows, and a much clearer sense of how clay and glaze behave. That practical understanding often changes how you plan and glaze your work.
You’ll likely understand common glaze problems better, like crawling, running, or pinholes, and have ideas for adjusting your approach. Our guide to why glaze crawls, pinholes, or runs is a great companion read.
You’ll also gain a testing habit. Many potters find that after a workshop they test new combinations before committing to a whole piece, which saves frustration and wasted work.
It’s worth being realistic. One workshop won’t make you a glaze chemist, and results always depend on the specific materials and kiln you use. But many people find it gives them a foundation to keep learning with confidence.
Perhaps the most valuable takeaway is a new way of looking at your own work. Instead of seeing a disappointing glaze result as bad luck, you start to see it as information. Was the glaze too thick? Did the clay body change the colour? Was the piece in a hotter or cooler part of the kiln? That shift in thinking often helps potters improve faster.
What Competing Guides Leave Out About A Ceramic Materials Workshop
Most descriptions of a ceramic materials workshop focus on the fun experiments and skip the practical realities. The first is time. Testing takes a while, because tiles need to dry, be bisque fired, glazed, and glaze fired. Results often come back days or weeks after the session.
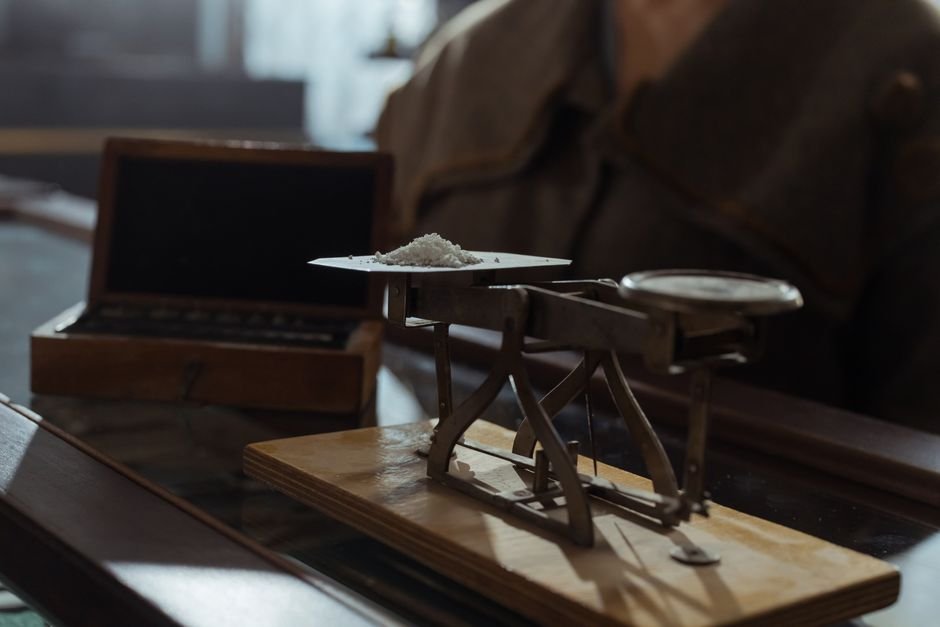
Safety habits are another gap. Raw glaze materials can be harmful if inhaled, so good workshops teach careful handling, like keeping dust down, wet cleaning rather than sweeping, wearing a suitable mask when weighing dry powders, and washing hands. These habits are worth carrying into all your studio work.
Competing guides also rarely mention that results depend on the kiln. The same glaze can look different in another kiln because of differences in firing schedule, atmosphere, and how fast the kiln cools. Tests are most useful when they’re fired in the kiln you’ll actually use.
Finally, few guides mention that testing is ongoing. A workshop gives you the method, but real understanding builds as you keep testing and recording results over months and years.
Preparing For Your First Materials Workshop
Bring a notebook or use your phone to record recipes, tile numbers, and observations. Good notes are the most valuable thing you’ll take home besides the tiles themselves.
Wear clothes you don’t mind getting dusty, and closed shoes. Tie back long hair and be ready to follow the studio’s safety guidance when handling powders. Our guide on what to wear to a pottery class has more tips.
Come with questions. If a particular glaze has been frustrating you, or you’re curious about switching clay bodies, mention it. Teachers often tailor examples to real problems people bring.
It can also help to bring a couple of your own finished pieces, especially ones where a glaze or clay surprised you. Real examples make discussions more concrete, and other participants often learn from them too. Just wrap them carefully for the trip.
Ask about upcoming sessions in our workshops and classes, and if you’d like to keep testing afterwards, membership of our ceramic studio and our firing service make it easy to keep firing test tiles.
Want to understand why your clay and glazes behave the way they do? Ask about upcoming materials focused workshops at Le Studio Art Space in Mordialloc and start testing with guidance and real studio kilns.
Frequently Asked Questions
Do I need chemistry knowledge for a ceramic materials workshop?
No. Most workshops explain materials in practical terms, focusing on what each ingredient does. Basic maths for weighing recipes is usually all you need.
Is a materials workshop too advanced for a beginner?
Not necessarily. Many beginners enjoy them, especially after a few classes. It helps to have made and glazed a few pieces first so the ideas connect.
Will I get to take my test tiles home?
Usually, yes, once they’ve been fired. Because firing takes time, tiles are often collected after the workshop rather than on the day.
Are raw glaze materials dangerous?
Some can be harmful if inhaled or handled carelessly. Good studio practice, like controlling dust, wearing a suitable mask when needed, and washing hands, helps keep things safe.
Does Le Studio Art Space run materials workshops?
Le Studio Art Space offers a range of workshops and classes. Ask the team about upcoming sessions that focus on clay, glaze, and firing.
This article is provided for general educational purposes by Le Studio Art Space. Always follow studio safety guidance and material safety data sheets when handling raw ceramic materials.