A practical pottery trimming tool kit needs only a few essentials: one or two sharp loop or ribbon tools, a needle tool, a sponge, and a way to hold pieces steady on the wheel, such as clay wads or a chuck. Most potters add extra loop shapes, a carbide trimming tool, or a centring device later, once they know what they make most often.
Once you start throwing regularly, trimming becomes part of nearly every piece you make. And as soon as you start looking at tools, you’ll find dozens of shiny options promising perfect feet and flawless walls. The truth is that a good pottery trimming tool kit is much smaller and simpler than the marketing suggests.
At Le Studio Art Space in Mordialloc, we help members build small, sensible kits all the time. This guide explains what trimming actually involves, which tools genuinely matter, what you can add later, and how to build your kit gradually without spending money on things you’ll rarely use.
What Trimming Is And Why It Needs Its Own Tools
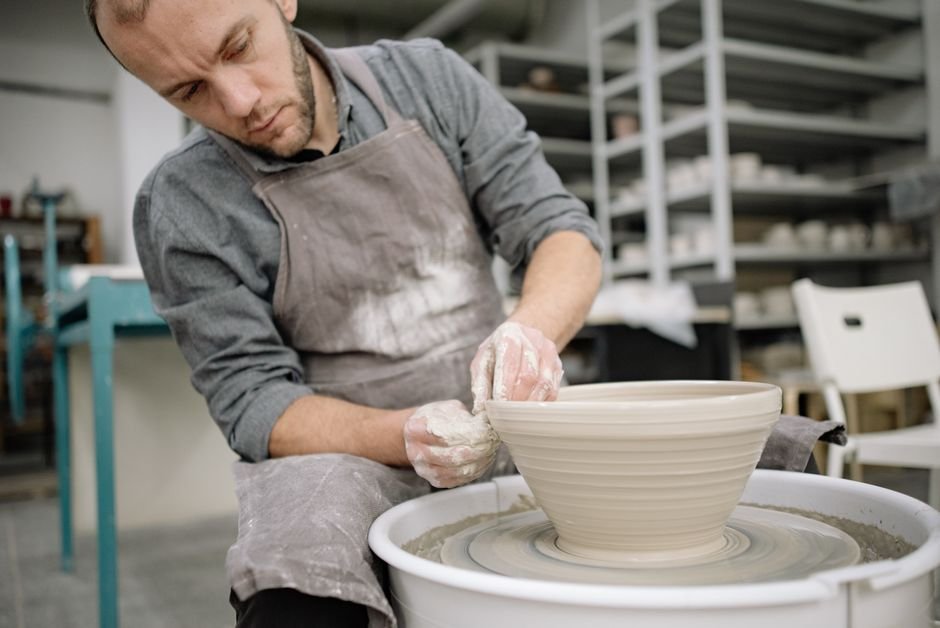
Trimming is the process of refining a wheel thrown piece once it has firmed up to the leather hard stage. The pot is turned upside down, centred on the wheel, and excess clay is shaved away from the base and lower walls.
This is where a pot gets its foot ring, the raised ring on the bottom that lifts it slightly off the table, and where heavy bottoms are lightened to match the walls. Trimming also cleans up the profile, sharpens lines, and can make a piece feel much more balanced in the hand.
Throwing tools aren’t designed for this job. Leather hard clay is firm, so it needs sharp edges that cut cleanly rather than push or drag. That’s why trimming tools are usually made from hardened steel or carbide, shaped into loops or blades.
Timing matters as much as tools. Clay that’s too soft smears and gets gouged, while clay that’s too dry chatters, skips, and wears tools down quickly. Our guide on centering, throwing, and trimming explains how trimming fits into the wider process.
The Core Tools In A Pottery Trimming Tool Kit
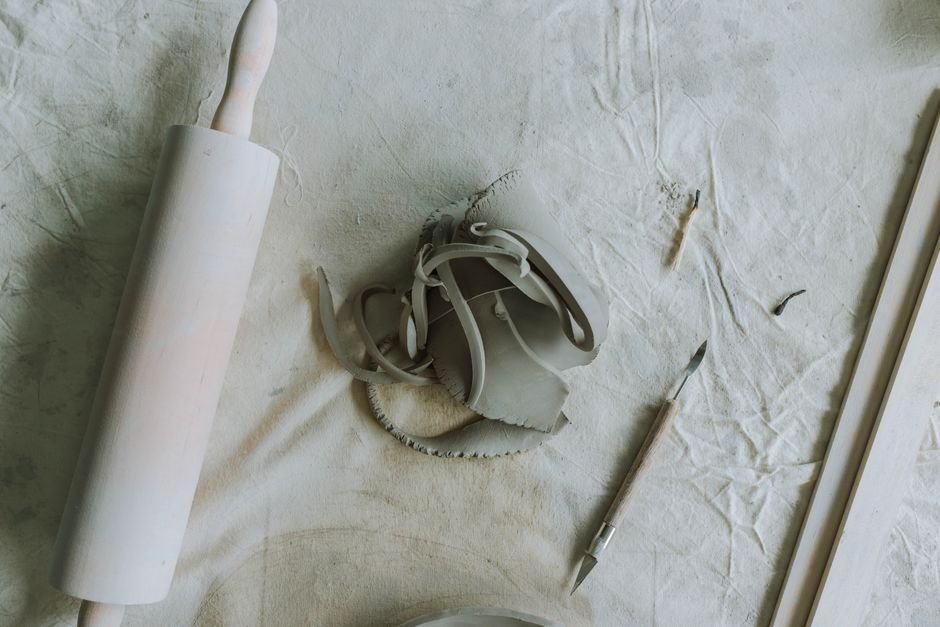
The heart of any pottery trimming tool kit is a good loop tool. Loop tools have a sharpened metal band bent into a shape, such as a square, round, or teardrop, attached to a handle. They’re used to shave clay away in curls, and they’re the main workhorse for most trimming.
Ribbon tools are similar, but use a thinner strip of metal, often flexible. They’re handy for finer work and for carving details. Many beginner tool kits include a couple of ribbon tools alongside a basic loop or two.
A needle tool is the other must have. It’s used to check base thickness by gently poking through the floor of a pot before trimming, to tidy rims, and to cut away uneven edges. Most potters already have one from their throwing kit.
A sponge and a small rib round things out. Once trimming is done, a slightly damp sponge or a soft rib smooths the surface and compresses the foot to help prevent cracks. Our guide on building a starter tool kit on a budget covers these basics in a wider context.
Carbide trimming tools are a popular upgrade. Tungsten carbide holds a sharp edge for a very long time, so the tool stays crisp after many pots. They’re usually more expensive, but many potters find one good carbide tool worth the investment.
Supporting Items For Trimming
Holding a pot steady upside down on the wheel is half the challenge of trimming. The simplest method is using small wads of soft clay pressed around the rim to stick the pot to the wheel head or a bat. It’s cheap, effective, and what many studios teach first.
For pieces with narrow necks or delicate rims, a chuck can help. A chuck is a hollow form, made from leather hard clay, bisque fired clay, or plastic, that the pot sits in or on while being trimmed. It supports the shape without pressing on the rim.
Some potters use a centring device, such as a Giffin Grip, which holds pieces in place with adjustable sliders. These can be useful for production potters or anyone who finds centring upside down frustrating, though they’re definitely an optional extra.
Bats, the removable discs you throw on, can also make trimming easier, especially if you trim several pots in one session. A damp bat with a centred clay pad can give a reliable surface to attach your work.
Choosing Tool Shapes For The Pieces You Make
Loop tools come in many shapes, and each suits a different form. A rounded or teardrop loop follows the curve of a bowl, helping you shape a smooth, flowing profile and a neat foot ring.
A square or flat edged loop works well for the straight walls and flat bases of mugs, cylinders, and planters. It creates crisp corners where the wall meets the foot.
Plates and wide, flat forms often benefit from a larger, wider loop or a flat blade tool, since you’re removing a lot of clay from a big surface. Smaller loops are useful for carving inside foot rings and adding fine details.
The simplest approach is to look at what you make most. If you mostly throw bowls, start with a good rounded loop. If you mostly make mugs, start with a square one. You can always add other shapes later as your work changes.
Handle length and grip are worth considering too. Longer handles give more leverage and keep your hand clear of the spinning pot, while shorter tools offer more control for small, detailed work. If possible, hold a few tools before buying, since the one that feels natural in your hand is usually the one you’ll reach for.
What Competing Guides Leave Out About Trimming Tools
Most tool guides assume you need to buy everything yourself. In reality, many shared studios provide basic trimming tools, splash pans, bats, and chucks for members and students to use. Before buying a full kit, it’s worth checking what your studio already has.
Guides also rarely cover care. Steel loop tools gradually dull, which makes them drag and chatter. Many can be sharpened with a small metal file, carefully following the original bevel. Carbide tools stay sharp much longer, but they can chip if dropped.
Clean tools after each session. Dried clay on a blade makes it less effective, and moisture left on steel can cause rust. A quick rinse, a wipe dry, and storage in a roll or pouch protects both the tools and your hands.
Finally, sharp tools are safer than dull ones, because they need less force and are less likely to slip. Keep your hands braced, work slowly, and always store sharp loops with the blades protected.
One more gap is knowing when a tool isn’t the problem. Uneven trimming is often caused by a pot that isn’t centred properly, or clay at the wrong stage of dryness, rather than the tool itself. Before buying something new to fix a trimming issue, it’s worth checking your centring and timing first.
Building Your Pottery Trimming Tool Kit Gradually
Start with what you need right now. For most beginners, that means one loop tool in the shape that suits your main forms, a needle tool, a sponge, and soft clay wads for holding pots in place.
After a few months, you’ll notice which jobs feel awkward. That’s the moment to add a second loop shape, a ribbon tool for details, or a carbide tool if you’re trimming a lot.
Save bigger purchases, like centring devices or specialist trimming systems, until you’re sure you’ll use them regularly. Many experienced potters still trim almost everything with two or three favourite tools.
Brand names matter less than sharpness and comfort in your hand. Well known makers like Kemper, Mudtools, and Diamond Core all have loyal fans, and you can read more in our guides on Kemper tools and Diamond Core tools.
The best way to learn what you need is to try different tools in a supportive setting. Our wheel workshops and classes include trimming practice, members of our ceramic studio can borrow studio tools, and our firing service takes trimmed work through to the kiln.
Want to find the trimming tools that suit your hands before buying? Practice trimming with studio tools in a wheel class at Le Studio Art Space in Mordialloc, with guidance on technique, timing, and tool care.
Frequently Asked Questions
What is the one trimming tool I should buy first?
A good quality loop tool in the shape that matches what you make most. Rounded loops suit bowls, and square loops suit mugs and cylinders.
Are expensive carbide trimming tools really worth it?
Many potters think so, because carbide stays sharp for a very long time. They’re not essential for beginners, though, so it’s fine to start with steel.
Why does my trimming tool chatter and skip?
Usually the clay is too dry, the tool is dull, or it’s held at the wrong angle. Trimming slightly softer clay with a sharp tool often fixes it.
Do I need a Giffin Grip to trim pots?
No. Most potters learn with soft clay wads, which work well and cost almost nothing, so a centring device is an optional extra.
Can I borrow trimming tools at Le Studio Art Space?
Studio tools are available to students during classes, and our team can show you how different trimming tools feel before you buy your own.
This article is provided for general educational purposes by Le Studio Art Space. Tool performance varies with clay, technique, and care, and brand mentions are not endorsements.