A pyrometric cone chart lists the temperature at which each Orton cone bends, and that temperature depends on how fast your kiln climbs at the end of the firing. For self-supporting cones, cone 06 bends at about 981 to 1013 °C, cone 04 at 1046 to 1077 °C, cone 6 at 1185 to 1243 °C and cone 10 at 1251 to 1305 °C. A slow finish bends the cone at the lower figure and a fast finish at the higher one.
Pyrometric Cone Chart for Orton Cones 022 to 14
Every potter checks a pyrometric cone chart sooner or later, usually with a kiln ticking away and one question in the air: did that actually reach cone 6? Ours is Celsius first, with every heating rate Orton publishes and a clean printout for the kiln room wall.
Cone 6 Mid-range
1185 to 1243 °C
Bends at these temperatures depending on how fast the kiln climbs over the last 100 °C.
- Slow 15 °C/h
- 1185 °C
- Medium 60 °C/h
- 1222 °C
- Fast 150 °C/h
- 1243 °C
Typical use: Mid-range stoneware and porcelain. Cone 5 and cone 6 are the usual glaze firings for mid-range clays in electric kilns.
This tool at a glance
- What it does
- Looks up the temperature at which an Orton self-supporting pyrometric cone bends, for every cone from 022 to 14, and says what that cone is typically used for.
- Inputs
- A cone number, Celsius or Fahrenheit, and optionally a second cone to compare.
- Method
- No calculation is involved in the temperatures: they are Orton’s published equivalents at 15, 60 and 150 °C per hour (27, 108 and 270 °F per hour) over the last 100 °C of the firing. The range shown is the lowest to the highest of those figures. Comparison difference = second cone’s medium-rate temperature minus the first cone’s.
- Outputs
- The temperature range by heating rate, each published figure, the typical use for that cone band, and for two cones the difference in degrees and in cone steps.
Orton cone chart: temperatures for cones 022 to 14
Self-supporting regular cones, as published by the Orton Ceramic Foundation. Heating rates are for the last 100 °C (200 °F) of the firing. n/p means Orton publishes no figure for that rate.
| Cone | Temperature °C by heating rate | Temperature °F by heating rate | Typical use | ||||
|---|---|---|---|---|---|---|---|
| Slow 15 °C/h | Medium 60 °C/h | Fast 150 °C/h | Slow 27 °F/h | Medium 108 °F/h | Fast 270 °F/h | ||
| n/p | 586 | 590 | n/p | 1087 | 1094 | Overglaze and glass. Overglaze decoration, decals, enamels and lustres fired onto glazed ware, plus glass slumping and fusing. | |
| n/p | 600 | 617 | n/p | 1112 | 1143 | ||
| n/p | 626 | 638 | n/p | 1159 | 1180 | ||
| 656 | 678 | 695 | 1213 | 1252 | 1283 | ||
| 686 | 715 | 734 | 1267 | 1319 | 1353 | ||
| 705 | 738 | 763 | 1301 | 1360 | 1405 | ||
| 742 | 772 | 796 | 1368 | 1422 | 1465 | ||
| 750 | 791 | 818 | 1382 | 1456 | 1504 | ||
| 757 | 807 | 838 | 1395 | 1485 | 1540 | ||
| 807 | 837 | 861 | 1485 | 1539 | 1582 | ||
| 843 | 861 | 882 | 1549 | 1582 | 1620 | ||
| 857 | 875 | 894 | 1575 | 1607 | 1641 | ||
| 891 | 903 | 915 | 1636 | 1657 | 1679 | Low fire. Low-fire glazes and decorative firings, at the cool end of the range Orton gives for craft and art clay bodies. | |
| 907 | 920 | 930 | 1665 | 1688 | 1706 | ||
| 922 | 942 | 956 | 1692 | 1728 | 1753 | ||
| 962 | 976 | 987 | 1764 | 1789 | 1809 | ||
| 981 | 998 | 1013 | 1798 | 1828 | 1855 | Bisque and earthenware glaze. The most common bisque range, and the usual glaze range for low-fire earthenware glazes and underglazes. | |
| 1004 | 1015 | 1025 | 1839 | 1859 | 1877 | ||
| 1021 | 1031 | 1044 | 1870 | 1888 | 1911 | ||
| 1046 | 1063 | 1077 | 1915 | 1945 | 1971 | ||
| 1071 | 1086 | 1104 | 1960 | 1987 | 2019 | Upper earthenware. Upper earthenware and terracotta bodies, and low-fire glazes fired a little hotter. | |
| 1078 | 1102 | 1122 | 1972 | 2016 | 2052 | ||
| 1093 | 1119 | 1138 | 1999 | 2046 | 2080 | ||
| 1109 | 1137 | 1154 | 2028 | 2079 | 2109 | ||
| 1112 | 1142 | 1164 | 2034 | 2088 | 2127 | ||
| 1115 | 1152 | 1170 | 2039 | 2106 | 2138 | ||
| 1141 | 1162 | 1183 | 2086 | 2124 | 2161 | Mid-range. Mid-range stoneware and porcelain. Cone 5 and cone 6 are the usual glaze firings for mid-range clays in electric kilns. | |
| 1159 | 1186 | 1207 | 2118 | 2167 | 2205 | ||
| 1167 | 1203 | 1225 | 2133 | 2197 | 2237 | ||
| 1185 | 1222 | 1243 | 2165 | 2232 | 2269 | ||
| 1201 | 1239 | 1257 | 2194 | 2262 | 2295 | ||
| 1211 | 1249 | 1271 | 2212 | 2280 | 2320 | High fire. High-fire stoneware and porcelain, often fired in gas kilns and in reduction. Cone 10 is the classic high-fire temperature. | |
| 1224 | 1260 | 1280 | 2235 | 2300 | 2336 | ||
| 1251 | 1285 | 1305 | 2284 | 2345 | 2381 | ||
| 1272 | 1294 | 1315 | 2322 | 2361 | 2399 | ||
| 1285 | 1306 | 1326 | 2345 | 2383 | 2419 | ||
| 1310 | 1331 | 1348 | 2389 | 2428 | 2458 | Industrial. Industrial and refractory products. Studio kilns are rarely rated this high. | |
| 1351 | 1365 | 1384 | 2464 | 2489 | 2523 | ||
How the pyrometric cone chart works
The pyrometric cone chart doesn’t calculate a temperature, it looks one up. Orton tested each cone in controlled electric kilns and published the temperature at which it bends at three heating rates, and the tool shows those figures for the cone you pick.
The rates are slow, medium and fast: 15, 60 and 150 °C per hour over the last 100 °C of the firing, or 27, 108 and 270 °F per hour in Fahrenheit. We show Orton’s own Fahrenheit figures rather than converting, so the numbers match the chart in a box of cones. To check a conversion yourself, use °F = °C × 9 ÷ 5 + 32.
The headline range runs from the lowest published figure to the highest, so cone 6 reads 1185 to 1243 °C. Cones 022 to 020 have no slow-rate figure, so their range covers only the medium and fast rates. In compare mode, the difference is the second cone’s medium-rate temperature minus the first cone’s, and the step count is how many cones apart they sit, half cones included. Cone 6 against cone 10 is 1285 minus 1222, which gives 63 °C over four steps.
What temperature is cone 6, cone 5, cone 04 and cone 06?
Cone 6 bends at 1185 to 1243 °C, cone 5 at 1159 to 1207 °C, cone 04 at 1046 to 1077 °C and cone 06 at 981 to 1013 °C, depending on heating rate. These four are the cones most studio potters meet first, because they cover the usual bisque firing and the two most common glaze ranges.
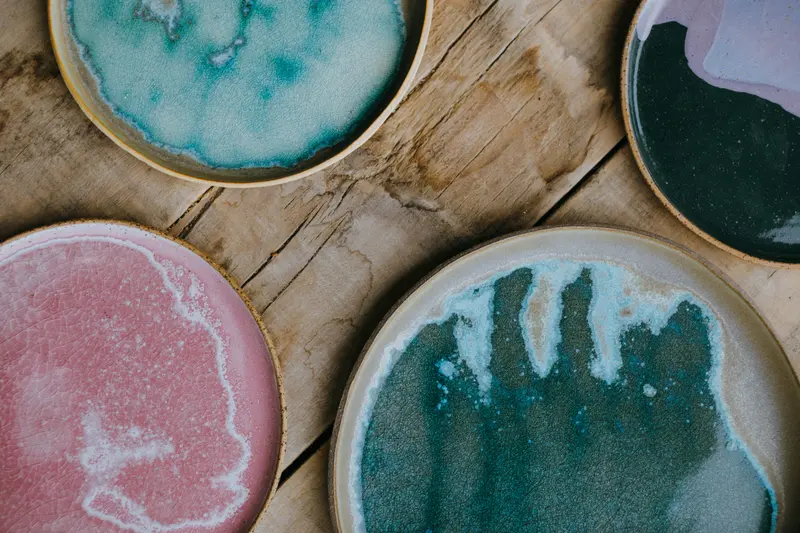
At the medium rate of 60 °C an hour, the figure most charts quote on its own, cone 6 is 1222 °C, cone 5 is 1186 °C, cone 04 is 1063 °C and cone 06 is 998 °C. In Fahrenheit that’s 2232, 2167, 1945 and 1828 °F. Glaze catalogues usually quote that medium figure, so if your kiln finishes slowly, the cone may already be down before the controller reads 1222.
The zero in front of a cone number matters more than beginners expect. Cone 06 and cone 6 are about 220 °C apart, because the numbers starting with 0 get hotter as they count down from 022 to 01, and then the plain numbers climb from 1 to 14. Firing an earthenware clay rated for cone 06 to cone 6 can leave it slumped or melted onto the shelf, so it’s worth reading the label twice.
Why does heating rate change the cone temperature?
Heating rate changes the bending temperature because cones measure heatwork, the combined effect of time and temperature, not temperature alone. A slow finish gives the cone longer to soften, so it bends at a lower reading, while a fast finish needs a higher reading to do the same work.
That’s why the tool shows a range rather than a single number, and why a firing log that says cone 6 at 1205 °C isn’t necessarily wrong. Your glaze responds to heatwork in much the same way, so the cone is often a better guide to how a glaze will look than the number on the controller.
Holding the kiln at temperature, called a soak, adds heatwork too. Orton’s guidance is that a one to two hour soak near a cone’s temperature may bend the next cone up, and four to six hours can bend two cones higher. Many potters find a short hold smooths their glazes, but a long soak quietly pushes the firing hotter in cone terms.
How do you read a witness cone after a firing?
A cone counts as properly fired when its tip has bent down level with its base, roughly the five o’clock position, and Orton’s charts are based on that point. A cone still standing upright hasn’t had enough heatwork, and one slumped flat and puddled has had well past it.
Orton’s figures assume self-supporting cones at their built-in mounting height of 1¾ inches, about 44 mm. Many potters fire a set of three: a guide cone one below the target, the target cone, and a guard cone one above. A bent guide cone, a target at five o’clock and a guard still mostly upright means the kiln hit its mark. Orton notes a cone typically takes 15 to 25 minutes to go from starting to bend to its end point, so the bend tells you about the last stretch of the firing.
Placement matters as much as the reading. Kiln makers such as Skutt suggest a witness cone a short distance from the wall and near the thermocouple, where you can see it through a peephole. Cones on more than one shelf, compared over a few firings, are one of the cheapest ways to learn your kiln’s hot and cool spots.
Which cone should you bisque and glaze fire to?
Most studios bisque fire to around cone 06 to 04 and glaze fire to the cone your clay body and glaze are both rated for. The clay is the limit, so check the bag first, because a glaze can’t make an earthenware body survive a stoneware firing.
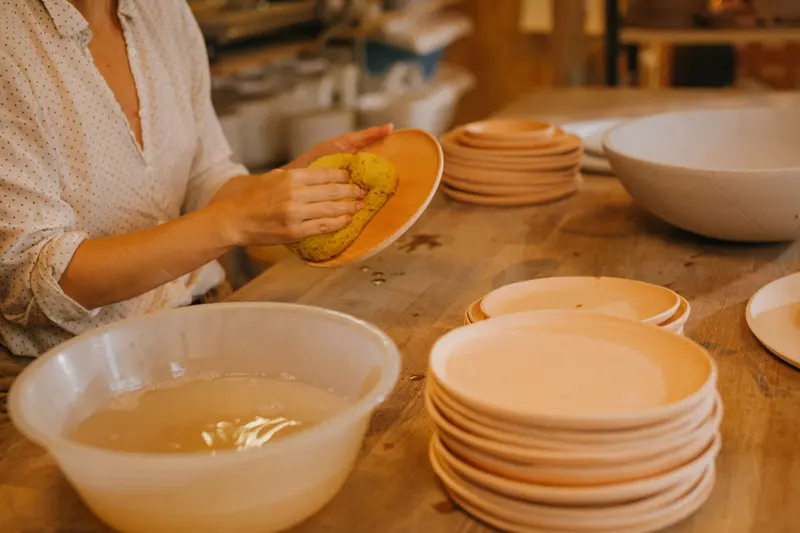
A bisque firing only needs to turn clay into hard, porous ceramic that still soaks up glaze, so it sits low on the pyrometric cone chart. Our own firing service in Mordialloc bisques at cone 06, glaze fires earthenware at cone 03 and runs mid-fire glaze firings at cone 6, all in electric kilns.
For glaze firing, earthenware and terracotta usually mature somewhere between cone 06 and cone 1, mid-range stoneware and porcelain between cone 5 and 7, and high-fire bodies at cone 8 to 10. If a glaze and clay disagree, fire to the lower of the two and test first. Our guide to kiln firing temperatures walks through each stage, and the comparison of cone 6 and cone 10 firing helps if you’re choosing between ranges. If you’re newer to clay, our workshops and classes are a friendly way to learn how firing fits into the whole process.
Common mistakes when reading a cone chart
The most common mistake is treating one number as exact, when every cone really has a range that depends on heating rate. The others are mixing up cone types, using the wrong cones in reduction, and forgetting that a soak adds heatwork.
Small cones, the ones that sit in a kiln sitter, typically bend 7 to 10 °C earlier than self-supporting cones, according to Orton, which suggests putting the next cone up in the sitter and confirming with a self-supporting cone on a shelf. Large cones mounted at the same height use the self-supporting temperatures shown here.
Reduction is the other trap. The red cones from 010 to 3 contain iron oxide, which can change in a reducing gas firing and bend unreliably, so Orton recommends its iron-free cones there. If you only fire electric, as our studio kilns do, regular cones are fine.
Finally, thermocouples drift as they age. A cone that bends earlier or later than the controller expects, firing after firing, usually means the reading has wandered, not that the chart is wrong.
Frequently asked questions
Is the cone 6 temperature really 1222 °C, or is that just a guide?
It’s a guide. 1222 °C is Orton’s figure for a self-supporting cone 6 at 60 °C per hour over the last 100 °C, but the same cone bends at 1185 °C on a slow 15 °C per hour finish and 1243 °C on a fast 150 °C per hour finish. Your kiln’s real finishing rate decides where in that range it lands.
Why does my controller say cone 6 but my witness cone barely moved?
Usually because the thermocouple is reading high, the kiln finished faster than the controller assumed, or the cone sat in a cooler part of the kiln. Check the cone’s position against the thermocouple, try a cone on each shelf, and if the pattern repeats over several firings, have the thermocouple checked or adjust the controller’s offset.
Can I just convert the Celsius figures to Fahrenheit myself?
You can, using °F = °C × 9 ÷ 5 + 32, and you’ll land within a degree or two of Orton’s numbers. We show Orton’s own published Fahrenheit figures instead, so the chart matches what’s printed on a box of cones exactly.
Do I need cones at all if my kiln has a digital controller?
Not for every firing, but most potters still use them regularly. A controller measures temperature at one point, while a cone shows the heatwork your pots actually received, so cones are the simplest way to calibrate a controller and spot cool corners in the kiln.
What cone does Le Studio Art Space fire to?
The Le Studio Art Space firing service in Mordialloc runs bisque firings at cone 06, earthenware glaze firings at cone 03 and mid-fire glaze firings at cone 6, all in electric kilns with no reduction firings. If you’re not sure which suits your clay, check the cone printed on the bag and ask us when you drop your work in.
Why are there no slow-rate temperatures for cones 022 to 020?
Orton doesn’t publish a 15 °C per hour figure for those three cones, so we’ve left the slow column blank rather than guess. The medium and fast figures are only a few degrees apart at that end of the chart anyway.
Sources and method
Cone temperatures come from the Orton Ceramic Foundation’s published temperature equivalents for self-supporting regular cones: the 2016 Celsius chart for cones 022 to 14 and Orton’s combined Fahrenheit and Celsius chart, which agree on every figure shown here. We spot-checked individual cones against retailer listings of Orton self-supporting cones (Hot Clay). Notes on bending behaviour, soaking, small cones, iron-free cones and mounting height are from the same Orton charts, and the witness cone placement advice is from Skutt’s article “What is the Orton Cone Chart?”. The cone bands and their typical uses follow Orton’s own guide to choosing a cone number (its Artist’s Corner page), with the bisque and mid-range notes taken from clay and glaze makers’ published firing ranges and our own firing service. They are general guidance, not a firing schedule.
The tool shows Orton’s figures exactly as published, with no rounding or conversion. Large cones mounted at 1¾ inches use the same temperatures. Small cones and iron-free cones have their own columns on Orton’s chart and are not shown here.
Figures last checked .
Use this tool on your site
You’re welcome to embed the pyrometric cone chart on your own site, studio page or class notes. Copy the code below. Please keep the credit link, it’s how other potters find the full version.
Cite this tool
Le Studio Art Space (2026). Pyrometric Cone Chart. The Potter’s Bench. https://lestudioartspace.com/potters-bench/pyrometric-cone-chart/ (accessed 26 October 2026).
This pyrometric cone chart from Le Studio Art Space is general educational content. Results are estimates: firing results vary from kiln to kiln and with your clay, glaze, cone placement and firing schedule. Always follow the clay and glaze manufacturer’s data, and for glaze and food safety decisions follow the manufacturer’s guidance and local regulations.