Ceramic stamps are used for surface decoration by pressing a carved, purchased, or handmade texture tool into leather-hard clay, leaving behind a repeatable impression that adds pattern and depth before glazing. Timing, pressure, and consistent spacing all affect how clean the final stamped texture looks once fired.
Adding texture to a thrown or hand built piece is one of the fastest ways to give it a genuinely professional, considered look, and ceramic stamps are one of the most accessible tools for doing exactly that. At Le Studio Art Space, stamping techniques come up constantly in hand building classes, since they reward even a beginner with a satisfying, consistent result fairly early in their pottery journey, without needing years of practice to get something genuinely worth keeping.
This guide walks through what stamps actually are, how to use them well, and the honest mistakes that trip up a lot of potters trying this technique for the first time, and how to fix them before a piece goes anywhere near the kiln.
What Ceramic Stamps Are
Ceramic stamps come in three broad categories, starting with commercially manufactured stamps, often made from bisque fired clay, resin, or wood, designed specifically for repeated pressing into soft clay without wearing down quickly.
Hand carved stamps, made by a potter carving a design directly into a small block of bisque clay or plaster, offer a genuinely original design that no commercial stamp can replicate, at the cost of extra time spent carving before it’s ready to use.
Improvised stamps are the third category, and they’re everywhere once you start looking, from lace and burlap textures through to found objects like bottle caps, shells, or carved erasers, all of which can press a genuinely interesting texture into clay.
Many potters build a personal collection combining all three types over time, reaching for a commercial stamp when consistency matters most and an improvised or hand carved option when a more original texture is the goal.
Material also affects how a stamp feels to use and how long it lasts. Bisque clay stamps are durable but can chip if dropped, resin stamps are lightweight and easy to clean, and wooden stamps offer a warm, tactile grip that many potters genuinely enjoy holding during a long stamping session.
The Best Clay Consistency For Stamping
Leather-hard clay, firm enough to hold its shape but still soft enough to take an impression, is generally the ideal stage for stamping, giving a clean, well defined texture without the risk of distorting the piece’s overall form.
Stamping too early, while clay is still quite soft, often causes the surrounding surface to bulge or distort under pressure, softening the crispness of the stamped design and sometimes warping the piece’s shape in the process.
Stamping too late, once clay has dried past leather-hard, risks cracking the surface or leaving a shallow, poorly defined impression, since drier clay simply doesn’t compress and hold detail the way properly timed leather-hard clay does.
Testing on a small scrap of clay at the same moisture level as your actual piece is a simple habit that saves a lot of frustration, since clay drying speed varies with humidity, thickness, and time of year.
Covering a piece loosely with plastic between stamping sessions, especially on a larger project worked on across several days, helps hold the clay at that ideal leather-hard window a little longer, giving more flexibility about exactly when to add the stamped texture.
How To Get A Clean, Consistent Stamped Pattern
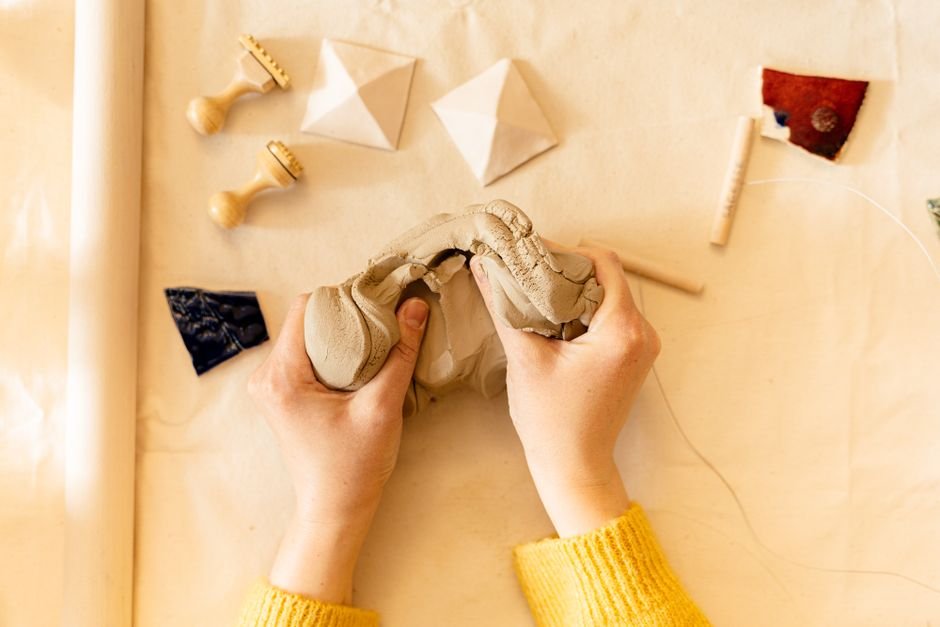
Applying even, consistent pressure across the whole stamp matters enormously, since uneven pressure leaves one edge of the design deeper and more defined than the other, which reads as sloppy once the piece is glazed and fired.
Planning spacing before you start stamping, rather than improvising as you go, helps avoid the common problem of running out of room partway across a piece and ending up with an obviously uneven pattern near the edge.
Pressing straight down and lifting straight back up, rather than rocking or twisting the stamp, prevents smudged or doubled edges that blur the crispness of the original design considerably.
Working on a firm, well supported surface, rather than a piece still spinning gently on a banding wheel, also helps keep pressure consistent and avoids accidentally distorting a thinner walled form.
A light dusting of cornstarch or a very thin wipe of water on the stamp face can help it release cleanly from softer clay without dragging or smudging the edges of the impression, especially with more detailed carved designs.
Combining Stamped Texture With Glaze Or Underglaze
Stamped texture genuinely comes alive under the right glaze, since recessed areas naturally collect more glaze during application, creating a pooling effect that deepens colour in the low points while leaving raised areas comparatively lighter.
Underglaze applied over a stamped texture, then wiped back so it settles only into the recesses, is a popular technique for making a stamped pattern read with real clarity and contrast once fired.
Glossy, more fluid glazes tend to emphasise stamped texture more dramatically than thick, opaque, or heavily matte glazes, which can sometimes obscure finer stamped detail if applied too thickly over the top.
Testing a stamped texture with your intended glaze on a scrap tile first is genuinely worth the extra step, since the same texture can read very differently depending on the glaze chosen to finish it.
Sgraffito, scratching back through a layer of underglaze or slip, pairs particularly well with stamped texture, since the combination of carved line work and pressed pattern can create a genuinely layered, dimensional surface on a single piece.
What Competing Guides Leave Out
Making your own custom stamps at home rarely gets enough practical detail in general guides. A small block of soft bisque clay, carved with basic wood or linoleum carving tools before its own bisque firing, is a genuinely accessible way to create an original stamp design at Le Studio Art Space or any home studio.
How stamped texture reads differently after different glaze finishes is another gap worth naming directly. A matte glaze can flatten fine stamped detail considerably, while a glossy or reactive glaze can exaggerate it, which means a stamp that looks great unglazed doesn’t always translate the same way once fired.
Stamp maintenance is also rarely mentioned, though clay residue building up inside a carved stamp’s recesses over repeated use can gradually soften its detail, so rinsing and drying stamps between sessions genuinely extends their usable life, whether they’re commercial, hand carved, or found objects pulled from around the house.
Common Mistakes When Using Ceramic Stamps
Over-stamping an entire surface with no negative space left to rest the eye is a common beginner habit, and many potters find their designs improve considerably once they start using restraint and letting some plain clay surface breathe between stamped areas.
Stamping at the wrong clay stage, covered earlier, remains one of the single most common technical mistakes, and it’s worth repeating that a quick test on scrap clay takes only a moment but prevents a genuinely disappointing result on a finished piece.
Shallow, half-committed impressions from hesitant pressure are another frequent issue, since a stamp pressed too lightly produces a faint texture that can disappear almost entirely once a glaze is applied over the top.
Choosing a stamp design that’s simply too intricate for the clay body and glaze combination being used can also backfire, since fine detail can get lost in a heavily textured stoneware body or an opaque, heavily applied glaze.
Ready to try ceramic stamping hands-on? Join a hand building class at Le Studio Art Space in Mordialloc and add real texture to your next piece.
Frequently Asked Questions
Do I need to buy expensive stamps to get good results?
Not at all. Many potters get genuinely striking results from improvised objects like lace, shells, or carved erasers. Commercial stamps offer consistency, but they’re not required to create interesting stamped texture.
Why did my stamped design disappear after glazing?
This usually comes down to either shallow pressure when stamping or a thick, opaque glaze obscuring the recessed detail. Testing your specific glaze on a stamped scrap tile beforehand helps avoid this disappointment.
Can I stamp clay that’s already bone dry?
It’s not recommended. Bone dry clay is prone to cracking under pressure and won’t hold a clean impression the way leather-hard clay does. Stamping should happen well before that stage.
Is making my own stamps actually realistic for a beginner?
Yes, genuinely. Carving a simple design into a small block of soft bisque clay with basic tools is an accessible first project, and it’s something members explore in classes at Le Studio Art Space regularly.
How do I stop my stamped pattern from looking uneven across a piece?
Planning your spacing before you begin, rather than improvising row by row, is the single most effective fix. Lightly marking guide points on the clay beforehand can also help keep spacing consistent.
This article is provided for general educational purposes by Le Studio Art Space and reflects common studio practice. Results vary with clay body, technique, and glaze choice.