Potters keep a kneaded eraser in their kit because its soft, tacky putty lifts pencil guidelines, graphite transfer marks, dust, and tiny clay crumbs from delicate surfaces without scratching or rubbing them. It’s especially handy on bone dry greenware, carved sgraffito work, and bisque before glazing. It’s cheap, reusable, and far gentler than a standard rubber eraser.
Open the tool bag of a potter who does a lot of surface decoration, and there’s a fair chance you’ll find a small grey lump of putty tucked in among the ribs and loop tools. It’s a kneaded eraser, a drawing supply more often seen in sketching classes, and it’s become a quiet favourite in many ceramic studios.
At Le Studio Art Space in Mordialloc, we love a good resourceful studio habit, and this is one of the best. This guide explains what a kneaded eraser actually is, how potters use it, why it works so well, and a few other everyday items that earn a place in a working tool kit.
What A Kneaded Eraser Actually Is
A kneaded eraser is a soft, pliable eraser that feels a bit like putty or modelling clay. Artists use it for charcoal, graphite, and pastel drawings, because instead of rubbing marks away, it lifts them by pressing and dabbing. You can stretch, fold, and knead it into any shape, from a broad pad to a fine point.
Unlike a standard rubber eraser, it doesn’t crumble into bits as you use it. Instead, it absorbs the graphite or dust it picks up. When one area gets dirty, you simply stretch and knead the eraser to fold the dirt inside and expose a clean surface.
They’re inexpensive and last a long time. You’ll find them at any art supply store, usually for a few dollars, and a single eraser can last months or even years with regular use.
The key qualities that make it useful for potters are gentleness, tackiness, and shape-ability. Those three features let it work on surfaces where other cleaning tools would cause damage.
How Potters Use It Away From The Drawing Table
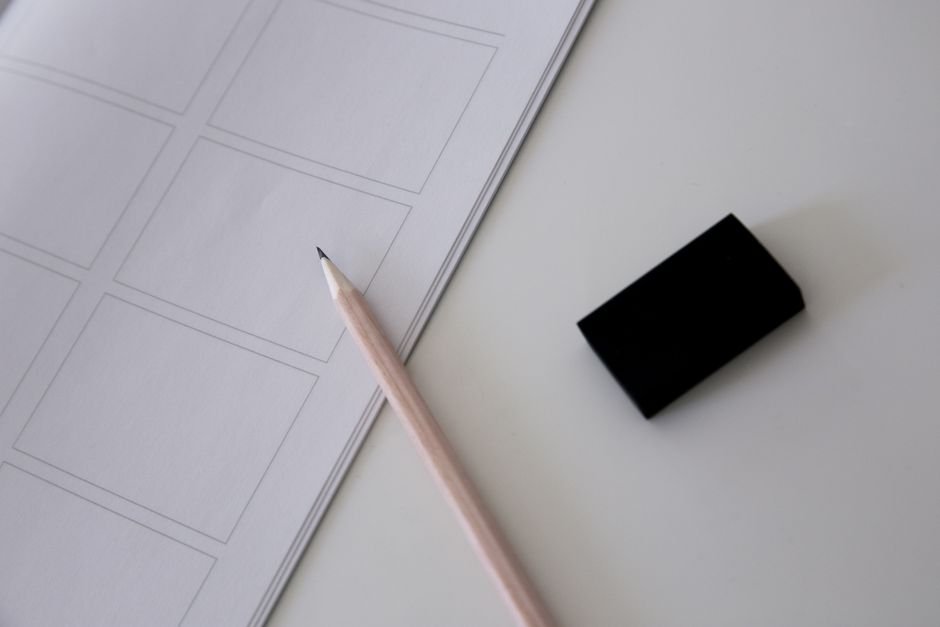
One of the most common uses is removing pencil guidelines. Many potters sketch designs onto leather hard or bone dry clay, or onto bisque, before carving, painting underglaze, or applying decals. A kneaded eraser can gently lift stray pencil marks from bone dry or bisque surfaces without scratching the clay.
It’s also great for graphite transfer. When potters trace a design onto clay using graphite paper or a pencil-shaded sheet, the excess graphite can smudge. Dabbing with a kneaded eraser tidies the lines before decorating.
Sgraffito and carving work often leave tiny crumbs of clay clinging to the surface. Brushing them can smear or push them into the carved lines, but dabbing with a kneaded eraser lifts them cleanly, leaving crisp edges. Many potters who carve through underglaze swear by this trick.
Finally, it’s handy for lifting fine dust from bisque before glazing. Dust can cause glaze to crawl or leave bare patches, and a quick dab over detailed areas can help, alongside the usual wipe with a damp sponge on larger surfaces.
Some potters also use it when applying decals or stencils. Before a decal goes onto a glazed surface, any dust or lint underneath can cause bubbles or gaps after firing, and a quick dab with a clean eraser helps. On bisque, it can lift the faint outline left behind when a paper stencil or template has been traced, so only the lines you actually want remain once you start painting.
Why A Kneaded Eraser Works Well For This Purpose
The main reason a kneaded eraser works so well is that it lifts rather than rubs. Bone dry clay is fragile, and even gentle rubbing can wear away detail, round off carved edges, or create fine dust. Pressing and lifting avoids that friction almost entirely.
Its slight tackiness is also perfect for small particles. It grabs dust, graphite, and crumbs without being sticky enough to pull at the clay surface itself, especially when used with a light touch.
Compared with other cleanup tools, it’s more precise. A brush can scatter crumbs or push them into lines, a damp sponge can soften or smear bone dry details and underglaze, and fingers can leave oils that affect glaze. A kneaded eraser can be shaped to a point for tiny areas and used dry.
It also leaves no residue when it’s clean and in good condition, unlike some standard erasers that can leave rubbery crumbs or a faint film. That’s important for surfaces that will later be glazed and fired.
The technique is simple but worth practising. Warm the eraser in your hands for a few seconds so it becomes soft, then shape it to suit the job, a broad flat pad for dust or a small point for a single stray line. Press it lightly onto the mark and lift straight up, repeating as needed. Resist the urge to drag it sideways, since that’s where accidental smudges and scratches usually come from.
Where It Fits Among Other Studio Tools
A kneaded eraser isn’t a replacement for core tools like ribs, sponges, and needle tools. It’s a small specialist addition, most useful for potters who do surface decoration such as underglaze illustration, sgraffito, carving, or detailed painting.
It pairs naturally with pencils, soft brushes, and fine carving tools. Many potters keep it in a small tin or bag within their decorating kit so it stays clean and doesn’t pick up clay dust when not in use.
For beginners, it’s certainly not essential on day one. But once you start sketching designs or carving through underglaze, it’s one of those inexpensive tools that quickly earns its place. If you’re building your kit, our guide to essential clay sculpting tools for beginners covers the core items first.
It’s also worth keeping one separate eraser just for pottery. An eraser used for drawing may carry graphite, charcoal, or pastel residue that you don’t want transferring onto clay.
What Competing Guides Leave Out
Most mentions of the kneaded eraser in pottery don’t explain which stage it’s most useful at. The sweet spot is bone dry greenware and bisque. At these stages, the surface is dry and firm enough that the eraser won’t stick or leave marks, but delicate enough that you want to avoid rubbing.
On wet or soft leather hard clay, it’s less useful. The eraser can stick to the damp surface or leave impressions, and moisture makes it lose its tackiness. At those stages, a soft brush or a slightly damp sponge is usually better for cleanup.
On dry underglaze before firing, use it with care. It can lift small smudges and stray graphite, but pressing too hard can also pull away some underglaze. Test on an inconspicuous area first.
If you don’t have one on hand, there are simple alternatives. A soft, dry brush can remove dust, a piece of low-tack masking tape dabbed lightly can lift crumbs, and a clean, soft cloth can help on bisque. Pencil lines will also usually burn away in the kiln, so small marks aren’t a disaster.
A final gap is storage. Kneaded erasers pick up whatever they touch, including clay dust sitting in the bottom of a tool bag, and a gritty eraser can scratch the very surfaces you’re trying to protect. Keeping it in a small lidded tin or zip bag keeps it clean between sessions, and it also stops it drying out or getting squashed flat under heavier tools.
Other Unexpected Everyday Items Potters Repurpose
The kneaded eraser is part of a long tradition of potters repurposing everyday objects. Old credit cards make excellent flexible ribs for smoothing and shaping. Chopsticks and wooden skewers become modelling tools, and a fork is a perfectly good scoring tool.
Kitchen items appear everywhere in studios. Plastic bags keep work damp, rolling pins roll slabs, cookie cutters make shapes, and old towels become wedging surfaces. Makeup sponges are loved for gentle glaze application and smoothing small areas.
Textiles and found objects add texture. Lace, hessian, leaves, shells, and even bottle caps create patterns when pressed into clay. Old toothbrushes are great for scoring or splatter effects.
These habits aren’t just about saving money. They often give better results for specific tasks and encourage a playful, experimental mindset. You’ll pick up plenty of tips like these in our workshops and classes and around the tables of our ceramic studio. When your decorated piece is ready, our firing service handles the kiln.
Love a clever studio trick? Pick up handy tips like this one during a class at Le Studio Art Space in Mordialloc, where our potters share the small habits that make a big difference to your work.
Frequently Asked Questions
Will a kneaded eraser damage my clay?
Not if you use it gently on bone dry clay or bisque. Dab and lift rather than rubbing, and avoid using it on wet or soft clay.
Do I need to remove pencil marks before firing?
Not always, since pencil graphite usually burns away in the kiln. Removing heavy or stray marks just keeps your design cleaner while you work.
Can I use a normal rubber eraser instead?
It’s not ideal, since rubbing can wear away delicate detail and leave crumbs. A kneaded eraser lifts marks more gently.
How do I clean a kneaded eraser?
Just stretch and knead it to fold the dirty areas inside. When it’s grey all through and no longer lifts well, it’s time to replace it.
Is a kneaded eraser worth buying for a beginner?
It’s inexpensive and handy once you start decorating. At Le Studio Art Space, many members add one after trying sgraffito or underglaze drawing.
This article is provided for general educational purposes by Le Studio Art Space and reflects common studio practice. Always test new tools or techniques on a small area first.