Drawing on porcelain before firing works best at the leather-hard or bisque stage, using fine tools like underglaze pencils, sgraffito needles, or thin brushes suited to porcelain’s smooth, unforgiving surface. Getting clean lines takes a steady hand and the right tool for the level of detail you’re after.
Porcelain has a reputation for being intimidating to work with, and honestly, drawing on it before firing does take a bit more care than sketching on a rougher stoneware surface. At Le Studio Art Space, members interested in fine detail work often gravitate toward porcelain specifically because of how crisp a finished drawing can look once it’s fired, even though that same smoothness makes the drawing stage a little less forgiving.
Once you understand which stage to work at and which tools genuinely suit porcelain’s particular surface, the whole process becomes a lot more approachable, even for someone who hasn’t drawn on clay before.
What Stage To Draw On Porcelain
Leather-hard porcelain, meaning clay that’s partially dried but still slightly flexible, is a popular stage for detailed drawing, since the surface holds a clean line well without being so wet that it smudges or so dry that tools drag and resist.
Drawing at the leather-hard stage also allows for techniques like sgraffito, where a design is scratched through a layer of coloured slip to reveal the lighter clay body underneath, creating strong contrast and fine detail that’s harder to achieve at other stages.
Bisque fired porcelain is the other common stage for drawing, particularly when using underglaze pencils or fine brushes with underglaze paint, since the fired surface is stable and won’t distort or crack the way unfired clay can if handled too much.
Each stage suits slightly different tools and effects, so it’s worth deciding which look you’re after, crisp incised linework or painted detail, before choosing which stage to work at for a particular piece.
Working at the wrong stage for your chosen technique is one of the more common early mistakes, so if you’re unsure, it’s worth asking a studio instructor which stage best suits the specific tool or effect you’re hoping to achieve. Testing your chosen approach on a scrap piece of the same clay batch first is a simple habit that saves a lot of frustration on the actual project.
Tools That Work Well For Fine Detail
Underglaze pencils are a genuinely popular choice for porcelain drawing, since they behave similarly to a regular pencil but are formulated to survive firing, allowing for shading and fine linework that feels intuitive if you’re already comfortable sketching by hand.
Sgraffito tools, essentially small metal-tipped instruments, are ideal for scratching clean, precise lines through a slip layer at the leather-hard stage, and different tip shapes allow for varying line widths within the same design.
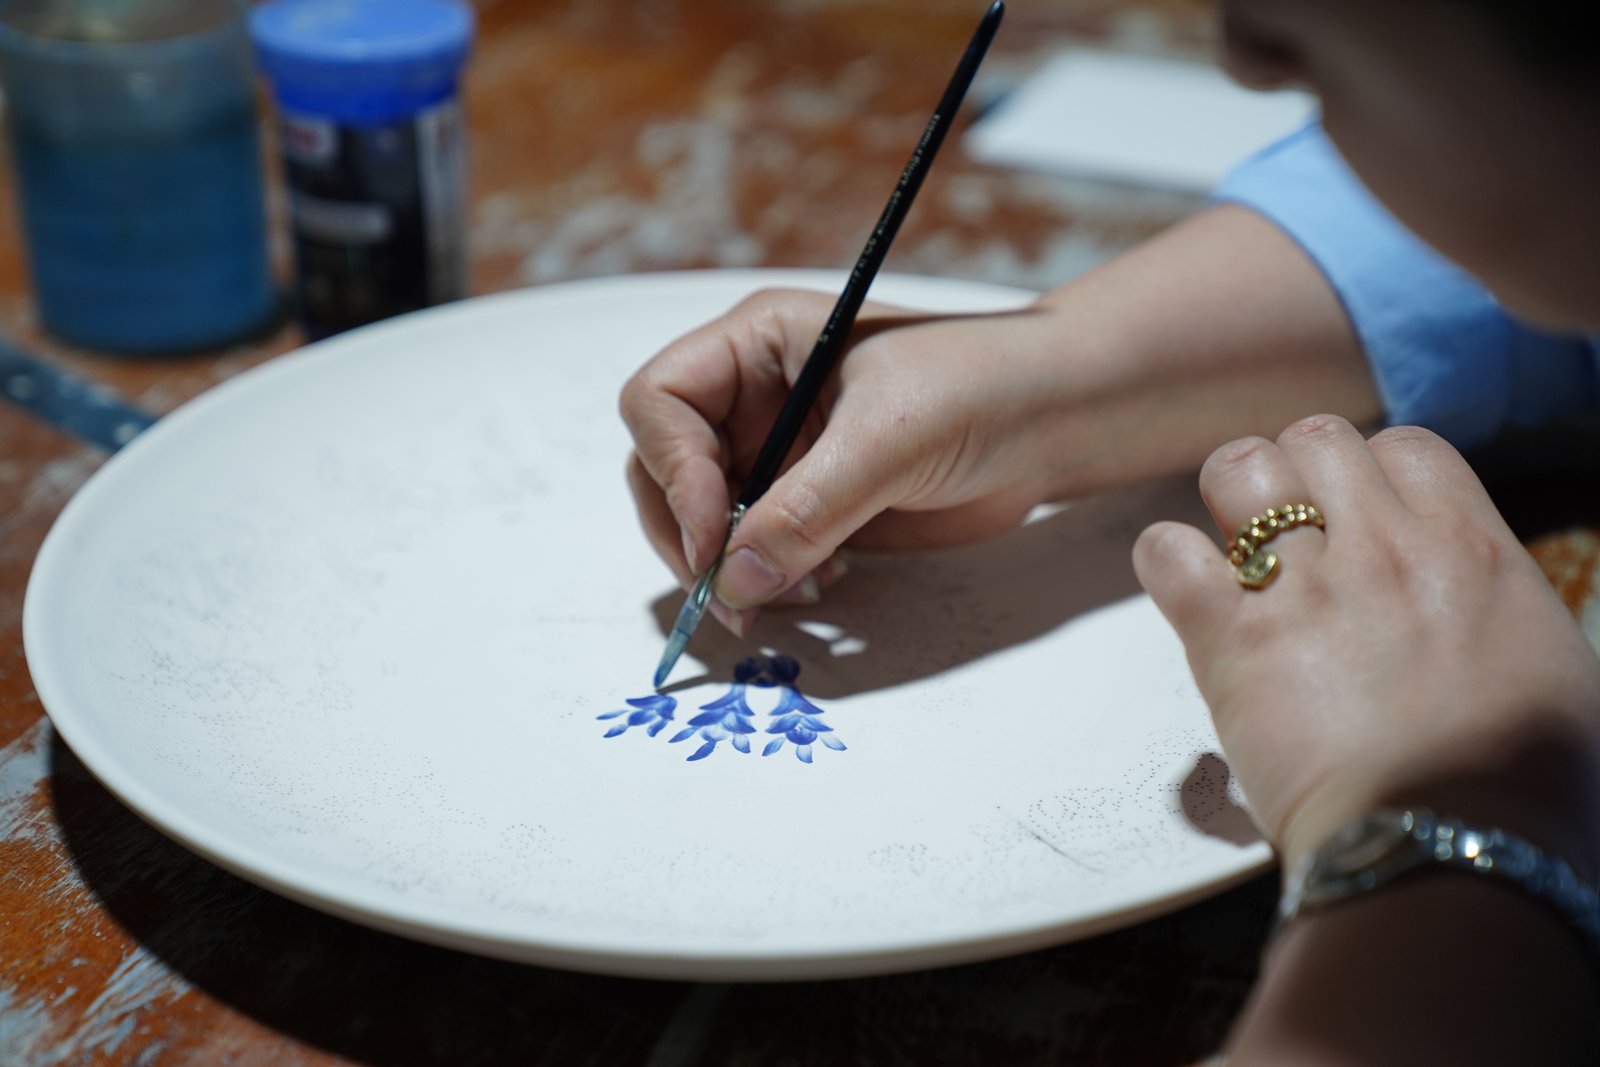
Fine detail brushes, often with just a few bristles, are the standard choice for painting underglaze onto bisque fired porcelain, since they allow for genuinely delicate linework that a standard glazing brush simply can’t achieve.
Needle tools, more commonly used for trimming and carving, also work surprisingly well for very fine incised detail on leather-hard porcelain, particularly for tiny, precise marks within a larger design.
Whichever tool you choose, it’s worth practising on a spare test tile first, since porcelain’s smooth surface behaves differently to stoneware and it takes a little time to get a feel for how much pressure a given tool actually needs.
Getting Clean, Confident Lines On A Delicate Surface
Working slowly and steadily matters more on porcelain than on almost any other clay body, since its smooth, fine particle structure shows every hesitation or wobble in a line far more clearly than a coarser, more forgiving clay would.
Resting your hand or wrist against the piece or the work surface, rather than drawing freehand in the air, gives you much more control, particularly for long, continuous lines that need to stay consistent from start to finish.
Light, deliberate pressure tends to work better than pressing hard and fast, both because it reduces the risk of gouging too deeply into leather-hard clay and because it’s easier to correct a light line than a heavy one.
It’s also worth turning the piece as you work rather than twisting your wrist into an awkward angle to reach a far side, since a comfortable hand position genuinely improves line control more than people expect.
Taking short breaks during a long, detailed drawing session helps too, since fatigue in your hand is one of the more common reasons lines start to wobble partway through an otherwise steady design.
Making The Drawing Permanent Through Firing
Once your drawing is complete, the piece needs to fully dry before its first firing if you worked at the leather-hard stage, since firing clay that’s still too damp risks cracking or even explosion inside the kiln.
Sgraffito and incised designs typically hold up well through firing, since the technique physically removes material rather than sitting on top of the surface, making it inherently stable through the firing process.
Underglaze drawings become permanent once fired, with colours often shifting slightly during firing compared to how they appeared beforehand, which is worth keeping in mind when choosing colours for a detailed design.
A clear glaze is often applied over a finished underglaze drawing before the final firing, both to protect the design and to give the surface a glossy, finished look, though some artists prefer to leave sgraffito work unglazed for a more matte, tactile finish.
What Competing Guides Leave Out
A detail many general guides skip is how differently porcelain behaves compared to stoneware when it comes to drawing. Porcelain’s fine, smooth particle structure holds crisper detail but is also less forgiving of tool pressure and hand tremor than a coarser stoneware body.
Smudging is a common frustration that’s rarely addressed directly. Resting your hand on a still-damp area of the piece, or working too quickly over a freshly incised line, are among the most common causes, and both are avoidable with a slightly slower, more deliberate approach.
Another gap is how porcelain’s shrinkage rate, which is typically higher than stoneware, can affect very fine, delicate incised detail during drying and firing, sometimes causing extremely thin lines to close up slightly more than expected.
It’s also worth mentioning that porcelain is more prone to warping during firing than sturdier clay bodies, so supporting a detailed, flatter piece properly in the kiln matters more here than it might for a simpler stoneware form.
Porcelain Drawing Versus Other Decoration Techniques
Compared to stamping or texture rolling, porcelain drawing offers a level of individual, freehand detail that a repeated pattern tool simply can’t replicate, making it a better fit for genuinely one-of-a-kind, illustrative designs.
Compared to broad glaze-based decoration, drawing offers far more precision and control over fine linework, though it typically takes more time and a steadier hand than applying and layering glaze across a larger surface.
Neither approach is objectively better, they simply suit different creative goals, and many potters genuinely combine both, using drawn detail alongside broader glaze work within the same piece for contrast.
If you’re deciding which to try first, it’s worth thinking about how much fine detail your design actually calls for, since a simpler design may not need the extra precision that porcelain drawing techniques are built for. Starting with a small, simple motif is also a genuinely good way to build confidence before attempting a more ambitious, fully illustrated piece.
Want to try fine detail work on porcelain yourself? Join a workshop at Le Studio Art Space in Mordialloc and get hands-on guidance from the start.
Frequently Asked Questions
Is porcelain really that much harder to draw on than other clay?
It’s not necessarily harder, just less forgiving of hesitation or heavy pressure. With a steady hand and the right tool, porcelain drawing is very achievable even for someone newer to the technique.
What if my lines keep smudging while I’m working?
This is usually caused by resting your hand on a still-damp area or working too quickly. Slowing down and supporting your hand properly against the piece typically solves it.
Do I need special pencils, or can I use a regular pencil on bisqueware?
You’ll need underglaze pencils specifically formulated to survive firing. A regular graphite pencil won’t hold up and isn’t designed for use on ceramics at all.
Will my fine detail actually survive the firing process intact?
In most cases, yes, especially with sgraffito or properly applied underglaze. Very fine, delicate lines can shrink slightly during firing, which is worth allowing for in your original design.
Is this something a beginner could genuinely try, or is it more advanced?
It’s approachable for a beginner with some patience, and instructors at studios like Le Studio Art Space can guide you through the basics before you attempt a more detailed design.
This article is provided for general educational purposes by Le Studio Art Space and reflects common studio technique. Individual results may vary depending on tools, clay condition, and firing schedule.