Pottery ceramic glaze is a liquid coating applied to bisque-fired clay that melts into a hard, glassy surface once fired again in the kiln, giving pieces their color, sheen, and protective finish. For a first timer, the basics come down to three things, matching a glaze to your clay’s firing temperature, applying it evenly, and always testing before committing to a finished piece. Nearly every beginner mistake traces back to skipping one of those three fundamentals.
Every potter remembers their first glazing session, a shelf full of unfamiliar jars, a piece that looks nothing like the sample photos, and a lot of quiet uncertainty about whether they’re doing it right. Here at Le Studio Art Space in Mordialloc, we treat that first glazing class as a friendly crash course rather than an exam, so here are the real fundamentals of pottery ceramic glaze, explained simply.
The Absolute Basics Of Ceramic Glaze
At the simplest level, pottery ceramic glaze exists to do two jobs at once, protect and decorate. It seals porous fired clay so a piece can safely hold liquid and resist stains, while also giving the piece its color, texture, and finish. Without glaze, most functional pottery would still be relatively fragile and impractical for daily use.
Pottery is glazed rather than left bare partly for that practical protection and partly because glaze is where so much of a piece’s visual character comes from. Two identically shaped bowls can look completely different depending purely on the glaze chosen, which is part of why the glazing stage feels so significant even to complete beginners.
It’s worth knowing upfront that this stage rewards patience over speed. Rushing a first glazing session to just get it done tends to produce the exact drips and bare patches that cause the most disappointment later, while slowing down and treating it as its own deliberate step in the process almost always pays off in the final result.
It’s also worth setting realistic expectations before you even start. Nobody’s first glazed piece looks like a professional sample photo, and that gap between expectation and first attempt is completely normal rather than a sign anything has gone wrong with your technique.
How Glaze Fits Into The Firing Process
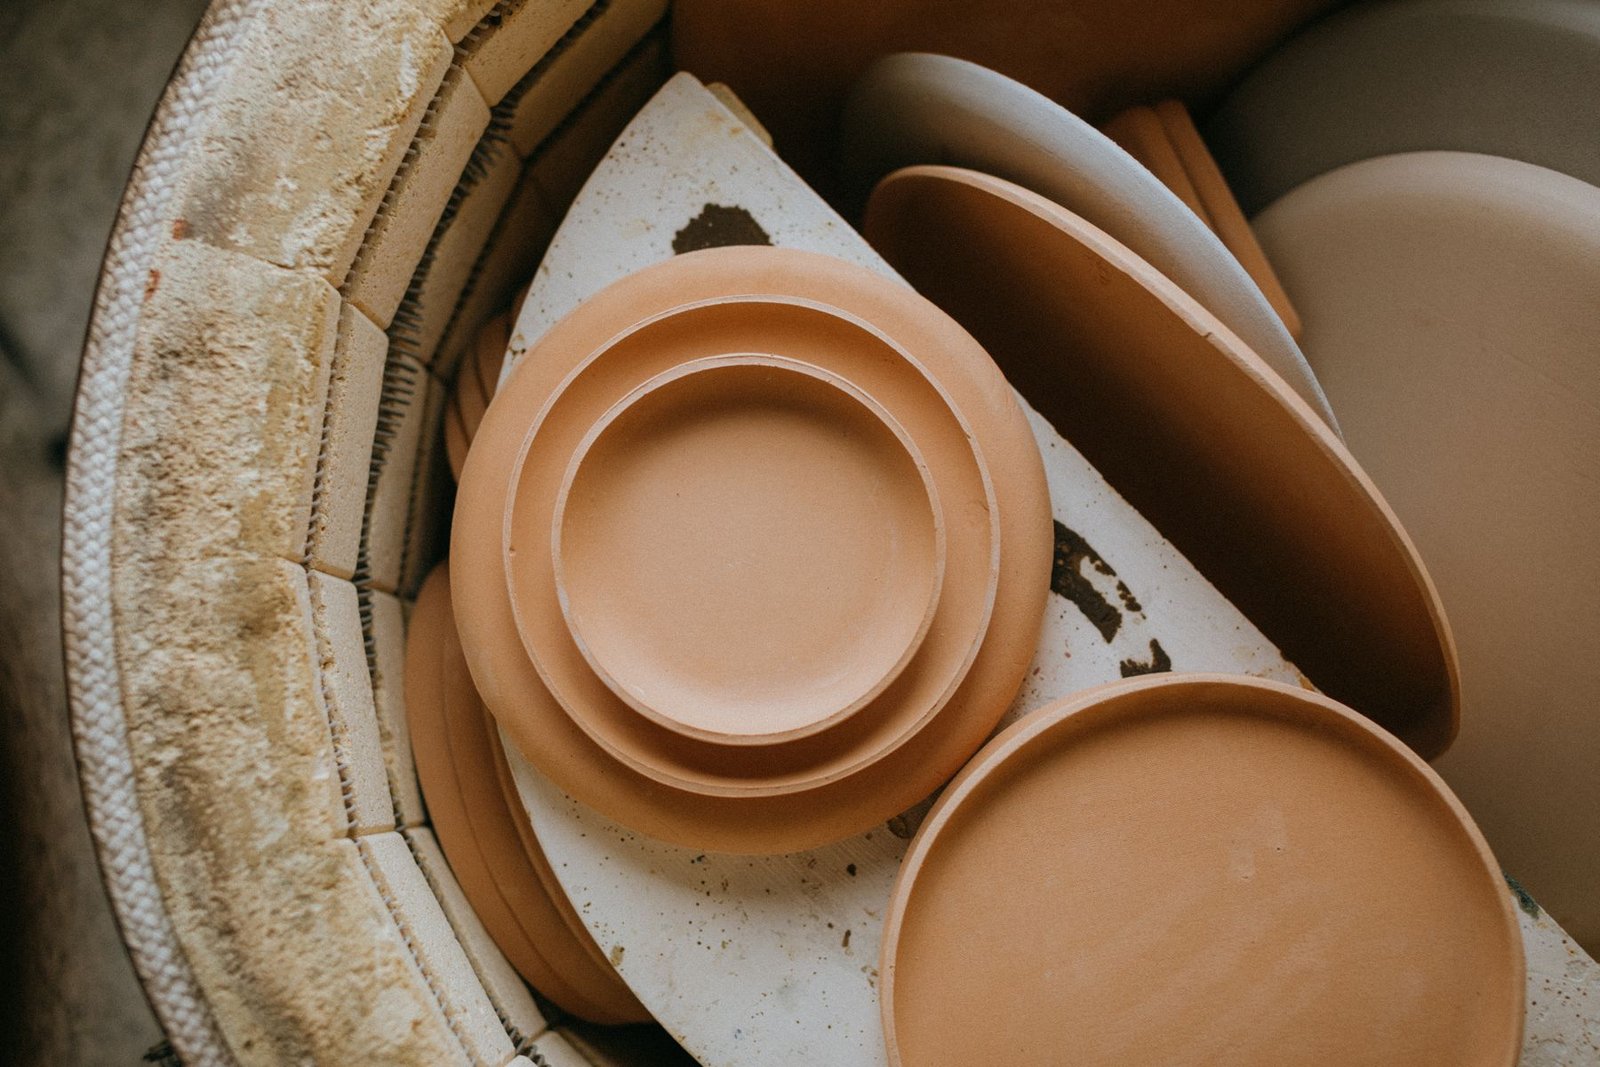
Glazing almost always happens after a piece has already been through one firing, called bisque firing, which hardens the clay enough to handle safely while keeping it porous enough to absorb glaze evenly. Glazing raw, unfired clay is far less common and much less forgiving for a beginner.
Once glaze is applied to bisqueware, the piece goes through a second firing, the glaze firing, usually at a higher temperature than the bisque firing was. This order matters. Bisque first, then glaze, is the standard sequence in almost every studio, ours included, because it gives you a stable, easy-to-handle piece to glaze before the more temperature-sensitive glaze firing happens.
Some studios also offer a single firing process for specific projects, combining bisque and glaze into one firing, but this is far less common and generally reserved for more experienced potters, since it leaves much less room to fix mistakes along the way. As a beginner, the standard two-firing sequence is genuinely the more forgiving place to start.
Understanding why this sequence exists, rather than just following it by rote, also helps when something eventually doesn’t go to plan. Knowing that bisqueware’s porosity is what makes it absorb glaze evenly, for instance, makes it much easier to reason through an unexpected result later on.
Types Of Glaze A Beginner Will Encounter
Commercial bottled glaze, ready to use straight from the jar with no mixing required, is the most beginner-friendly option and what most people encounter first, whether buying it themselves or using what a studio provides. It’s formulated for consistent, predictable results, which makes it a genuinely good place to start.
Many studios, including ours, also mix and maintain their own house glazes in bulk, developed and tested specifically for the clay bodies and kiln setup on site. House glazes tend to be more economical for a busy studio and are usually already matched to whatever firing schedule the studio runs, which removes a layer of guesswork for anyone glazing there for the first time.
As you gain a little more experience, it’s worth trying a range of both commercial and house glazes to get a feel for how each behaves. Many potters develop strong preferences fairly quickly, and understanding why you prefer one over another often teaches you more about glaze in general than any amount of reading alone would.
How To Apply Your First Glaze Without Mistakes
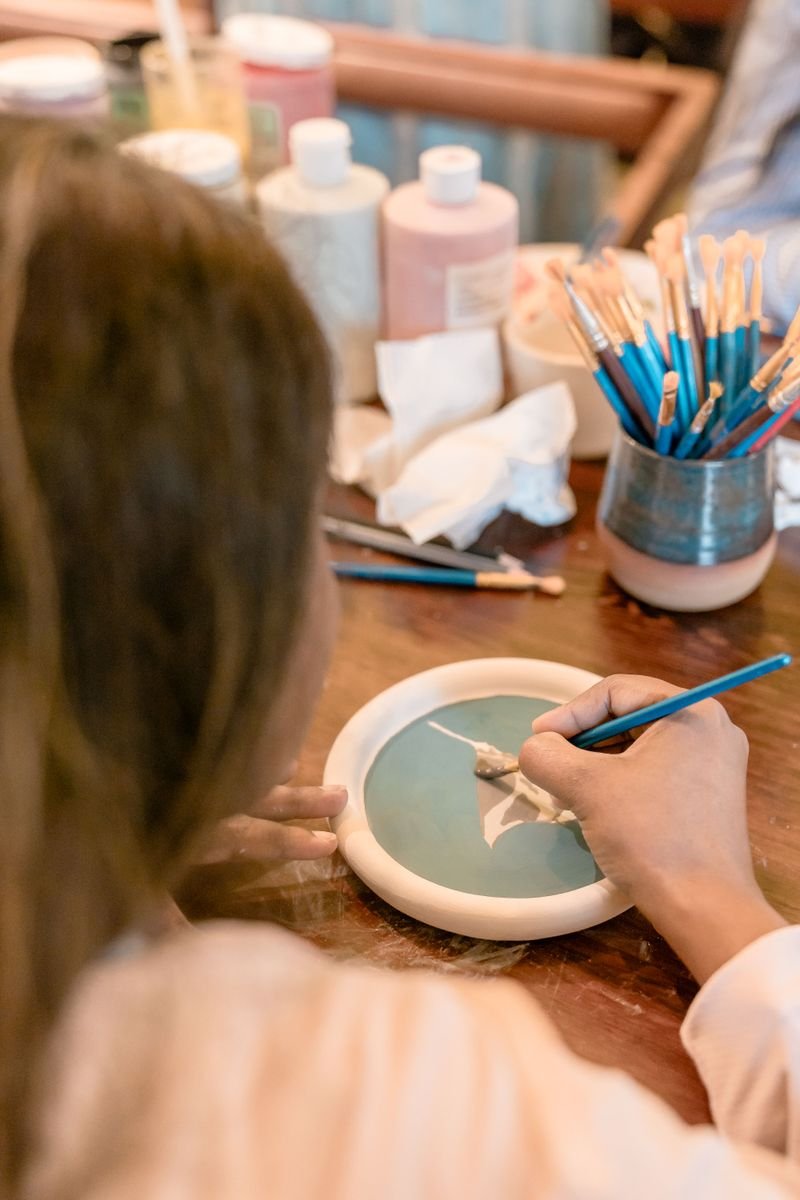
Dipping and brushing are the two most common ways a beginner will first apply glaze. Dipping, briefly submerging a piece in a bucket of glaze, tends to give the most even coat with the least effort, while brushing offers more control but requires more attention to build up an even layer across several coats.
Drips and bare spots are the two most common first-timer issues. Letting excess glaze drain off cleanly before setting a piece down helps avoid drip marks, and checking a piece under good light before firing helps catch any bare, unglazed patches you might have missed. Neither mistake is a big deal to fix at this stage, but catching them before firing saves a disappointing result later.
Working over a tray or catch basin while glazing also makes cleanup far easier and helps you notice drips as they happen rather than after they’ve already dried onto the piece. Small habits like this genuinely add up to a cleaner, more confident glazing process the more sessions you get under your belt.
What Competing Guides Leave Out
A lot of beginner glaze guides explain the theory well but skip the practical question every new potter actually has, what does a studio provide versus what do I need to buy myself. In a shared studio setting like Le Studio Art Space’s Ceramic Studio, house glazes, test tiles, and firing are usually already part of the experience, so a beginner doesn’t need to arrive with their own glaze collection.
The other gap is realistic expectations. First glazing attempts are rarely perfect, a few drips, a slightly uneven coat, or a color that surprises you, and that’s completely normal rather than a sign you’re doing something wrong. Most potters find their results become noticeably more consistent after just a handful of glazing sessions.
Many beginner guides also skip a subtle but important point, that different glazes within even a beginner-friendly range can behave quite differently from one another. A forgiving, thick glaze suited to a first attempt handles beginner unevenness far better than a thin, more technical glaze, so choosing your very first glaze with that forgiveness in mind is genuinely worth asking about.
Frequently Confused Glaze Terms Explained Simply
Cone refers to the firing temperature a glaze or clay body is designed for, named after small pyrometric cones that bend at specific temperatures to indicate the kiln has reached its target heat. Fired colour is simply the true, final color of a glaze once it has actually gone through the kiln, as opposed to its often misleading raw appearance in the jar.
Food safe describes a glaze that has been formulated and properly fired to be safe for pieces that will hold food or drink, which depends on both the specific glaze and following its correct firing temperature. Keeping these three terms straight clears up a surprising amount of beginner confusion at the glaze shelf.
Vitrification is another term worth knowing, referring specifically to the point where a clay body itself becomes dense and largely non-porous under heat, distinct from the glaze melting on its surface. Understanding that these are two related but separate processes, the clay body vitrifying and the glaze layer melting, helps a lot of the surrounding terminology click into place.
The fastest way to actually get comfortable with glazing is hands-on guidance during your first real session. Book your first glazing session and get hands-on guidance at Le Studio Art Space in Mordialloc.
Frequently Asked Questions
Do I glaze my pottery before or after it’s fired the first time?
Glaze goes on after the first firing, called bisque firing, not before. Bisqueware is porous and stable enough to absorb glaze evenly and handle safely, which is why this order is standard in nearly every studio.
What if I’ve never glazed anything before, will I ruin my piece?
It’s very unlikely, and a few drips or an uneven first coat is completely normal rather than a ruined piece. Most potters, including many who now glaze confidently, remember an imperfect first attempt, and results improve quickly with a bit of practice.
Do I need to buy my own pottery ceramic glaze to get started?
Not if you’re working in a studio with house glazes available, which is the case at Le Studio Art Space. Many beginners use studio-provided glaze for a while before deciding whether they want to invest in their own collection.
Why is there a whole extra firing just for glaze?
The glaze firing is what actually melts the glaze into its final glassy, sealed surface, and it typically runs at a different, often higher, temperature than the bisque firing that came before it. Splitting the process into two firings gives you a stable piece to glaze safely before that more temperature-sensitive step.
How long does it actually take to get good at glazing?
Many beginners notice a real jump in confidence and consistency after just a handful of glazing sessions, since so much of it comes down to feel and repetition. In our experience, the biggest improvement usually comes simply from paying attention to what worked and what didn’t on each previous piece.
This article is provided for general educational purposes by Le Studio Art Space and reflects common studio practice. Always check a specific glaze product’s own labeling and firing instructions before use.