The core sgraffito tools you need are a handful of fine loop and needle tools for scratching through a surface layer of slip or underglaze to reveal the contrasting clay beneath. Most potters build a small, purpose-suited kit gradually rather than buying an entire specialty set on day one.
The scratched, linear look of sgraffito decoration has a genuinely distinctive charm once you start noticing it on gallery pieces, and it draws a lot of curious first questions about sgraffito tools in a decorating class. Here at Le Studio Art Space, it’s one of the techniques we love introducing to members ready to move past basic glazing, so here’s a practical rundown of what you actually need to get started.
What Sgraffito Actually Is
Sgraffito is a surface decoration technique that involves scratching through a top layer, usually slip or underglaze, applied over the clay body, to reveal the different coloured clay underneath. The name comes from the Italian word for scratched, which is exactly the physical action involved in creating the design.
The visual effect depends entirely on contrast between the surface layer and the clay beneath it, so a dark slip over pale clay, or the reverse, both work well, as long as there’s genuine tonal or colour difference for the scratched lines to reveal clearly once the technique is complete.
Because it’s a subtractive technique, working by removing material rather than adding it, sgraffito rewards a bit of planning before you start cutting into a surface layer. Once a line is scratched through, it’s genuinely part of the piece, so working from a light sketch or a clear mental plan helps avoid unwanted corrections partway through.
The technique has genuinely ancient roots too, with variations appearing across pottery traditions worldwide long before it picked up its Italian name, which was originally borrowed from a similar scratched plaster technique used in architecture and fine art. That long history is part of why sgraffito feels so at home across such a wide range of styles today.
The Core Sgraffito Tools
Fine loop tools are the workhorse of most sgraffito kits, small wire loops mounted on a handle that let you drag a controlled line through the surface layer, removing a thin, consistent ribbon of material as you go. Different loop widths give different line thicknesses, so a small range of sizes covers most design needs.
Needle tools are the other genuine essential, useful for the finest detail work and precise lines that a loop tool’s width simply can’t achieve. A sharp needle tool held at a shallow angle can produce hairline detail that gives a piece real delicacy alongside the bolder lines a loop tool creates.
Dental-style carving tools, often repurposed from actual dental tool shapes, round out a more complete kit, offering a range of small hooks and points suited to detail work in tight spaces or awkward curves that a standard loop or needle tool can struggle to reach cleanly.
A soft brush is a small but genuinely useful addition too, kept nearby specifically to sweep away the fine ribbons of removed material as you work, rather than letting them build up and risk smudging a line you’ve already scratched cleanly. It’s an easy detail to overlook until you’re partway through a piece and wish you had one.
Choosing The Right Clay Stage And Surface Layer
Leather-hard clay is generally the sweet spot for sgraffito work, firm enough to hold a clean line without collapsing or smearing, but not so dry that scratching through the surface layer becomes a struggle or risks chipping unpredictably. Working too wet or too dry both make clean lines noticeably harder to achieve.
The surface layer itself, whether slip or underglaze, needs to be dry enough to scratch cleanly but not bone dry, since an overly dry surface layer can flake or crumble unpredictably rather than lifting away in a clean, controlled line the way a properly timed layer will.
Testing timing on a scrap piece before committing to your actual work is genuinely worth the extra few minutes, since drying speed varies with humidity, clay body, and how thickly the surface layer was applied, all of which shift the ideal scratching window slightly from one studio session to the next.

Building A Simple Sgraffito Kit On A Budget
A genuinely usable starter kit doesn’t need to be expensive or extensive. A single fine loop tool and a needle tool, both inexpensive individually, cover a surprising amount of ground for a first attempt at the technique, letting you get a real feel for how the scratching motion behaves before investing further.
Improvised tools work perfectly well too, and plenty of working potters genuinely prefer a repurposed dental pick, a sharpened bamboo skewer, or even a simple sewing needle mounted in a cork for fine detail work, over a purpose-made tool that costs several times as much for a similar result.
Expanding a kit over time, adding specific loop widths or detail tools as you find yourself wanting a particular line quality your current tools can’t quite achieve, is a genuinely sensible approach rather than buying an entire specialty set before you even know which tools you’ll actually reach for.
Checking whether your studio already stocks sgraffito or carving tools for shared use is also worth doing before buying anything at all. A lot of shared studios, including ours, keep a reasonable selection of loop and detail tools on hand precisely so members can try a technique before deciding whether it’s worth investing in their own kit.
What Competing Guides Leave Out
Tool tip width and how it changes the character of a line rarely gets a clear, practical explanation in most beginner guides. A wider loop tool naturally produces bolder, more graphic lines suited to larger patterns, while a narrower tip or needle tool gives the kind of fine, delicate detail work that reads as genuinely intricate from a normal viewing distance.
Keeping lines clean without smudging the surrounding slip is another gap worth addressing. In our experience at Le Studio Art Space’s Ceramic Studio, working with light, controlled pressure and clearing removed material away from the line regularly, rather than letting it build up and drag across the surface, makes a genuinely noticeable difference to how crisp a finished sgraffito line looks.
Hand position and angle get skipped over too, despite mattering a lot in practice. Holding a loop or needle tool at a shallow, consistent angle relative to the surface generally gives cleaner, more even lines than a steep angle, which tends to dig unevenly and risks tearing the surface layer rather than scratching it smoothly.
Sgraffito Versus Other Surface Carving Techniques
Mishima is a related technique that also involves carving into the surface, but instead of leaving the scratched line as contrasting bare clay, mishima fills that carved line with a contrasting slip or underglaze before scraping the surface smooth again, giving a genuinely different, inlaid look compared to sgraffito’s raised, textural line.
Straightforward carving, working directly into the clay body itself without a separate contrasting surface layer at all, is a simpler, related approach that relies purely on shadow and depth rather than colour contrast for its visual effect. It suits a different aesthetic than sgraffito’s more graphic, high-contrast look.
Sgraffito holds its own particular appeal among these related techniques specifically because of that strong colour contrast and relatively accessible tool requirements, making it a genuinely approachable entry point into surface carving techniques more broadly for a potter who hasn’t tried any of them yet.
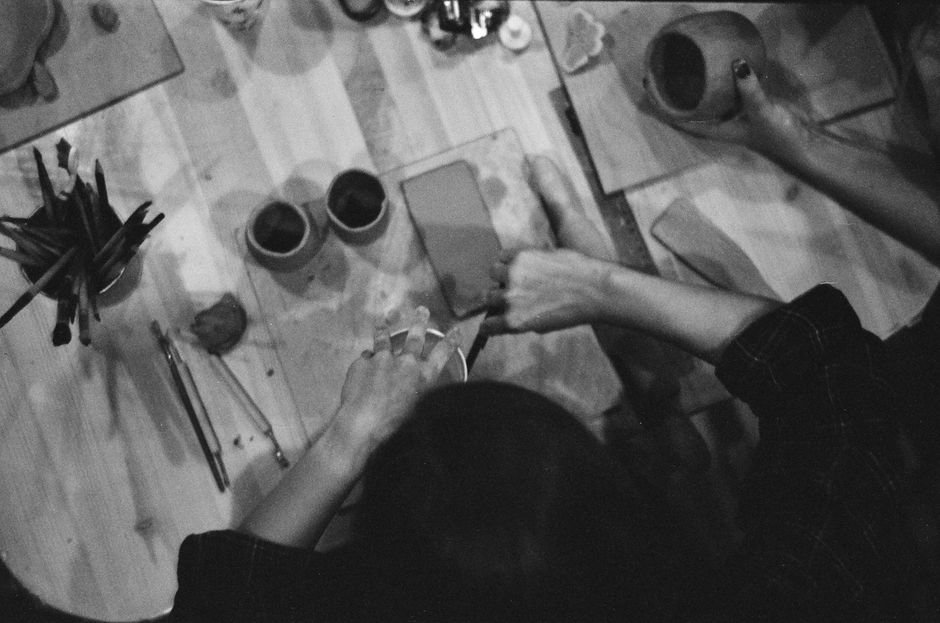
Ready to try sgraffito with proper studio tools in hand? Join a decorating workshop at Le Studio Art Space in Mordialloc and give it a go.
Frequently Asked Questions
Do I really need special sgraffito tools, or can I use what I already have?
You genuinely don’t need specialty tools to start. A basic needle tool and an improvised point, like a sharpened bamboo skewer, cover a surprising amount of ground for a first attempt at the technique.
What happens if my clay is too dry when I try to scratch a sgraffito line?
It tends to flake or crumble unpredictably rather than lifting away cleanly. Working at leather-hard, and testing the surface layer’s dryness on a scrap piece first, generally avoids this problem.
Is sgraffito hard to learn as a complete beginner?
It’s genuinely approachable, especially starting with simple, bold lines using a wide loop tool before attempting finer detail work. Most beginners get a reasonable feel for the pressure and angle within a session or two.
Can I fix a sgraffito line if I make a mistake partway through?
Not easily once material is removed, since it’s a subtractive technique. Working from a light sketch beforehand and practising on scrap tiles helps avoid needing to fix mistakes on a finished piece.
How is sgraffito different from mishima if they both involve carving?
Sgraffito leaves the scratched line as exposed, contrasting bare clay, while mishima fills that same carved line with slip before scraping smooth, giving a flush, inlaid look rather than a raised, textural one.
This article is provided for general educational purposes by Le Studio Art Space and reflects publicly available product information and common studio practice.