Ceramic decals are transfer images applied to a glazed surface and then fired at a lower temperature to permanently bond them into the glaze. Using ceramic decals is genuinely accessible once you know the basic soak, position, and fire sequence, and it opens up detailed imagery that’s far harder to achieve freehand.
Getting genuinely crisp text or a detailed image onto a mug without freehand painting skills feels like a bit of magic the first time you see ceramic decals actually work. Here at Le Studio Art Space, this is one of the more approachable decorating techniques we introduce in workshops, since it doesn’t demand steady brush control the way hand painting does, so here’s a practical walkthrough of how it all works.
What Ceramic Decals Are
Ceramic decals are essentially printed images on a special transfer paper, using ceramic pigments that are formulated to survive a firing rather than ordinary printer ink. They function similarly to a temporary tattoo or a waterslide transfer, sitting on a backing paper until soaked in water and slid onto the surface of the piece.
Once applied to an already-glazed surface, the decal sits on top of that glaze layer, and a subsequent low-temperature firing melts the ceramic pigment just enough to fuse it permanently into the existing glaze, rather than sitting as a separate painted layer that could wear off with handling and washing.
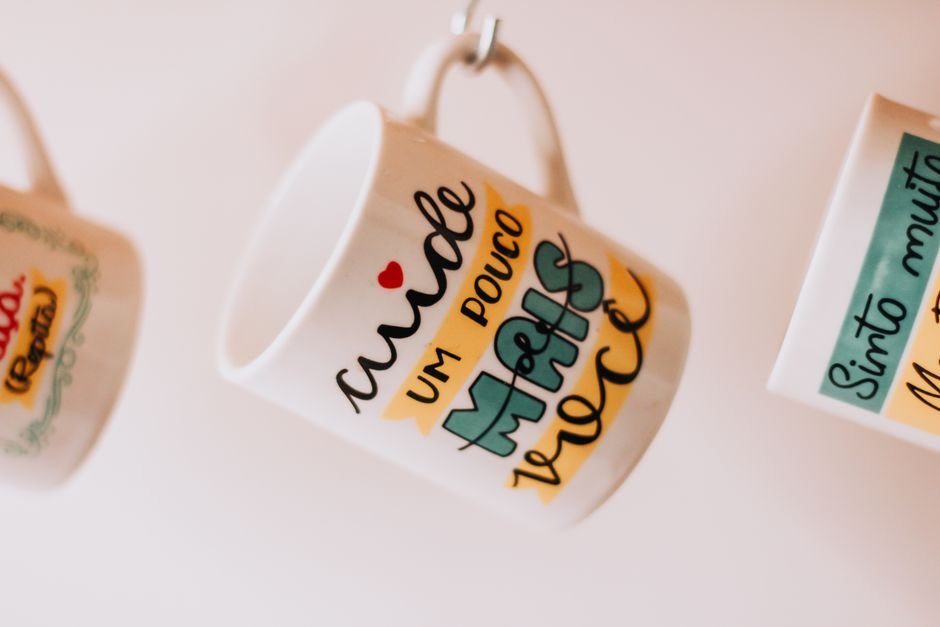
Decals come in an enormous range, from simple text and small motifs through to genuinely photo-realistic imagery, and many potters and small businesses use custom decals specifically to get consistent, detailed branding or artwork onto functional ware without needing to hand paint every single piece individually.
There are also different decal types worth knowing about, including ceramic waterslide decals, the most common variety for hobbyist and studio use, alongside laser and inkjet decal paper systems that let some potters print their own designs at home using specialty ceramic toner or ink rather than ordering pre-printed sheets from a supplier.
How To Apply A Ceramic Decal Step By Step
The process starts with soaking the decal in room-temperature water for a short period, usually around thirty seconds to a minute depending on the specific product, until the printed image begins to slide freely on its backing paper rather than staying firmly stuck.
Once it’s ready, the decal is carefully positioned onto the already-glazed and fired surface of the piece, sliding it off the backing paper directly into place. This step benefits from a bit of patience, since repositioning after the decal has settled can be trickier than getting the placement right the first time.
Smoothing out any trapped air bubbles underneath the decal comes next, usually done gently with a soft squeegee, a credit card edge, or even a finger, working from the centre outward to push air and excess water toward the edges rather than trapping it in the middle of the design.
A short drying period follows before firing, giving the decal time to properly adhere to the glazed surface and lose any remaining surface moisture, which genuinely reduces the risk of the image shifting or bubbling once it goes into the kiln.
Handling the piece gently during this drying window matters too, since a decal that hasn’t fully set can still shift slightly if bumped or brushed against another surface. Setting decorated pieces aside somewhere they won’t be disturbed while they dry is a small habit that saves a lot of frustration.
Firing Requirements For Decals
Decal firing happens at a notably lower temperature than the original glaze firing, typically in the low-fire range, specifically calibrated to melt the ceramic pigment into the existing glaze without disturbing or reflowing that glaze layer itself.
This means decal firing is genuinely its own separate step, done after the main glaze firing is already complete, rather than something combined into the original firing schedule. Most studios run dedicated decal firings, sometimes loading several decorated pieces together in one lower-temperature firing.
Firing time at that lower temperature also matters for how well a decal bonds. Too short a hold can leave the pigment under-fused and prone to scratching, while a properly timed firing gives a genuinely durable, permanently bonded result that holds up to normal daily handling and washing.
What You Can And Cannot Do With Decals
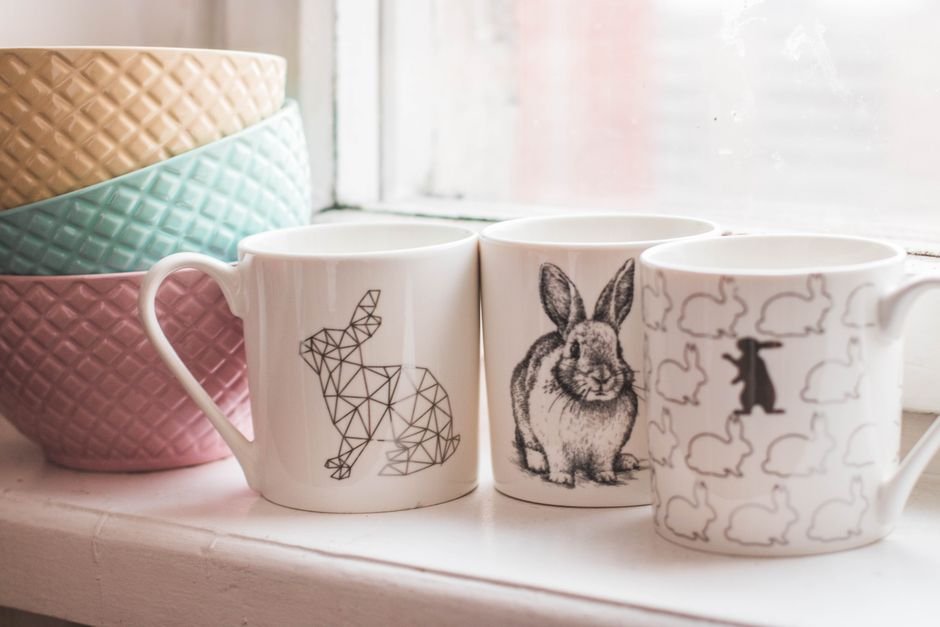
Custom designs are genuinely achievable with ceramic decals, and plenty of suppliers offer print-on-demand services where you upload your own artwork or photo and receive it back as ready-to-use ceramic decal sheets, opening up detailed, personalised imagery that would be genuinely difficult to hand paint consistently.
Food safety is worth understanding properly before using decals on functional ware. Decals formulated and labelled specifically for food-contact surfaces are tested for that use, but a decorative-only decal applied to the interior of a mug or the inside of a bowl isn’t automatically safe, so checking the product’s intended use matters.
Placement has some genuine limitations too. Decals work best on relatively flat or gently curved surfaces, since a tightly curved or heavily textured area can make it difficult to get a decal to lie flat without wrinkling or trapping air, which is worth factoring in when planning where a design will sit on a piece.
Multiple decals can also be layered or combined on a single piece for a more elaborate design, though it’s worth planning the overall composition beforehand rather than adding pieces individually, since each decal needs its own careful smoothing and drying before the next one goes on nearby.
What Competing Guides Leave Out
Sourcing or making custom decals affordably rarely gets a clear, practical answer in most guides. Several online suppliers now offer relatively low minimum order quantities for custom-printed ceramic decal sheets, which makes small-batch or even single-piece custom decal projects genuinely more accessible than a lot of beginners assume going in.
Common causes of decals cracking or peeling are another gap worth addressing honestly. In our experience at Le Studio Art Space’s Ceramic Studio, trapped air bubbles left under a decal are the most frequent cause of peeling after firing, which is exactly why the smoothing step during application matters so much more than it might seem at the time.
Firing temperature accuracy is a third area that rarely gets emphasised enough. A decal firing that runs even slightly hot can cause the pigment to bleed or blur slightly, while one that runs cool can leave it under-fused and prone to scratching off with normal handling, so a well-calibrated kiln genuinely matters here.
Ceramic Decals Versus Hand Painting Or Stamping
Hand painting offers a genuinely organic, one-of-a-kind quality that decals simply can’t replicate, along with far more flexibility to adjust a design on the fly as you work. It does demand real brush skill and practice though, and results can vary noticeably between attempts even for an experienced potter.
Stamping sits somewhere in between, offering more consistency than freehand painting for repeated motifs, while still requiring some hand skill to apply evenly and the upfront step of carving or sourcing the stamp itself before you can use it at all.
Decals win clearly on consistency and detail, especially for text, logos, or genuinely photo-realistic imagery, at the cost of a bit less spontaneity and an additional firing step. Many potters use decals specifically for detailed or repeated elements while still hand painting or stamping other decorative work on the same piece.
Cost is worth weighing too, since custom decals do carry a per-piece expense that hand painting and stamping largely avoid once you already own the brushes or stamps. For a small handful of pieces, hand decoration is often more economical, while decals tend to make more sense once you’re producing a consistent design across a larger batch.
Interested in trying ceramic decals or having a piece decal-fired? Ask about decal firing services and workshops at Le Studio Art Space’s ceramic studio in Mordialloc.
Frequently Asked Questions
Are ceramic decals actually permanent, or will they wash off eventually?
When properly fired at the correct temperature and time, decals fuse permanently into the existing glaze layer, similar to the glaze itself. They genuinely hold up to normal daily washing and handling once fired correctly.
Can I use a decal that isn’t labelled food safe on a mug’s interior?
It’s worth avoiding on food-contact surfaces unless the decal is specifically labelled and tested for that use. In our experience, decorative-only decals are best kept to the exterior of a piece or purely ornamental work.
Why did my decal bubble or peel after firing?
Trapped air underneath the decal during application is the most common cause. Smoothing carefully from the centre outward before drying and firing genuinely reduces this risk significantly.
Is it expensive to get a custom ceramic decal made?
It’s more accessible than a lot of people assume, since several suppliers now offer relatively low minimum order quantities for custom-printed decal sheets, making even small or single-piece projects genuinely workable.
Do decals work on curved surfaces like the side of a mug?
Gently curved surfaces generally work fine, but a tightly curved or heavily textured area can make it harder to get a decal to lie flat without wrinkling. Flatter or gently curved placement tends to give the cleanest results.
This article is provided for general educational purposes by Le Studio Art Space and reflects publicly available product information and common studio practice.