Clay moves through five recognisable stages from wet to fired, wet clay, leather hard, bone dry greenware, bisqueware after the first firing, and finally glazed and fired ware.
Terms like greenware, bisque, and leather-hard get thrown around constantly in a pottery studio, and it’s genuinely confusing when you’re just starting out.
At Le Studio Art Space, walking new members through these exact stages is one of the first things we do in an introductory class.
This guide gives you a clear roadmap of every stage clay goes through, from a soft, wet lump to a finished, fired piece.
None of this is complicated once broken down properly. Each stage genuinely builds logically on the one before it.
By the end, you’ll be able to follow along confidently whenever a studio friend mentions where their piece is at in the process.
Wet Clay The Starting Point
Wet clay is fully workable and plastic, exactly as it comes out of the bag or freshly wedged and ready to use.
At this stage, clay can be thrown on the wheel, hand built, joined, and reshaped freely without any real limitations.
It’s genuinely the most forgiving stage, where mistakes can usually be reworked or smoothed out before you commit to a final form.
Wet clay needs to stay covered when you’re not actively working it, since it begins losing moisture to the air immediately once exposed.
Joining pieces of wet clay together, like attaching a handle, works best while both pieces are still genuinely at this soft, workable stage.
Most beginners spend the bulk of their studio time working with clay in this wet, fully plastic state.
Understanding just how workable this stage is helps you appreciate how much changes as the clay moves toward drying and firing.
Keeping wet clay evenly moist throughout, rather than letting one section dry faster than another, genuinely helps a piece hold together well later.
Leather Hard Clay
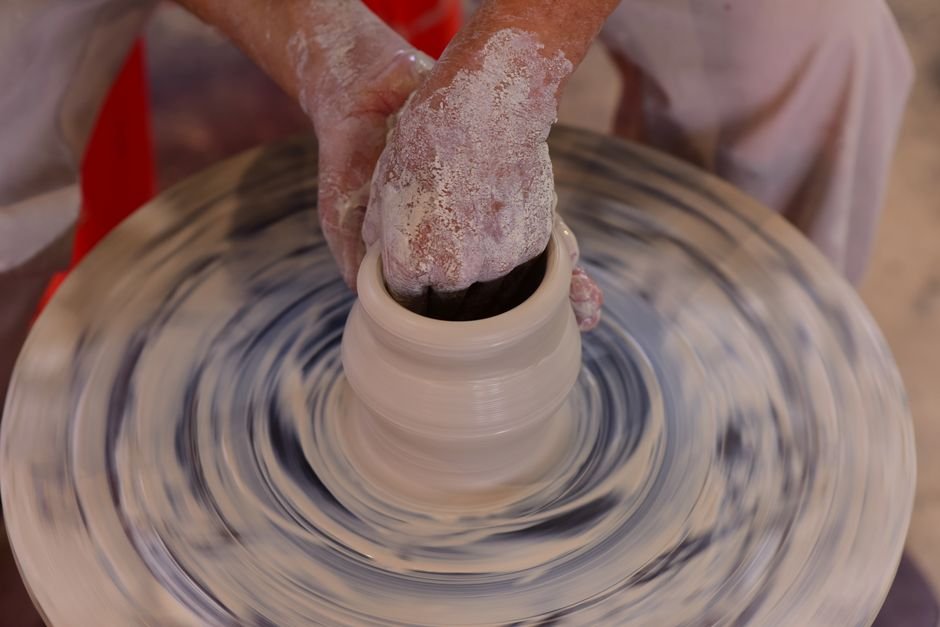
As a piece begins to dry, it passes into the leather hard stage, firm enough to hold its shape but still containing meaningful moisture.
This stage typically arrives anywhere from several hours to a day or two after forming, depending on humidity, thickness, and studio conditions.
Leather hard clay is genuinely the ideal stage for trimming a thrown piece on the wheel, since it holds its form while still being carveable.
It’s also the best stage for adding handles, attachments, or carved surface decoration, since the clay is firm enough to support extra weight.
Working a piece too early, while still fully wet, risks distorting the form, while waiting too long makes trimming and joining genuinely harder.
Many potters find leather hard the most satisfying stage to work at, since it offers precision without the fragility of a fully dried piece.
Timing this stage well genuinely comes with practice, and studio staff are always happy to help a newer member judge it correctly.
A quick fingernail test, gently pressing the surface, is a traditional, reliable way many potters judge whether a piece has reached leather hard.
Bone Dry Greenware
Once a piece has fully air dried, with no remaining moisture, it’s called bone dry, or greenware, and it’s genuinely at its most fragile stage.
Greenware hasn’t yet been through any firing, meaning it can still technically be reclaimed and reworked back into wet clay if needed.
This stage is extremely fragile, and pieces can crack, chip, or break easily from rough handling, so gentle care genuinely matters here.
Drying evenly and slowly, rather than rushing the process, genuinely reduces the risk of cracking as the piece reaches this bone dry stage.
Thin areas, like handles and rims, dry faster than thick sections, which is exactly why uneven drying often causes cracks at these points.
Greenware needs to be completely dry before bisque firing, since any remaining moisture can cause a piece to crack or even explode in the kiln.
Checking a piece feels cool rather than cold to the touch is a simple, traditional way potters judge whether it’s genuinely bone dry.
Larger or thicker pieces genuinely need more time at this stage, and rushing them into the kiln too early risks cracking during firing.
Bisqueware After The First Firing
The first firing, called a bisque firing, permanently hardens the clay, transforming fragile greenware into sturdier, though still porous, bisqueware.
This firing typically happens at a lower temperature than the final glaze firing, hardening the clay without yet vitrifying it completely.
Bisqueware can be handled much more confidently than greenware, though it’s still genuinely more fragile than a fully glazed, fired piece.
Its porous surface is actually useful at this stage, since it readily absorbs glaze, helping the glaze adhere evenly before the final firing.
At Le Studio Art Space’s firing service, bisque firing is a standard, essential step every piece passes through before glazing.
Once bisque fired, a piece can no longer be reclaimed back to workable clay, since this firing marks a genuinely permanent transformation.
This is exactly why care during the earlier wet and leather hard stages matters so much, since mistakes can’t be undone after bisque firing.
Bisqueware is also the stage where any surface cracks or flaws from earlier become genuinely permanent and visible for the rest of the piece’s life.
What Competing Guides Leave Out
Many overviews list these stages without addressing how long each realistically takes in a busy shared studio, where kiln schedules genuinely shape the whole timeline.
Few guides mention what actually happens if you try to work a piece at the wrong stage, like trimming clay that’s still too wet or carving clay that’s already too dry.
What a shared studio’s typical bisque and glaze firing schedule looks like, and how that affects your project timeline, rarely gets proper coverage.
Most guides also skip how humidity and studio temperature genuinely affect drying speed, which can vary considerably between seasons and locations.
How to safely speed up or slow down drying between stages, without causing cracking, is another practical detail many beginner guides leave out.
The genuine risk of handling a piece too roughly at the greenware stage, and how easily this stage gets rushed by impatient beginners, rarely gets proper attention.
Few guides explain that studio staff can genuinely help you judge which stage a piece has reached if you’re ever unsure.
What to do if a piece dries unevenly, with one section reaching bone dry well before another, is another gap most guides leave unaddressed.
Glazed And Fired The Final Stage
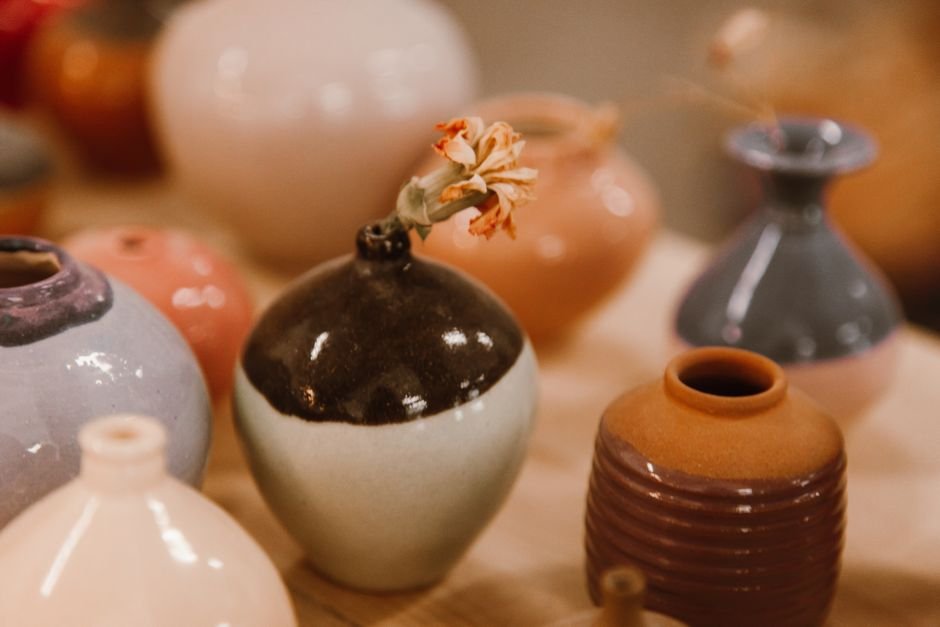
The final stage is the glaze firing, where glaze applied to bisqueware matures and fuses to the clay body at a typically higher temperature.
This second firing is what produces the dense, glassy, finished surface most people associate with a completed ceramic piece.
Vitrification, the permanent chemical transformation that makes the clay body hard and largely non-porous, genuinely completes during this final firing stage.
Once glazed and fired, a piece is finished, and this transformation is permanent, with no way to rework or reshape it further.
The whole journey from wet clay to this final stage typically spans several weeks in a shared studio, once drying and both firings are accounted for.
Seeing a piece through every one of these stages genuinely gives you a real appreciation for how much goes into a finished ceramic object.
At Le Studio Art Space, we love watching members experience this full journey, often for the very first time, during our introductory classes.
Keeping a mental note of which stage a piece is at also helps you plan your studio visits around the right tasks for each session.
Want to see every stage of the clay journey firsthand? Join a class at Le Studio Art Space in Mordialloc.
Frequently Asked Questions
How long does clay actually take to go from wet to fully fired?
It typically takes several weeks in a shared studio once drying time, bisque firing, glazing, and the final firing are all accounted for.
Can I speed up the drying process without ruining my piece?
You can slightly, with careful, even airflow, but rushing it genuinely risks cracking, so most studios, including ours, recommend patience over speed.
What happens if I try to trim a piece that’s still too wet?
It’ll likely distort or tear rather than cutting cleanly, which is exactly why waiting until the leather hard stage genuinely matters for trimming.
Is greenware really that fragile, or is that an exaggeration?
It’s genuinely fragile. Bone dry greenware chips and cracks easily from rough handling, so gentle care at this stage matters more than people expect.
Can Le Studio Art Space help me figure out what stage my piece is at?
Absolutely. Studio staff are always happy to check a piece and help you judge whether it’s ready for the next stage of the process.
This article is provided for general educational purposes by Le Studio Art Space and reflects common studio practice.