Good wheel pottery ideas for your next session include everyday pieces like mugs, bowls, and small plates that suit repetition, stretch projects like lidded jars, pitchers, and taller forms, and altered pieces using facetting, darting, or added hand built elements. Making sets builds consistency, and choosing an idea that fits your available time and drying schedule makes each session more satisfying.
You’ve got some wheel time behind you. You can centre most of the time, pull up a reasonable cylinder, and you’ve made a few bowls. Now you sit down at the wheel and think: what should I make today? If you’re stuck in a loop of the same small bowl every session, a few fresh wheel pottery ideas can bring back the excitement and push your skills forward.
At Le Studio Art Space in Mordialloc, we love brainstorming with members at the wheel, matching ideas to their skill level and the time they have. This guide offers achievable project ideas, from everyday pieces to stretch goals and altered forms, along with practical tips on planning around drying and trimming time.
Everyday Pieces To Throw
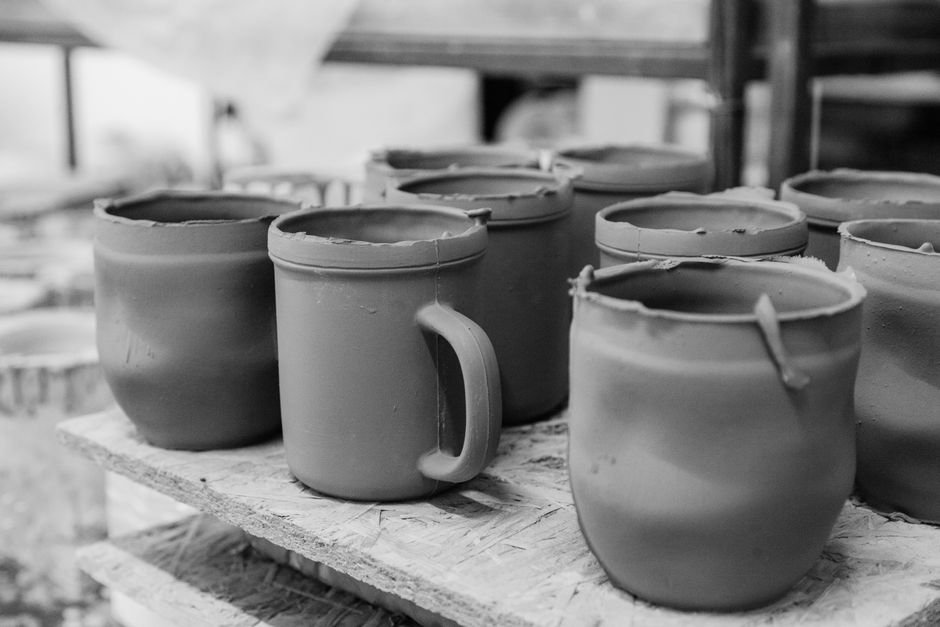
Mugs are a classic for good reason. They combine a thrown cylinder, trimming, and a pulled or hand built handle, so they practise several skills at once. Try varying the shape: straight sided, belly shaped, tapered, or flared at the rim.
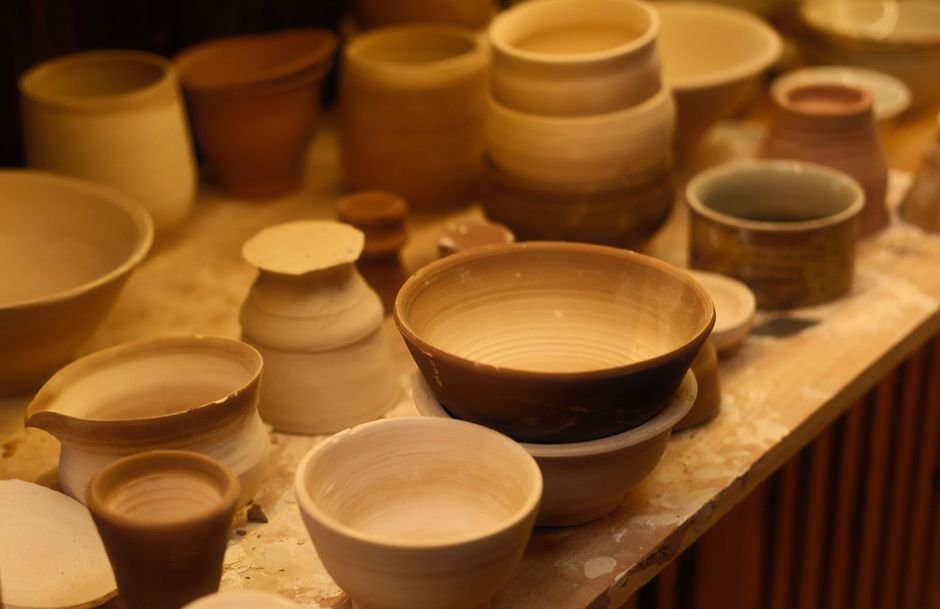
Bowls never get old. Cereal bowls, noodle bowls, small dipping bowls, and serving bowls all teach slightly different things. Wide, shallow bowls test your control as you open the clay outward, while deeper bowls test your ability to keep walls even.
Small plates and saucers are a great challenge. They require a wide, even base and careful compression to avoid cracking. A set of side plates is a satisfying goal for an intermediate thrower.
Tumblers and cups without handles are perfect for quick sessions. They’re essentially refined cylinders, and making a few at a time builds speed and confidence.
Small vessels like bud vases, salt pigs, or spoon rests are fun extras. They’re quick to throw and make lovely gifts.
These everyday pieces suit repetition, which is one of the fastest ways to improve. Our guide on centring, throwing, and trimming is a handy refresher on the core steps.
Pieces To Stretch Your Skills
Lidded jars are a wonderful stretch project. You need to throw a body with a gallery or ledge for the lid to sit on, and a lid that fits. Measuring with callipers and throwing both pieces in the same session helps them shrink together.
Pitchers and jugs combine a thrown body with a spout and handle. Pulling a spout from the rim teaches you to shape wet clay delicately, and balancing the handle with the spout is a great design exercise.
Taller forms like vases and cylinders test your ability to pull walls evenly and keep the clay stable. Try setting a height goal, such as a cylinder taller than your hand, and work toward it.
Closed forms, where you collapse the top of the clay inward to make a hollow shape, are another challenge. They’re the basis for forms like bottles and can later be altered or carved.
Throwing off the hump, making several small pieces from one large mound of centred clay, is a skill that speeds up production and improves your feel for centring. It’s perfect for small cups, lids, and knobs.
Altering Thrown Forms
Altering means changing a thrown piece after it comes off the wheel, or while it’s still on it. It’s a great way to add character and push beyond perfect round forms.
Facetting involves cutting flat planes into the walls of a thick walled piece, often with a wire or knife. Done after throwing, it creates angular surfaces that catch glaze beautifully.
Darting is when you cut a small wedge shape out of the wall and rejoin the edges, changing the form from round to oval or creating a pinched shape. Squeezing a bowl gently into an oval or adding a pinched spout are simpler versions.
Combining thrown and hand built elements opens many possibilities. Add slab feet to a thrown bowl, attach coil handles, build sculptural additions, or join two thrown forms together. Our guide to wheel throwing vs hand building explains how the two methods complement each other.
Texture is another option. Rolling a stamp, pressing a tool, or using a rib to create ridges on a freshly thrown form adds surface interest.
Altering also teaches you about clay timing. Some alterations work best on soft clay, others at leather hard. Experimenting shows you which stage suits which effect.
Making Sets And Series Of Wheel Pottery
Making sets is one of the best ways to build consistency. Throwing four matching mugs, six identical bowls, or a set of nesting bowls teaches you to control size, weight, and shape.
Start by weighing your clay. Using the same weight for each piece is the first step to matching results. Our guide to what a wedge tool does covers cutting and preparing clay consistently.
Use a gauge or measuring stick to check height and width. Many potters set up a simple pointer beside the wheel to mark the target height.
Throwing a series is slightly different. Rather than identical pieces, you make a group of related forms, changing one element each time, such as the rim, the curve, or the height. Series help you explore ideas and find your favourite version.
Sets also make a lovely final result. A matching set of handmade mugs or bowls is a satisfying achievement and a great gift.
Don’t expect perfection in a set. Handmade pieces will always vary slightly, and that’s part of their charm. Aim for pieces that clearly belong together rather than identical copies. Many potters throw one or two extra pieces in a set so they can choose the best matches after firing.
What Competing Guides Leave Out About Wheel Pottery Ideas
Most lists of wheel pottery ideas focus on what to make, not when. They rarely mention planning pieces around drying and trimming time. A piece thrown today needs to dry to leather hard before trimming, which might be a day or several, depending on weather and thickness.
If you only have one session a week, plan accordingly. Wrap pieces loosely in plastic to slow drying, or throw pieces you can trim in the same session if they firm up quickly. Lidded jars and handled pieces need extra planning, since handles and lids must be attached at the right moisture level.
Competing guides also skip the reality of limited studio time. If you’ve only got an hour, a big vase may be too ambitious. Instead, throw several small pieces, like cups or small bowls, which are quick to throw and easier to finish later.
Small pieces are great practice. They use less clay, dry faster, fit more easily in the kiln, and let you repeat techniques more often in a single session. They also cost less to fire, which matters if you pay per firing.
Finally, few guides mention keeping a sketchbook. Jotting down shapes you like, notes on what worked, and ideas for next time helps you build momentum between sessions.
Choosing A Wheel Pottery Idea That Fits Your Session
Start by checking your time. A short session suits small cylinders, cups, or a few bowls. A longer session might allow a larger piece, a set, or trimming from last week.
Think about what’s already on your shelf. If you have pieces ready to trim, plan time for that. If you have bisqueware waiting, maybe the session is for glazing instead.
Match ambition to energy. Some days you’ll feel ready to tackle a pitcher. Other days, throwing a few relaxed bowls is exactly right. Both are valuable, and both count as practice.
Pick one skill to focus on. Maybe it’s thinner walls, cleaner rims, or more consistent sizes. Choosing a focus makes even simple pieces feel purposeful.
Our workshops and classes offer structured wheel practice, members of our ceramic studio can book wheel time to work on their own ideas, and our firing service takes care of the kiln once your pieces are ready.
Got an idea you want to try at the wheel? Bring it to life during a session at Le Studio Art Space in Mordialloc, with real wheels, friendly advice, and kilns ready for your finished work.
Frequently Asked Questions
What should I throw after I can make a cylinder?
Mugs and bowls are natural next steps. Mugs add handles and trimming, while bowls teach you to open and shape outward.
Are lidded jars too hard for an intermediate potter?
They’re challenging but achievable. Measuring carefully and throwing the body and lid in the same session makes it much easier.
How do I make matching pieces on the wheel?
Weigh your clay, use a gauge for height and width, and throw several pieces in a row. Consistency improves with practice.
What can I make in a short wheel session?
Small cups, bowls, and bud vases are ideal. They’re quick to throw and easy to finish in a later session.
Can I get project ideas from the team at Le Studio Art Space?
Yes. The team at Le Studio Art Space is happy to suggest wheel projects that suit your skill level and the time you have.
This article is provided for general educational purposes by Le Studio Art Space. Drying times and results vary with clay body, weather, and technique.