Amaco’s Velvet Underglazes fire across a wide cone 05-10 range, with low-fire giving the brightest colours, mid-range balancing colour and durability, and high-fire causing some colours to soften or darken, so testing your studio’s actual firing cone always matters.
Underglaze decoration is one of the most flexible ways to add genuine colour and detail to a piece before it’s ever glazed, and Amaco’s Velvet Underglaze line comes up regularly in conversations with members at Le Studio Art Space.
This guide walks through how Amaco Underglaze actually performs across different firing temperatures, when to apply it, and how the finished surface changes depending on what’s applied over the top.
Knowing genuinely how a specific underglaze behaves before committing colour to a piece helps avoid the disappointment of a bright test swatch turning noticeably duller once it’s actually fired.
What Amaco Underglaze Actually Is
Amaco’s Velvet Underglazes are a line of decorating colours designed to be applied to clay before a final glaze, giving potters a genuinely reliable way to add colour, line work, and detail beneath a glossy or clear surface.
The line fires across a genuinely wide cone 05-10 range, making it usable across most common studio firing schedules without needing an entirely separate underglaze product for each different temperature a piece might be fired to.
This broad compatibility is genuinely convenient for a shared studio setting, where different members may be firing work to different cones depending on their clay body, since the same jar of underglaze can reasonably serve most projects.
Unlike a glaze, underglaze is designed primarily for colour and decoration rather than to create a glassy surface on its own, which is exactly why it’s so often paired with a clear or transparent glaze over the top.
This distinction matters for newer potters especially, since applying underglaze and expecting the same glassy, protective finish a glaze provides is a genuinely common source of early confusion in the studio.
Colour range is another genuine strength of the line, spanning brights, earth tones, and blendable shades, giving potters real room to mix custom colours rather than relying purely on colours straight from the jar.
When To Apply It During The Process
Amaco Underglaze can genuinely be applied to wet clay, leather-hard greenware, or mature bisque fired up to cone 04, giving potters real flexibility depending on where in their process they want to add colour.
Applying to wet or leather-hard clay allows genuine sgraffito and carving techniques, where colour is scratched back through to reveal the clay body beneath, a popular decorative approach among more experienced potters.
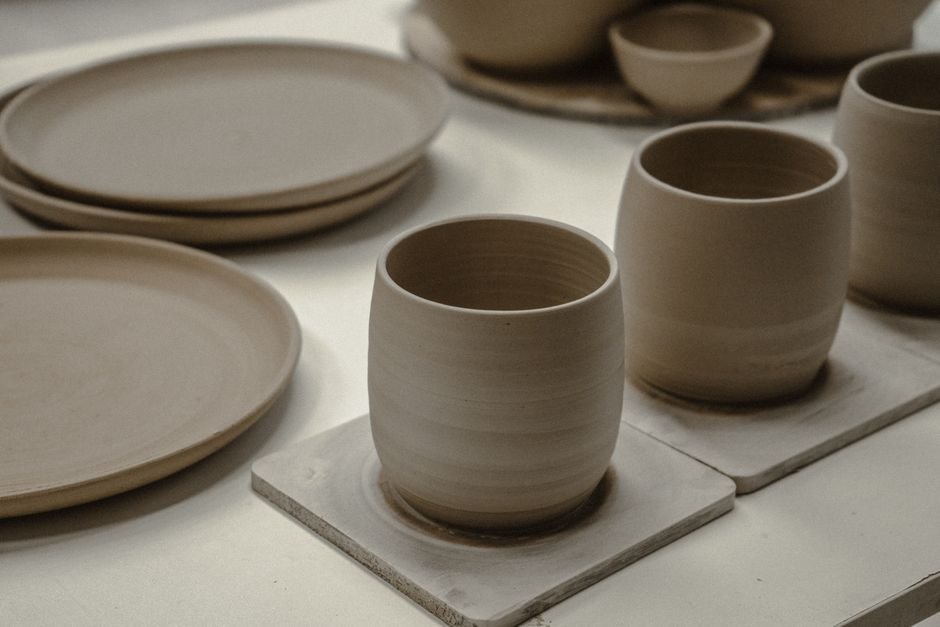
Applying to bisque ware instead gives a more controlled, predictable surface for brushwork and detailed line work, since the piece is already stable and won’t shift or crack the way wetter clay sometimes can during handling.
Bisque application is also generally the more forgiving starting point for beginners, since a mistake can often be gently sponged back before it dries, an option that’s far less forgiving on wetter, more fragile clay.
Whichever stage you choose, letting each layer dry properly before adding another genuinely reduces the risk of colour lifting or smudging during the rest of the decorating process.
Working on greenware also allows for genuine texture-based techniques like stamping or carving through a layer of colour, giving a piece a combined visual and tactile element that bisque application alone can’t quite replicate.
How Firing Temperature Changes The Result
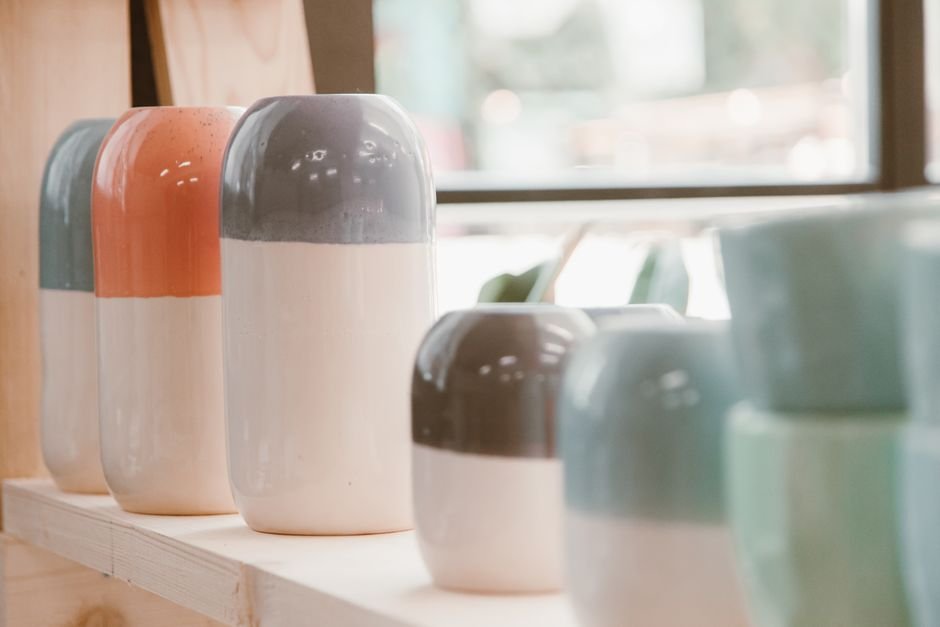
Low-fire temperatures, roughly cone 06-04, genuinely produce the brightest, most vivid underglaze colours, which is why many potters favour this range specifically for bold, saturated decorative work.
Mid-range firing, around cone 5-6, offers a genuinely solid balance between retaining good colour vibrancy and gaining the added durability that comes with a hotter, more fully matured firing.
High-fire temperatures toward cone 9-10 can cause some specific colours to soften, mute, or darken noticeably, so testing individual colours at your studio’s actual high-fire cone is genuinely essential before trusting a full piece to that schedule.
Because colour response varies genuinely by pigment, keeping a simple test tile record across your studio’s usual firing cones is one of the most useful habits a potter working with underglaze can build.
Blues and greens generally hold their intended colour more reliably across the full cone range than certain reds and oranges, which tend to be genuinely more sensitive to higher firing temperatures and can shift noticeably as a result.
Layering Underglaze With Different Glazes
Left unglazed, Amaco Underglaze fires to a distinctive velvet, matte texture, which some potters use deliberately as a finished decorative surface rather than always covering it with a glaze.
Applied under a clear transparent matte or clear gloss glaze, the same underglaze colour genuinely intensifies, giving noticeably richer, deeper colour than the same pigment left bare after firing.
Clear gloss tends to give the most saturated, vivid result of the two, while clear transparent matte softens the shine slightly while still meaningfully deepening colour compared to leaving the underglaze completely bare.
This means the exact same underglaze colour can produce genuinely different finished results purely depending on what, if anything, is layered over it, which is well worth testing before finalising a decorative plan.
Combining a bare velvet texture on part of a piece with a glossed, intensified area elsewhere is also a genuinely popular technique, giving a single finished piece two distinct, deliberately contrasting surfaces side by side.
What Competing Guides Leave Out
Most overviews mention the cone 05-10 range without genuinely explaining that colour shift at high-fire temperatures varies significantly by specific pigment, meaning a blanket rule like “test everything at cone 10” oversimplifies what’s actually a colour-by-colour issue.
Food safety also gets glossed over in many guides. Amaco Underglaze is AP Non-Toxic, but dinnerware safety genuinely depends on the piece also being covered with a proper food safe glaze, not on the underglaze alone.
Confirming the specific food safe glaze you’re pairing it with is itself rated dinnerware safe, rather than assuming any clear glaze qualifies, is a genuinely important step that guides focused purely on colour often skip entirely.
How underglaze interacts with different clay body colours is rarely addressed either, and a darker stoneware body can noticeably mute a pale underglaze colour compared to the same pigment applied over a lighter, cleaner clay.
Shelf life and proper storage rarely get a mention too, and an underglaze that’s dried out or separated in its jar can apply unevenly, so giving each colour a proper stir before use genuinely matters just as much as with any glaze.
Getting Reliable Results With Amaco Underglaze
Building a simple personal test tile library, covering your studio’s common firing cones and glaze combinations, remains the single most reliable way to genuinely predict how a chosen colour will behave on a finished piece.
Newer potters generally get the most consistent early results sticking to bisque application with mid-range firing, before experimenting further with wet-clay sgraffito techniques or high-fire schedules as confidence builds.
Photographing a piece before and after firing, alongside its labelled test tile, also builds a genuinely useful personal reference over time, one that ends up more reliable than memory alone once a studio’s colour library grows.
Keeping brushes clean between colours and applying even, properly dried coats genuinely makes the biggest practical difference to how crisp and predictable the final decorated surface actually turns out.
Working from a limited, well tested palette of three or four reliable colours, rather than a large untested set, is a genuinely practical way to build confident, repeatable results before expanding into a broader colour range.
Want to try underglaze decoration on your own work? Ask about materials and firing options at Le Studio Art Space’s ceramic studio in Mordialloc.
Frequently Asked Questions
What cone range does Amaco Underglaze actually fire at?
Cone 05-10, with the brightest colours coming from low-fire (cone 06-04), a good colour-and-durability balance at mid-range (cone 5-6), and some colours softening or darkening at high-fire (cone 9-10).
Can I apply Amaco Underglaze to wet clay?
Yes, it can be applied to wet clay, leather-hard greenware, or mature bisque fired to cone 04, giving genuine flexibility depending on your chosen decorating technique.
Does Amaco Underglaze need a glaze over it?
Not strictly. Left unglazed it fires to a distinctive velvet matte texture, though applying a clear transparent matte or gloss glaze over it genuinely intensifies the colour.
Is Amaco Underglaze food safe for dinnerware?
It’s AP Non-Toxic, but dinnerware safety depends on the finished piece also being covered with a proper food safe glaze, not on the underglaze alone.
Why did my underglaze colour look different after firing than the test swatch?
Colour response genuinely varies by firing cone, clay body, and whether a glaze was applied over it, which is why keeping a personal test tile record for your specific studio setup is so useful.
This article is provided for general educational purposes by Le Studio Art Space and reflects publicly available product information and common studio practice.