Choosing ceramic slip casting molds comes down to checking the plaster’s condition and remaining lifespan, deciding between a single-part or multi-part mold based on the form you want, and matching the mold to a slip recipe suited to your clay body and firing range. A worn, over-used mold gives softer detail and a less reliable release than a fresh one, so condition matters as much as the shape itself. For most beginners, using molds already available through a studio is a more practical starting point than buying a personal set outright.
Ready to actually pour your first slip casting mold, or add a new one to a growing collection, and not sure what to look for beyond the shape you want? Here at Le Studio Art Space in Mordialloc, we help members work through exactly this decision, so here’s practical, hands-on guidance for choosing ceramic slip casting molds well.
What To Check Before Choosing A Mold
Plaster quality and condition should be the first thing you check, since a mold’s absorbency directly affects how cleanly and predictably it casts. A dense, well-made mold with intact detail will give consistent results, while a soft, chalky, or damaged mold can produce uneven walls or lose fine detail entirely.
Mold age and remaining uses left also matter more than most beginners expect. Plaster molds have a finite lifespan, and a heavily used mold nearing the end of its life will cast noticeably softer detail and release less predictably than a fresh one. If you’re buying secondhand or inheriting studio molds, asking about roughly how many castings a mold has already produced is a reasonable, practical question.
It’s also worth inspecting a mold’s interior surface closely for any chips, cracks, or filled repairs, since even a small flaw can transfer directly onto every piece cast from it afterward. A quick visual check before committing to a casting session saves the disappointment of discovering a flaw only after a piece has already dried and been demolded.
Running your hand gently along the interior surface, in addition to a visual check, can also catch subtle roughness or wear that’s harder to spot by eye alone, especially in a mold’s deeper recesses where lighting can be poor.
Single Part Versus Multi Part Molds
Single-part molds, a simple cavity with no undercuts, are the easiest starting point for anyone new to slip casting. They’re straightforward to pour into, straightforward to demold, and forgiving while you’re still learning to judge timing and wall thickness.
Multi-part molds, several plaster sections that key together around a more complex form, open up shapes with handles, undercuts, or intricate detail that a single-part mold simply cannot capture. They come with real added complexity though, careful strapping before pouring, more seam cleanup afterward, and more that can go wrong while you’re still building confidence, so most potters work up to multi-part molds rather than starting there.
The number of parts a mold has also affects how visible the seam lines will be on the finished piece, and how much cleanup work that involves. A two-part mold is a genuinely reasonable middle ground for a potter ready to move beyond single-part molds, offering a bit more shape complexity without the full alignment challenge of a mold with several separate sections.
Whichever type you start with, it’s worth practicing the strapping and alignment steps on a low-stakes piece before attempting anything with real detail or complexity. Getting comfortable with the mechanics of a mold, separate from worrying about the casting itself, makes the whole process feel far less daunting.
Matching The Mold To Your Slip
A mold is only half the equation, the slip poured into it matters just as much. Casting slip needs the right consistency, fluid enough to fill a mold’s details completely but not so thin that it takes an excessively long time to build wall thickness. Slip that’s too thick can trap air bubbles or fail to reach fine detail in the mold.
Clay body compatibility matters too. The slip recipe needs to match a clay body appropriate for your intended firing range and use, the same way any clay choice would, so it’s worth confirming your slip and your eventual bisque and glaze firing plans line up before you commit a mold to a specific project.
Deflocculation, the process of adjusting a slip’s chemistry so it stays fluid enough to pour without needing excess water, is a detail worth being aware of even if a studio manages this for you. Slip that hasn’t been properly deflocculated can be frustratingly thick and hard to work with, regardless of how good the mold itself is.
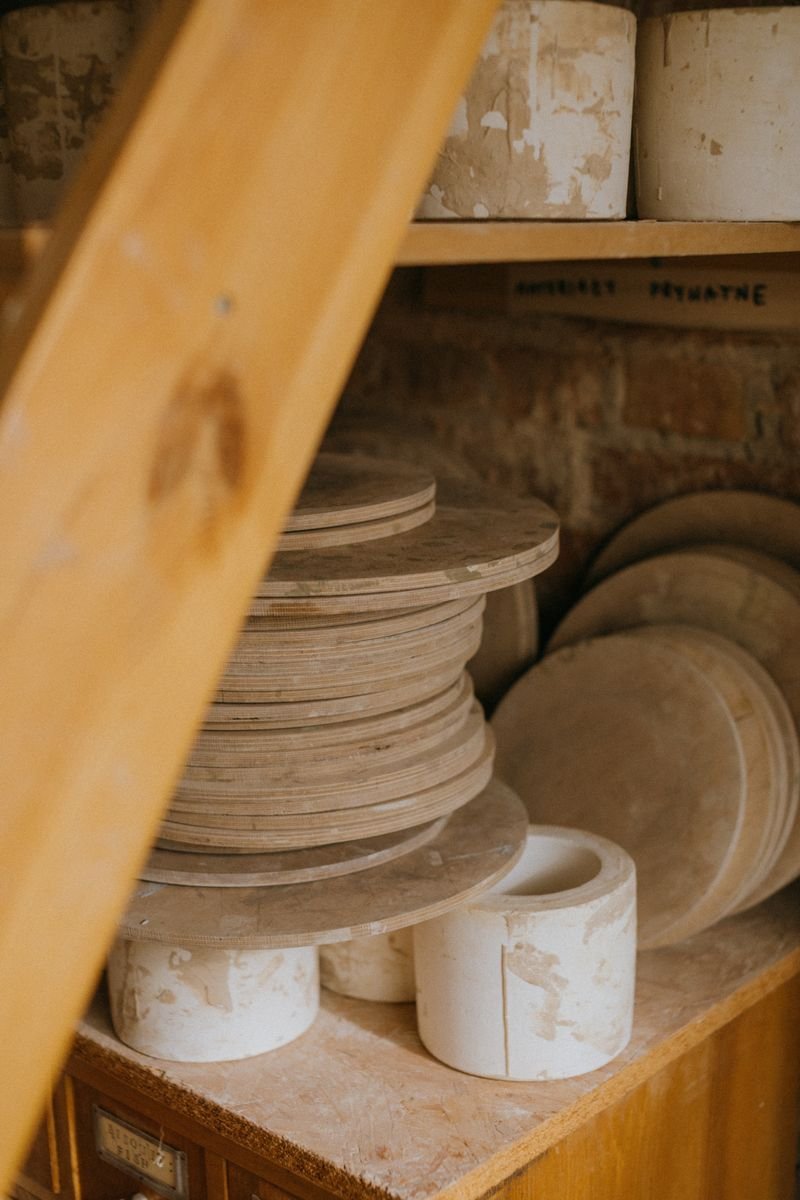
Caring For And Storing Slip Casting Molds
Drying thoroughly between uses is the single most important habit for mold longevity. A mold that’s put away still damp is far more prone to cracking, mold growth, and premature wear than one that’s been allowed to dry fully in open air before storage.
Storage conditions matter too, molds kept somewhere dry, stable, and away from extreme temperature swings hold their shape and absorbency far better over time. Stacking multi-part molds carefully, with their straps or bands loosened during storage rather than left under constant tension, also helps avoid unnecessary stress cracks developing over months of storage.
Labelling molds clearly with their name and roughly how many times they’ve been used is a small habit that makes a genuinely big difference in a shared studio setting, where several people might be using the same mold library over time. It keeps everyone honest about a mold’s real condition rather than relying on guesswork about how worn a particular mold might be.
What Competing Guides Leave Out
Most guides to choosing slip casting molds assume you’re buying a full personal set from a specialty supplier, without ever mentioning that many potters can access molds without that upfront investment at all. Studios with existing mold libraries, ours included at Le Studio Art Space’s Ceramic Studio, let members use shared molds without buying anything, which is a far more practical entry point for anyone still deciding whether slip casting is a technique they want to invest in personally.
Realistic mold lifespan is the other gap. Suppliers understandably don’t advertise how many castings a mold is actually good for before detail softens, but in our experience it’s usually somewhere in the range of a few dozen good castings for a well-cared-for mold, which is worth knowing before assuming a single mold purchase will last indefinitely.
Access and scheduling is a gap worth naming honestly too. A shared mold library only works smoothly if members plan casting sessions around when a specific mold is actually free, so it’s worth checking in ahead of time rather than assuming a popular mold will be available the moment you’re ready to use it.
Buying Molds Versus Using Studio Equipment
Buying your own molds makes the most sense once you know slip casting is a technique you’ll return to regularly, and once you have a specific, repeated form in mind that justifies the cost of a custom or specialty mold. At that point, owning your own molds gives you flexibility to cast on your own schedule.
For anyone still exploring the technique, using studio equipment is genuinely the more practical and budget-conscious choice. It lets you try slip casting, learn timing and demolding on real molds, and figure out whether you enjoy the process before committing to buying anything of your own, which is exactly why we encourage new members to start there.
Somewhere in between these two options sits commissioning a custom mold from a professional mold maker, a route worth considering once you have a specific, refined design you want to produce repeatedly. It’s a bigger investment than buying an off-the-shelf mold, but it’s the only way to get a mold shaped exactly to a form you’ve designed yourself.
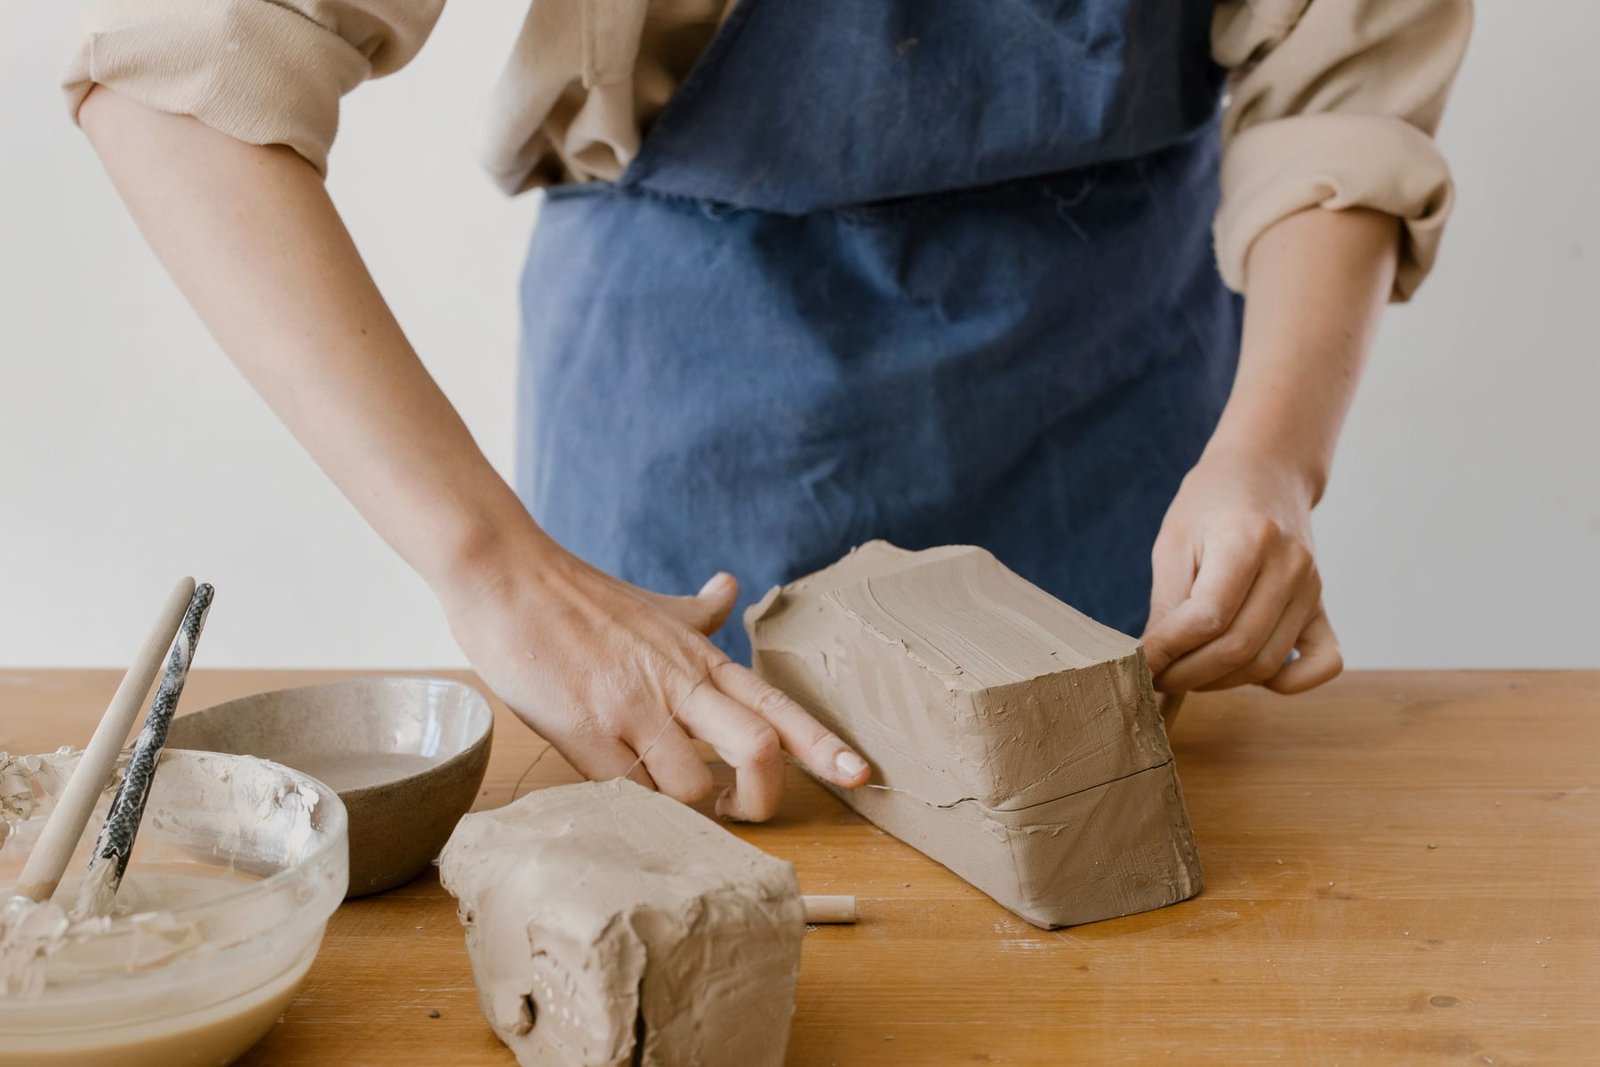
Before buying anything, it’s worth seeing what’s already available to try. Ask about slip casting equipment and molds available at Le Studio Art Space’s ceramic studio in Mordialloc.
Frequently Asked Questions
Do I need to buy my own slip casting molds to try the technique?
Not necessarily, many studios including Le Studio Art Space have mold libraries members can use without buying anything personally. This is usually a more practical way to try slip casting before deciding whether to invest in molds of your own.
How do I know if a mold is too worn to use?
Softened fine detail and less predictable release are the main signs a mold is nearing the end of its usable life. If you’re unsure, asking someone experienced to check it, or comparing a test casting against a fresh mold’s result, is the most reliable way to tell.
Are multi-part molds worth the extra complexity for a beginner?
Generally not at first. Starting with a simple single-part mold lets you build confidence with timing and demolding before taking on the added strapping, alignment, and seam cleanup that multi-part molds require.
Can any clay slip go into any mold?
Not quite, the slip’s consistency and clay body need to genuinely suit both the mold’s detail and your intended firing range. Getting this wrong can lead to trapped air, poor detail capture, or a mismatch between the cast piece and your planned bisque and glaze process.
How long do slip casting molds actually last?
In our experience, a well-cared-for mold is typically good for somewhere in the range of a few dozen castings before detail noticeably softens, though this varies with how carefully it’s dried and stored between uses. Suppliers rarely advertise a specific number, so treating this as a rough guide rather than a guarantee is sensible.
This article is provided for general educational purposes by Le Studio Art Space and reflects common studio practice. Mold condition and lifespan vary, so treat the guidance here as a starting point rather than a guarantee.