When your dry clay has gone stiff and crumbly, it can usually be reclaimed by breaking it down, soaking it in water, and reworking it back into a smooth, usable state, unless it has already been fired.
Opening a bag or wrapping to find your clay has gone hard, crumbly, or cracked is a genuinely frustrating moment, especially mid-project.
At Le Studio Art Space, members bring us this exact problem regularly, and the good news is that dry clay is almost always salvageable.
This guide walks through why clay dries out, how to bring it back, and how to stop it happening again mid-session.
None of this requires special equipment. A bucket, some water, and a bit of patience are genuinely all you need in most cases.
By the end, you should feel confident tackling dry clay yourself rather than tossing out a piece that’s actually still perfectly usable.
Why Clay Dries Out In The First Place
Clay dries out simply through air exposure, and moisture in the clay body evaporates steadily the moment it’s left uncovered, even for a short while.
Working too slowly on a piece, with long pauses between stages, is one of the most common reasons clay dries out mid-project.
Poor storage, like a loosely closed bag or an unwrapped lump left on a shelf, genuinely accelerates moisture loss more than most people expect.
Warm or dry studio conditions can speed this process up considerably, especially during summer months or near a heater or sunny window.
Thin edges and handles dry out faster than thicker sections, which is exactly why cracks often appear at these vulnerable points first.
Reclaim clay and scraps left out between sessions are especially prone to drying, since they’re often smaller pieces with more exposed surface area.
Understanding these causes genuinely helps you prevent the problem next time, not just fix it after the fact.
Even a short lunch break without proper wrapping can be enough to noticeably stiffen the exposed surface of a piece.
Can Dried Out Clay Be Reclaimed
In almost every case, yes, dry clay can genuinely be reclaimed and reworked back into a smooth, usable state through slaking and reprocessing.
The one major exception is clay that has already been fired, since firing permanently changes the material and there’s no way to reverse that transformation.
Bone dry, cracked, or even completely crumbled clay is still genuinely reclaimable, as long as it hasn’t been through a bisque or glaze firing.
Many potters find reclaiming dry clay oddly satisfying, since it feels like genuinely rescuing material rather than wasting it.
Reclaimed clay does sometimes behave slightly differently from fresh clay, often needing a bit more wedging to reach an even consistency throughout.
Most studios, including ours, actively encourage reclaiming rather than discarding dry clay, both for cost reasons and because it genuinely works perfectly well.
Knowing that dry clay isn’t a lost cause takes a lot of the panic out of finding a hardened lump at the back of your shelf.
It’s genuinely worth keeping every dry offcut and scrap for reclaiming, rather than throwing usable material straight in the bin.
Step By Step Rehydrating Dry Clay
Start by breaking the dry clay into smaller chunks, which genuinely speeds up how quickly it absorbs water during the slaking process.
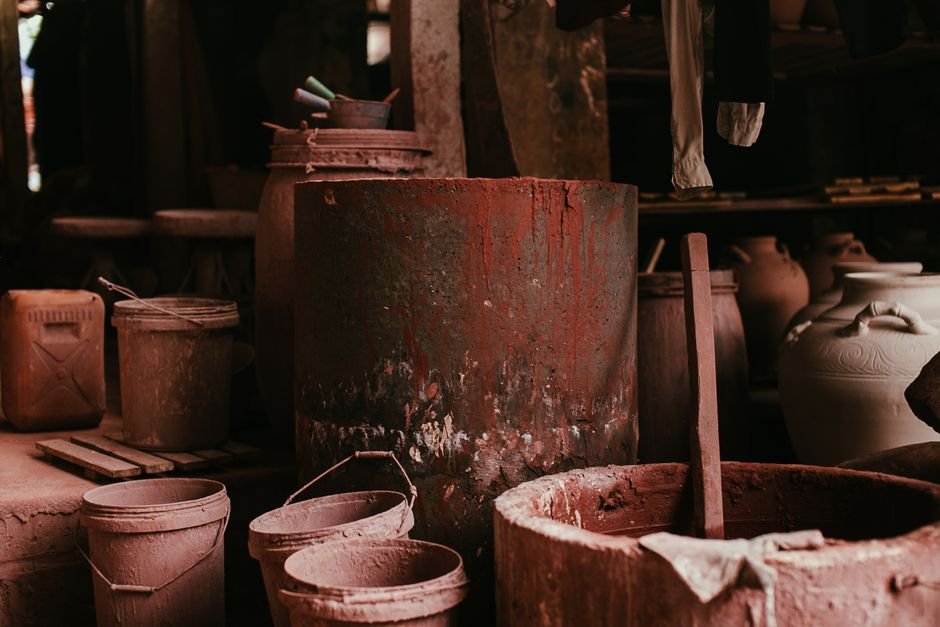
Place the broken pieces in a bucket and cover them completely with water, letting them soak, often overnight, until they’ve genuinely softened all the way through.
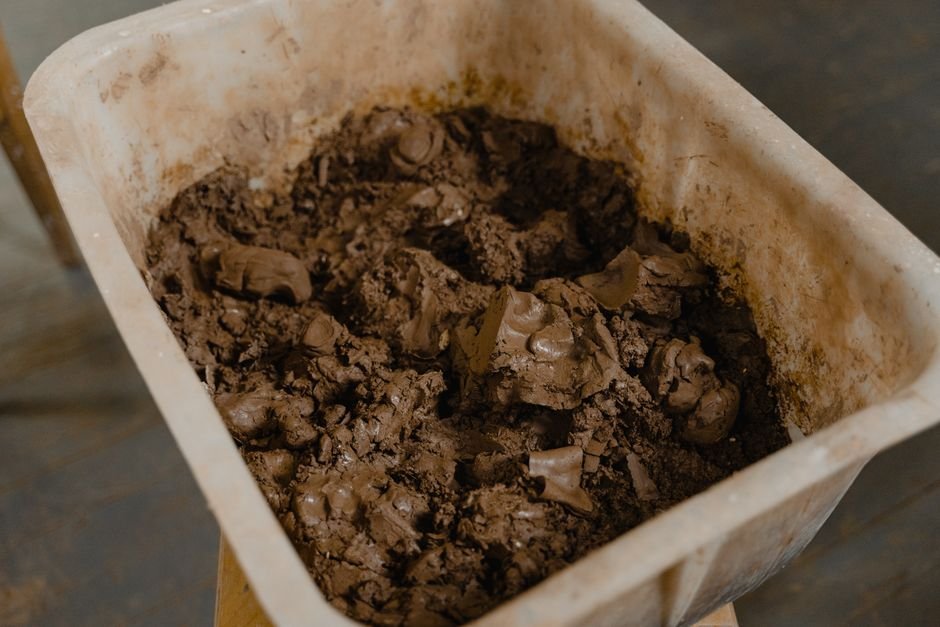
Once slaked down to a soft, muddy consistency, pour off any excess standing water, leaving a workable, though still quite wet, clay mixture.
Spread the wet clay onto a plaster bat or an absorbent surface, which draws out extra moisture and firms the clay back up gradually.
Check the clay periodically, and once it reaches a workable consistency, wedge it thoroughly to remove air pockets and even out the texture.
This whole process typically takes anywhere from a day to several days, depending on how dry the clay was and how much you’re reclaiming.
Patience genuinely pays off here, since rushing the drying-back-down stage can leave your reclaimed clay unevenly wet and harder to work with.
Flipping the clay periodically on the plaster bat helps it firm up evenly on both sides rather than one side drying faster.
Preventing Your Clay From Drying Out Mid Project
Keeping a damp cloth over your piece between working sessions is one of the simplest, most effective habits for preventing dry clay.
Wrapping the piece in plastic wrap or a plastic bag, on top of the damp cloth, genuinely locks in moisture for much longer periods.
Paying extra attention to thin areas, like handles, rims, and edges, helps prevent the uneven drying that so often leads to cracking.
Working at a steadier pace, rather than leaving long unplanned gaps mid-project, naturally reduces how much time your clay spends exposed to air.
A spray bottle of water is a genuinely handy studio tool for lightly remoistening a piece that’s started to feel a little dry.
Storing unused clay in a sealed, airtight container or bag between sessions prevents the slow, steady moisture loss that catches so many beginners off guard.
Building these small habits into your regular practice genuinely saves you from most dry clay surprises before they happen.
A quick check at the start of each session, gently pressing the surface, tells you within seconds whether a piece needs remoistening.
What Competing Guides Leave Out
Many guides explain slaking in the abstract without addressing when clay is genuinely too far gone, such as after multiple firings, to be reclaimed at all.
Few guides mention that a shared studio like ours genuinely helps manage this problem between sessions, since staff can advise on storage for pieces left mid-project.
What actually differs between reclaiming a small scrap versus a large, complex piece rarely gets proper attention, even though the process and timing genuinely differ.
Most overviews also skip how reclaimed clay can be blended back with fresh clay, which many potters find produces a genuinely more workable consistency.
Regional climate differences, like a hot, dry studio versus a cooler, humid one, meaningfully affect how quickly clay dries, a detail rarely mentioned.
How to tell reclaimable dry clay apart from fired, non-reclaimable ceramic is another practical distinction that surprisingly few beginner guides actually explain clearly.
Whether reclaimed clay needs a longer aging period before use is another detail many potters wonder about but rarely find addressed directly.
Many potters find reclaimed clay actually improves slightly with a short resting period, becoming a little more plastic and easier to work.
Storing Clay Properly Between Studio Visits
If you’re working on a piece over multiple sessions at a shared studio, ask staff about designated storage space for damp, in-progress pieces.
Double wrapping, a damp cloth followed by plastic, remains the most reliable combination for keeping a piece workable between visits, even a week or two apart.
Labelling your piece clearly helps studio staff store and protect it properly, especially in a busy shared space with multiple members’ work.
For longer breaks between sessions, checking in with staff about extra moisture or a light misting can prevent unpleasant surprises on your next visit.
Bags of unused clay should always be sealed tightly and stored away from direct heat sources or sunny windows within the studio.
At Le Studio Art Space’s ceramic studio, we’re always happy to advise on storage for a piece you’re returning to over several visits.
Good storage habits genuinely save you the reclaiming process altogether, which is always a little faster than fixing a problem after it’s already happened.
Bringing your own airtight container for a large or awkwardly shaped piece can also make between-session storage noticeably more reliable.
Got a dry clay problem or a piece you need to store between visits? Ask us at Le Studio Art Space’s ceramic studio in Mordialloc.
Frequently Asked Questions
Is my clay actually ruined if it’s completely dried out and crumbly?
Almost certainly not, as long as it hasn’t been fired. Even fully dry, crumbly clay can generally be slaked down in water and reworked back to a usable state.
How long does it actually take to rehydrate dry clay?
It typically takes a day or two to soften fully, plus a few more days drying back down to a workable consistency, depending on how dry it started out.
Can I just add water directly to dry clay without soaking it?
You can try misting a slightly dry piece, but fully hardened clay genuinely needs proper slaking, breaking it down and soaking it, to rehydrate evenly all the way through.
Will reclaimed clay work exactly the same as fresh clay?
Mostly yes, though many potters find it needs a bit more wedging first. At Le Studio Art Space, we’ve found reclaimed clay performs perfectly well once evenly worked.
What if my clay dries out between visits to the studio?
Wrapping it properly in a damp cloth and plastic before you leave prevents most drying, and studio staff can always advise on longer-term storage between sessions.
This article is provided for general educational purposes by Le Studio Art Space and reflects common studio practice.