Using Mayco’s Jungle Gems crystal glaze well means stirring or shaking it thoroughly before use, applying three coats with a soft fan brush while redistributing crystals for even coverage, keeping it away from the bottom of the piece, and firing to the recommended cone 06 or 05 range.
Jungle Gems has a bit of a reputation. Watch a demonstration piece and the crystal bloom looks effortless, but the first solo attempt often comes out patchy, thin, or missing the dramatic effect entirely.
At Le Studio Art Space, Jungle Gems comes up regularly in glazing sessions, partly because the results genuinely can be striking, and partly because getting there takes a bit more technique than a standard glaze.
This guide walks through the practical, hands on side of using Jungle Gems well, from preparation through application to firing, along with the troubleshooting most product instructions skip over.
What Jungle Gems Glaze Is Formulated To Do
Jungle Gems is Mayco’s crystal glaze line, formulated with heavier mineral crystals suspended in the glaze that settle out during the firing process to create a genuinely textured, sparkling surface unlike a standard smooth glaze.
Because those crystals are physically heavier than the rest of the glaze, they settle at the bottom of the jar between uses, which is exactly why proper preparation before every application matters so much with this particular glaze.
The crystals themselves bloom during firing, moving and clustering as the glaze becomes molten, which is what creates the distinctive scattered, gem-like texture Jungle Gems is genuinely known for.
Unlike most glazes, where even, consistent brushing is usually all that’s needed, Jungle Gems rewards a bit of deliberate, hands on redistribution of crystals during application to get a genuinely even, well covered result.
The line comes in a genuine range of colours, from deep jewel tones to softer earth-inspired shades, and each colour can behave slightly differently in terms of how visible the crystal bloom appears against its base tone once fired.
How Thick To Apply It
Three coats applied with a soft, broad fan brush is the generally recommended approach, letting each coat dry before adding the next rather than rushing straight through all three in one pass.
A fan brush specifically helps disperse the crystals more evenly across the surface than a standard round brush would, which genuinely matters for getting a consistent bloom pattern rather than random clumps.
Storing the jar upside down with the lid sealed between uses helps keep crystals evenly mixed and ready to use, since they’ll otherwise settle firmly at the bottom and need a lot more effort to redistribute before application.
Stirring or gently shaking the jar thoroughly before you start, and again between coats if the crystals seem to be settling, genuinely makes a visible difference to how even the final bloom pattern turns out.
Letting each of the three coats dry to the touch before adding the next also matters more with Jungle Gems than with a standard glaze, since applying a wet coat over another wet coat can disturb the crystal distribution you’ve already worked to even out.
Where To Place Pieces In The Kiln
Jungle Gems is genuinely fluid during firing, and crystals plus glaze will move as the piece heats, so keeping crystal-heavy application away from the very bottom of the piece helps avoid excess glaze pooling onto the kiln shelf.
Every piece glazed with Jungle Gems needs its own catch plate or kiln shelf protection, since the glaze’s fluidity during firing genuinely can drip and fuse to an unprotected shelf if not accounted for.
Leaving a clean, unglazed margin at the base of the piece, well below where you’ve applied the crystal glaze, gives that expected movement somewhere to go without running off the piece entirely.
Spacing pieces generously on the kiln shelf also matters more with a fluid glaze like this than with a standard glaze, since even a small amount of unexpected spread can bridge to a neighbouring piece if they’re placed too close together.
In a shared studio setting, checking with whoever is loading the kiln about where Jungle Gems pieces are being placed relative to other work is a genuinely worthwhile step, since it protects both your piece and everyone else’s from unexpected contact.
Combining Jungle Gems With Other Glazes
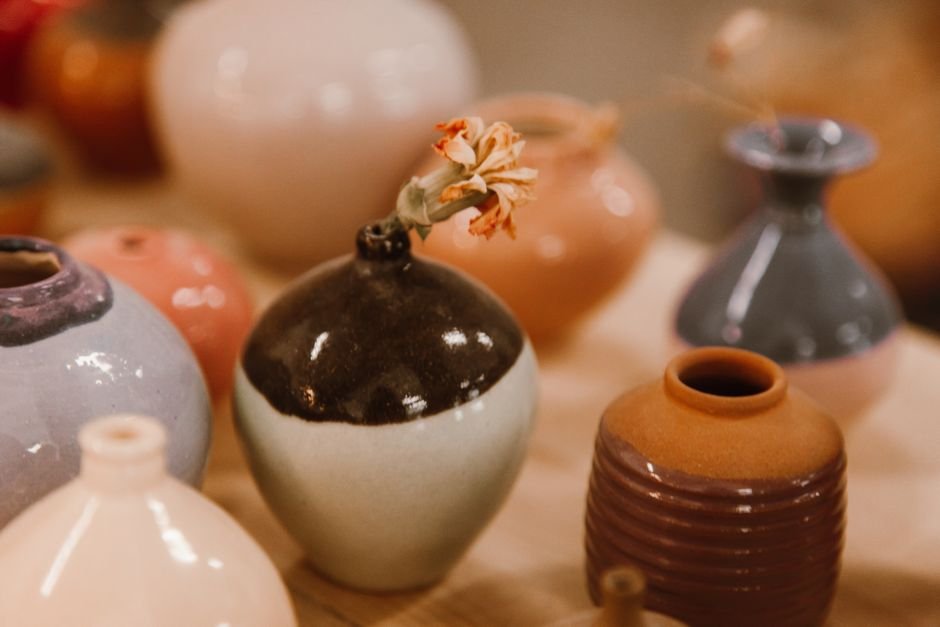
Layering Jungle Gems over or under another compatible low-fire glaze can genuinely produce interesting combined effects, though testing on a sample tile first is worth doing before committing to a full piece, since results can vary meaningfully between glaze pairings.
Applying a base colour glaze first, then Jungle Gems over the top in specific areas rather than the whole piece, is a popular way to combine a solid colour field with scattered crystal texture in the same piece.
Avoid layering Jungle Gems with another equally fluid, high-movement glaze, since combining two glazes that both move significantly during firing genuinely increases the risk of excessive runoff or an unpredictable, muddled result.
Keeping a simple test tile record of glaze combinations that have worked well together in your own kiln is a genuinely useful habit once you start experimenting with layering Jungle Gems.
Labelling each test tile clearly with the glazes used, the order they were applied, and the firing cone saves a lot of guesswork later, especially once you’ve tried several different combinations and want to repeat a specific result.
What Competing Guides Leave Out
Product instructions rarely set realistic expectations for a first attempt, and many potters find their first Jungle Gems piece looks noticeably less dramatic than the sample photos on the packaging, which is a completely normal part of learning the technique rather than a sign of doing something wrong.
How much the glaze genuinely moves during firing also tends to be understated. Even a well applied piece can shift and redistribute more than a first-time user expects, so leaving generous unglazed margins matters more than most instructions emphasise.
Few guides mention that Jungle Gems performs best specifically at its recommended cone 06/05 firing range, and pushing it to a higher, mid-range temperature changes crystal behaviour meaningfully, generally producing more movement and less distinct crystal formation.
Cleanup and jar maintenance between uses is another gap. Crystals that are allowed to fully dry out and cake at the bottom of a neglected jar are genuinely harder to redistribute evenly than crystals kept properly mixed and stored upside down between sessions.
Troubleshooting Disappointing Jungle Gems Results
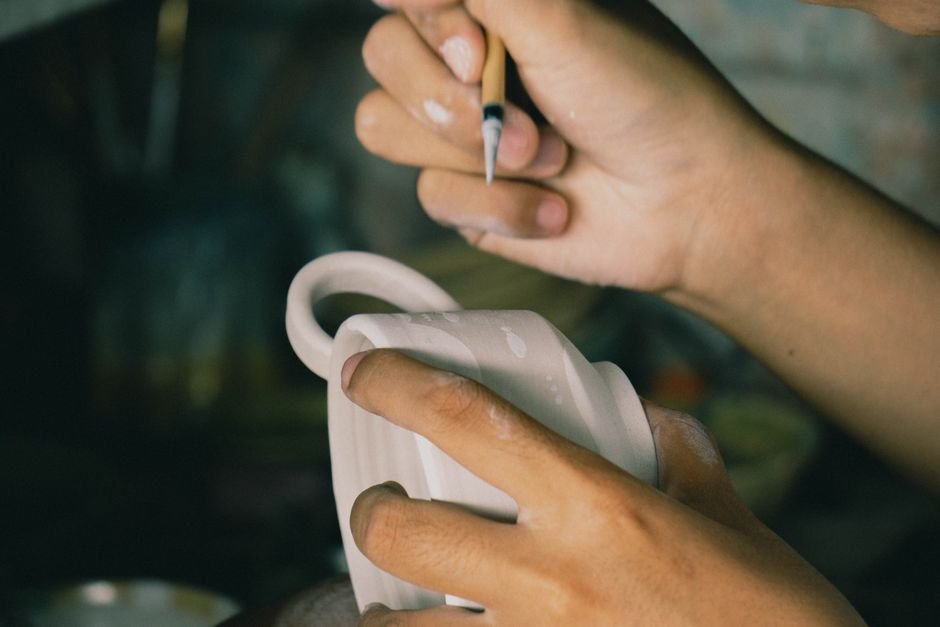
A flat, underwhelming finish with little visible crystal texture is usually down to crystals settling unevenly in the jar before application, or too thin an application overall, so revisiting your stirring and coat thickness is the first place to look.
If the glaze ran excessively and pooled at the base, it’s often a sign the application was too heavy near the bottom of the piece, or that the piece needed a wider unglazed margin to give the moving glaze somewhere safe to settle.
Patchy, uneven crystal distribution frequently comes down to skipping the final-coat redistribution step, where gently moving crystals with the brush into thinner areas genuinely helps balance out the finished coverage before firing.
If results still seem inconsistent after adjusting technique, checking your kiln’s actual firing schedule against the recommended cone 06/05 range is worth doing, since even a slightly off firing temperature can noticeably change how the crystals bloom.
Comparing notes with someone else who’s used Jungle Gems in the same kiln is also genuinely useful, since a shared studio setting means the schedule and load can vary firing to firing in ways a single potter working alone might not otherwise notice.
Want to see Jungle Gems results in person before trying it yourself? Come look at fired samples and try it during a glazing session at Le Studio Art Space in Mordialloc.
Frequently Asked Questions
Is Jungle Gems hard to use if I’ve never worked with a crystal glaze before?
It takes a bit more technique than a standard glaze, mainly around stirring and redistributing crystals, but many potters find it genuinely manageable after their first attempt, especially with guidance from someone who’s used it before.
Why does my Jungle Gems result look flat with barely any crystals?
That’s usually down to the crystals settling unevenly before application or too thin a coat overall, so make sure to stir thoroughly and apply the full three recommended coats.
Can I fire Jungle Gems higher than cone 06/05 for a different look?
You can, but crystal behaviour changes noticeably at higher temperatures, generally with more glaze movement and less distinct crystal formation, so it’s worth testing on a sample tile first.
Do I need special equipment to protect my kiln shelf?
A catch plate or kiln shelf protection is genuinely necessary, since Jungle Gems is a fluid glaze that can drip during firing, and Le Studio Art Space can advise on proper setup during a glazing session.
How many coats of Jungle Gems should I actually apply?
Three coats with a soft fan brush, letting each dry before the next, is the generally recommended approach, with a final redistribution pass to even out crystal coverage before firing.
This article is provided for general educational purposes by Le Studio Art Space and reflects publicly available product information and common studio practice.