Choosing the right pottery glaze mainly comes down to matching a glaze’s firing temperature to your clay body, then picking a finish, glossy, matte, satin, or something more textured, that suits what the piece is actually for. Testing on a spare tile before committing a full piece is the habit that saves the most disappointment. There is rarely a single correct glaze for a piece, more often several reasonable options depending on the look and function you are after.
Standing in front of a wall of pottery glaze options for the first time is a genuinely overwhelming moment, dozens of jars, unfamiliar names, and colors that look nothing like their fired result. Here at Le Studio Art Space in Mordialloc, we walk members through this exact decision constantly, so here is the practical version of how to actually choose a pottery glaze without a chemistry lecture.
What A Pottery Glaze Actually Does
At its core, a pottery glaze is a glass-forming coating that melts onto the surface of fired clay, sealing it and giving it color, texture, and finish. Functionally, glaze turns porous bisqueware into something that can hold liquid, resist staining, and survive daily handling, which matters enormously for anything meant to actually be used rather than just displayed.
Beyond function, glaze is also where most of a piece’s visual character comes from. The same thrown or hand-built form can look completely different depending on the pottery glaze chosen, from a quiet matte stoneware finish to a bright, glossy color that catches the light. That’s part of why choosing well matters so much, the glaze decision genuinely shapes how the finished piece reads.
It’s also worth remembering that glaze is doing structural work, not just decorative work. A well-chosen pottery glaze compensates for small surface imperfections left over from throwing or hand building, smoothing the overall feel of a piece even before you factor in colour. That’s part of why even experienced potters still treat glaze selection as a genuine design decision rather than an afterthought tacked on at the end of a project.
Matching Glaze To Your Clay Body And Firing Temperature
The single most important filter when choosing a pottery glaze is firing temperature compatibility, usually described by cone number. A glaze formulated for a low-fire earthenware body will not behave correctly on a stoneware piece heading to a much hotter cone, and vice versa, so this has to come before any decision about color or finish.
Most studios, ours included, work primarily within a specific firing range, so the glazes stocked on the shelf are usually already compatible with the clay bodies members are using. If you’re buying your own glaze outside a studio setting, always check the cone rating on the label against your clay body’s recommended firing range before anything else.
It’s worth double-checking this even when you’re confident, since mismatched glaze and clay firing ranges are one of the most common causes of a disappointing kiln opening. A glaze fired well below its intended temperature often stays dry and underdeveloped, while one fired too hot can run, blister, or lose the finish it was designed to have, so this single check genuinely prevents more wasted work than almost any other habit.
Finish Types To Consider
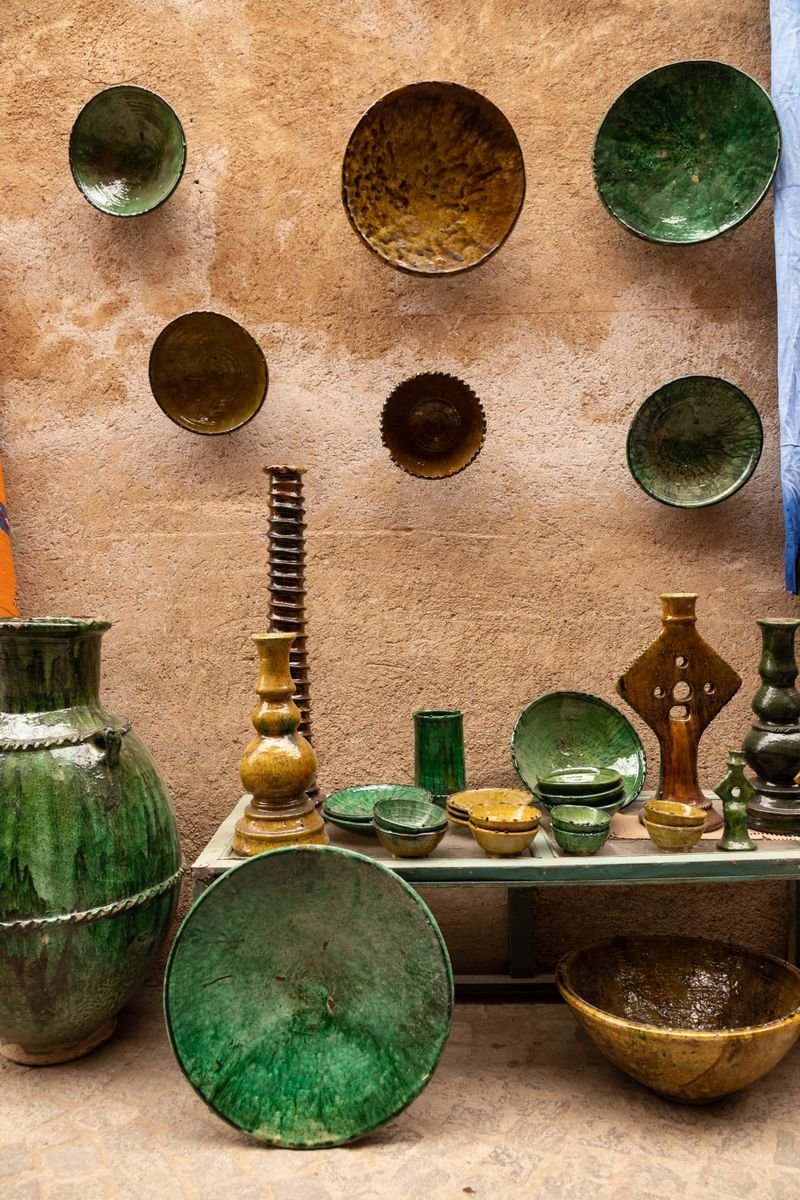
Once temperature compatibility is settled, finish is usually the next thing to think about. Glossy glazes reflect light and tend to make colors look richer and more saturated, while matte glazes have a soft, low-sheen surface that reads as quieter and more tactile. Satin sits between the two, with a gentle sheen that suits a lot of everyday functional work.
Beyond those basics there are specialty finishes like crystalline glazes, which grow visible crystal formations during cooling, and food safe glazes, formulated specifically to be safe for pieces that will hold food or drink. Most potters end up gravitating toward one or two finish families they like working with, then building color choices around that preference.
It’s genuinely worth handling fired samples of each finish type in person before deciding, since photos rarely capture how a glaze’s texture actually feels or catches light in real conditions. Many members at our studio change their mind about a preferred finish entirely once they’ve held a few fired test tiles side by side rather than judging purely from a supplier’s photo online.
How Glaze Behaves In The Kiln
How you apply a pottery glaze changes the fired result almost as much as which glaze you chose. Thicker application generally deepens color and can activate breaking or crystalline effects that a thin coat won’t show at all, while a coat that’s too thin can look patchy or fail to develop its intended color. Layering two glazes on top of each other can create genuinely striking combinations, but it can also run or pool unpredictably in the kiln if the layering isn’t tested first.
This is exactly why test tiles exist. Firing a small sample of a glaze, or a specific glaze combination, on a spare tile before committing it to a finished piece is the single habit that separates predictable results from expensive surprises, especially once you start layering or trying a glaze you haven’t used before.
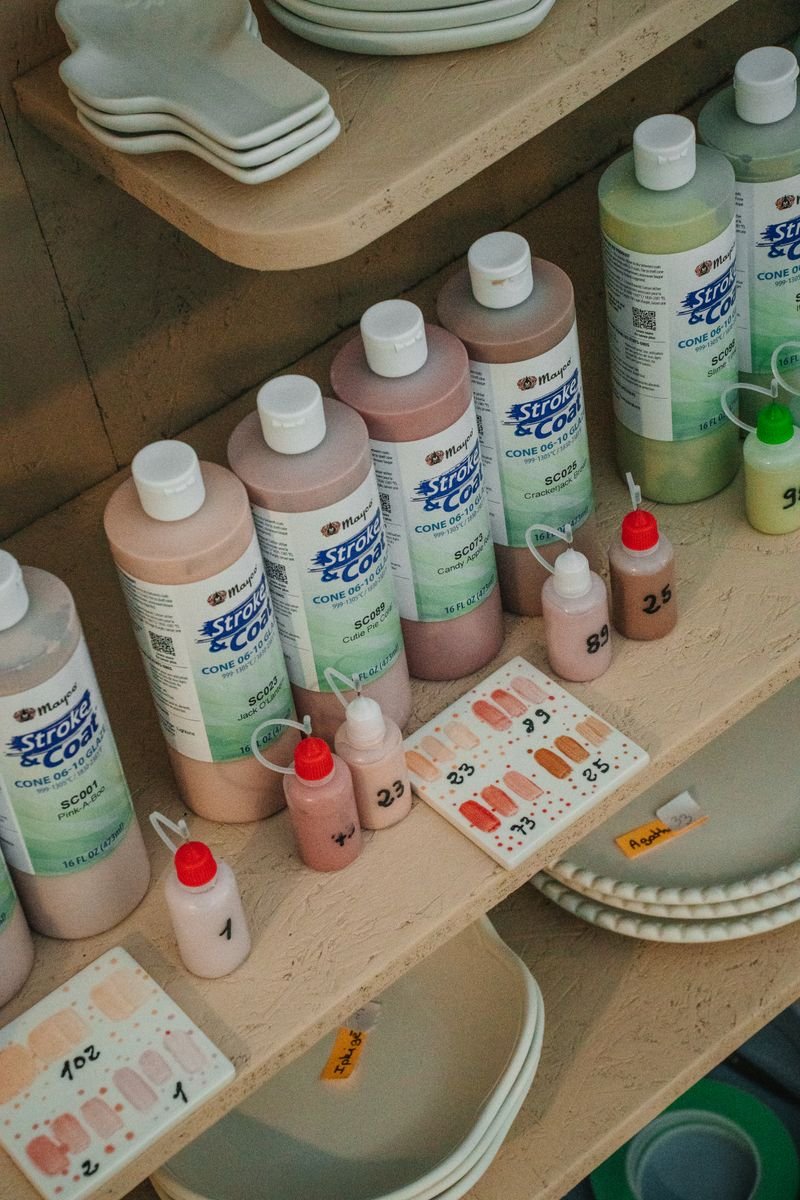
Keeping a labelled set of fired test tiles on hand, organised by glaze name and firing temperature, turns this habit into a genuinely useful reference library over time. Many working potters, ourselves included, treat this collection as an active tool they return to before every new project rather than a one-time exercise done only when first learning to glaze.
What Competing Guides Leave Out
A lot of glaze guides read like a chemistry class, silica, flux, and alumina ratios, without ever addressing the beginner mistakes that actually happen at the glaze shelf. Budget is one real gap. A small starter set of two or three reliable glazes in finishes you actually like is a completely reasonable way to begin, rather than feeling pressure to buy a huge range up front.
The other gap is the difference between studio-provided glaze and glaze you buy yourself. In a shared studio like Le Studio Art Space’s Ceramic Studio, members typically have access to a curated house glaze selection already matched to the studio’s clay bodies and firing schedule, which removes a lot of the compatibility guesswork that a solo home hobbyist has to figure out alone.
Studio-provided glaze also tends to come with something a solo buyer misses out on entirely, direct access to someone who has actually fired that exact glaze on that exact clay body before and can tell you honestly what to expect. That kind of practical, first-hand knowledge is genuinely hard to replace with a written label alone, no matter how thorough the manufacturer’s documentation is.
Common Pottery Glaze Mistakes To Avoid
Uneven application is probably the most common beginner mistake, thick in some spots and thin in others, which shows up clearly once a piece is fired. Slowing down and applying glaze in deliberate, even coats, checking as you go, solves most of this. Glazing the very bottom of a piece is another classic error, since glaze on the foot will fuse the piece to the kiln shelf during firing, so that area needs to stay clean or be wiped after dipping.
Skipping test tiles is the mistake that causes the most disappointment overall. Many potters find that a glaze looks completely different once it’s actually fired compared to how it looked wet in the jar, so testing first, especially with anything new or layered, is worth the extra step almost every time.
Reading about glaze only gets you so far. Come test and choose glazes in person during a class or open studio session at Le Studio Art Space in Mordialloc, where you can see how each one actually fires before committing a finished piece to it.
Frequently Asked Questions
How do I know if a pottery glaze will even work with my clay?
Check the cone number on the glaze label against your clay body’s recommended firing range, since that compatibility matters more than anything else. If you’re working in a studio, most house glazes are already matched to the clay bodies on offer, which takes this worry off your plate.
Why does my glaze look nothing like the color on the jar?
This trips up almost everyone at first, since unfired glaze is often chalky or a completely different color to how it fires. The true color only develops once heat, application thickness, and your specific clay body all come together in the kiln, so trust test tiles over the jar every time.
Is it okay to layer two different glazes on one piece?
Yes, many striking effects come from layering, but it’s genuinely unpredictable without testing first, since glazes can run, pool, or react differently than either does alone. Always try a layered combination on a test tile before committing it to a finished piece.
Do I need to buy a lot of glaze to get started?
Not at all. A small starter set of two or three reliable glazes in finishes you actually like is a genuinely reasonable way to begin, and many studios, Le Studio Art Space included, already provide a house glaze selection so you don’t need to buy your own straight away.
What happens if I accidentally glaze the bottom of my piece?
Glaze on the foot of a piece will fuse it to the kiln shelf during firing, so it needs to be wiped clean before the piece goes in. If you catch it before firing, simply wiping the base with a damp sponge solves the problem.
This article is provided for general educational purposes by Le Studio Art Space and reflects common studio practice. Always check a specific glaze’s own labeling and firing instructions before use, since results vary between products and studios.