A pot collapsing on the wheel is usually caused by clay that’s too wet or not properly centred, walls pulled too thin too quickly, the wheel spinning too fast for the stage you’re at, or overworking the clay until it’s too soft to hold its shape. Using less water, centring carefully, pulling gradually, slowing the wheel as the pot rises, and knowing when to stop all help prevent it.
There are few things more deflating than watching a pot you’ve worked hard on suddenly wobble, twist, and fold into a heap of wet clay. If your pot keeps collapsing on the wheel, you might start to wonder if you’re just not cut out for throwing. The truth is that pot collapsing on the wheel is one of the most common beginner experiences there is.
At Le Studio Art Space in Mordialloc, we help students troubleshoot collapses mid-class all the time, and the causes are nearly always the same handful of issues. This guide explains what’s going wrong, how to spot the warning signs, and what to do when a piece does come down, so you can keep going without losing heart.
Clay That Is Too Wet Or Poorly Centered
Water is essential for throwing, but too much of it is one of the biggest causes of collapse. Clay absorbs water as you work, softening the walls until they can no longer hold their own weight. Puddles sitting in the bottom of the pot make it worse, softening the base and the lower walls where support matters most.
The fix is using just enough water to keep your hands gliding, not dripping. Sponge out pooled water from the inside of the pot regularly, and consider using slip, the creamy clay on your hands, as lubricant instead of adding fresh water each time.
Poor centring is the other root cause. If the clay isn’t running true, one side of the wall will end up thicker than the other, and the thin side becomes a weak spot. As the pot rises, the uneven weight pulls it off balance until it twists or folds.
Take extra time on centring, especially at first. Brace your elbows, keep your hands still, and check by resting a finger lightly against the spinning clay. If you feel a bump each rotation, it’s not centred yet. Coning the clay up and down a couple of times can help.
Starting with clay that’s too soft from the bag can also cause problems. Wedging it on a plaster or canvas surface can firm it slightly before throwing.
Walls Pulled Too Thin Too Quickly
Beginners often try to reach full height in one or two big pulls. The walls get thin fast, especially near the base, and the pot loses its structural support. Once the lower walls are too thin, there’s nothing to hold the weight of the clay above.
Instead, aim for several gentle, even pulls, each thinning the wall slightly and raising it a little. Start each pull from the very bottom of the wall, and try to keep the pressure steady all the way up. Uneven pressure creates thin rings that become collapse points.
Keep the lower walls a little thicker than the upper walls, particularly as a beginner. Thin, even walls look lovely, but they take practice. You can always trim excess clay from the base later.
Collaring, which means gently squeezing the pot inward with both hands, can help keep a rising form narrow and stable between pulls. Flared shapes are far more likely to collapse than upright cylinders.
A good habit is to throw your form as a straight cylinder first, then shape it at the very end. Many beginners push outward too early, trying to make a bowl or belly while the walls are still thick at the bottom and wet everywhere. Getting the height and wall thickness right before shaping gives the clay the strength it needs to hold a curve without slumping.
Working At The Wrong Speed
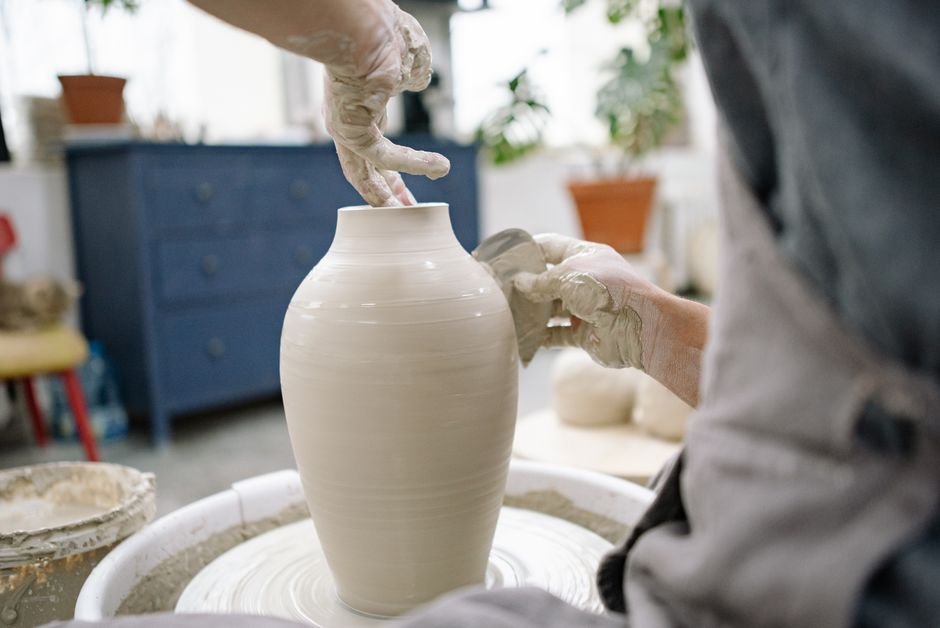
Wheel speed affects stability more than many beginners realise. Centring usually works best at a fairly fast speed, while opening, pulling, and shaping typically need slower speeds. As the pot gets taller and wider, the wheel should slow down further.
When the wheel spins too fast for a tall or wide form, centrifugal force pushes the walls outward. Combined with thin or wet clay, that’s a recipe for a sudden flare and collapse, particularly with bowls and wide shapes.
Going too slowly can cause problems too, since your hands may drag and twist the clay rather than gliding. The aim is a speed where your hands move smoothly and the clay feels under control.
A helpful habit is matching your hand speed to the wheel speed. Pull slowly on a slow wheel, and keep your hands steady and braced. Many instructors suggest pulling so that your hands rise about one finger width per rotation.
Spending Too Long On One Piece Until It Collapses
It’s natural to keep fiddling with a pot to get it just right, but clay has limits. The longer you work, the more water it absorbs and the more it tires. Eventually, it simply can’t hold its shape anymore, and even a gentle touch sends it down.
Overworking often shows as walls that feel floppy, a surface that looks shiny and slick, or a rim that starts to wobble on its own. These are signs to stop shaping and finish the piece.
Setting a rough limit can help. Many beginners find that a handful of pulls and a little shaping is plenty for a first cylinder or bowl. If you’re not happy, cut it off and start fresh rather than trying to rescue a tired pot.
Throwing several small pots quickly teaches more than struggling with one for an hour. Each attempt builds muscle memory and helps you understand when to stop.
A heat gun or hair dryer, used carefully, can firm up a tiring pot enough to finish it, and some studios keep one near the wheels for this reason. Keep it moving and at a distance, dry the outside evenly while the wheel turns slowly, and don’t aim at one spot for long. It’s a handy rescue tool, but it’s no substitute for using less water and fewer pulls from the start.
What Competing Guides Leave Out
Most guides list causes but skip the early warning signs that come before a full collapse. A slight wobble at the rim, a wall that seems to twist as you pull, a ring of thin clay near the base, or a pot that starts leaning to one side are all signals to stop pulling and assess.
When you spot these signs, try slowing the wheel, sponging out water, and collaring the pot gently inward. Sometimes you can save the piece by cutting off an uneven rim with a needle tool and finishing it shorter.
Guides also rarely address how long it takes to stop collapsing pots. Realistically, many beginners collapse pieces regularly for their first several sessions. With consistent weekly practice, collapses usually become much less frequent over a few months, though even experienced potters still lose the occasional piece.
It’s also worth knowing that some clays are more forgiving than others. Smoother, softer throwing clays and porcelain collapse more easily, while stoneware with a little grog often holds up better for beginners. Our article on what makes porcelain pottery different explains why.
What To Do When A Piece Collapses Mid Session
First, take a breath. A collapse isn’t a failure, it’s information. Look at where the clay gave way, whether that’s a thin spot, an off-centre section, or a soggy base, because that tells you what to adjust next time.
If you’d like to learn even more from it, cut the collapsed pot in half vertically with a wire. Seeing the wall thickness from base to rim is one of the fastest ways to understand your pulling technique.
Then scrape the clay into the reclaim bucket and start again with a fresh, wedged ball. Don’t try to re-centre the collapsed clay, since it’s usually too wet and tired to throw well.
Keep a light mood, too. Every potter has a pile of collapsed pots behind them. For more wheel guidance, see wheel throwing tips for beginners, or get hands-on help in our workshops and classes. Members of our ceramic studio can use our firing service once pots finally make it through.
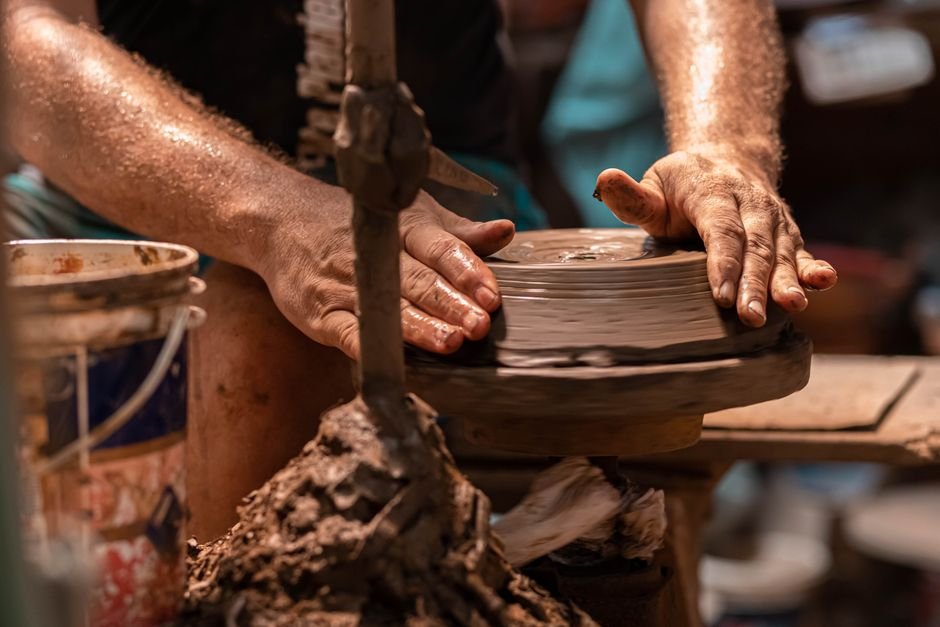
Tired of watching your pots fold? Get hands-on troubleshooting help during a wheel class at Le Studio Art Space in Mordialloc, where our instructors can spot what’s going wrong and help you fix it on the spot.
Frequently Asked Questions
Why does my pot collapse right when it’s almost finished?
Often because the clay has absorbed too much water or been worked too long. By the end, it’s too soft to support the walls, especially if the base is thin.
Is it normal to collapse most of my pots as a beginner?
Yes, it’s very common. Most beginners collapse plenty of pots before centring and pulling become consistent.
Should I use less water when throwing?
Usually, yes. Use just enough to keep your hands moving smoothly, and sponge out any water pooling inside the pot.
Can I reuse the clay from a collapsed pot?
Yes, but not straight away. It’s usually too wet, so it goes into reclaim, where it’s dried and wedged back into usable clay.
Can someone watch me throw and tell me what I’m doing wrong?
That’s exactly what a class is great for. Instructors at Le Studio Art Space can watch your technique and suggest specific fixes.
This article is provided for general educational purposes by Le Studio Art Space. Results vary with clay type, equipment, and individual technique.