In a pottery wheel class, you’ll usually start with a welcome, a short safety briefing, and a demonstration, then sit at your own wheel to learn centring, the first and most important skill. Next you’ll open the clay and try pulling up walls to make a simple cylinder or bowl. Your pieces then dry, get trimmed, glazed, and fired over the following weeks before you can take them home.
You’ve booked your first pottery wheel class, and now the questions start. What will actually happen when you arrive? Will you be expected to know anything? How messy will it get, and will you really leave with something you made? A little bit of nervous excitement is completely normal.
At Le Studio Art Space in Mordialloc, we’ve welcomed many first-time wheel students, and the ones who know what to expect tend to relax and enjoy it more. This guide walks you through a typical pottery wheel class step by step, from the moment you walk in to the day you collect your finished pieces.
How A Pottery Wheel Class Typically Begins
Most classes start with a friendly welcome and a quick introduction to the studio. Your instructor will usually show you where to put your belongings, where aprons and towels are, and where the sinks and cleanup areas are. This is also a good moment to mention if you’re left handed, since some wheels can be set to spin in the opposite direction.
A short safety briefing follows. It covers things like keeping loose sleeves, long hair, and jewellery away from the spinning wheel, how to use the foot pedal safely, and how to handle tools. It’s simple and relaxed, but it helps everyone feel confident.
Next comes a demonstration. The instructor throws a simple piece while explaining each step, from placing the clay on the wheel to shaping a basic cylinder or bowl. Watching an expert makes everything look easy, and that’s fine. It’s there to show you the sequence, not to set expectations.
Finally, you’ll get set up at your own wheel. The instructor will show you how to sit, where to place your arms and elbows, how to use the pedal to control speed, and how to keep a bowl of water and a sponge within easy reach.
If you’re wondering what to wear for all this, our guide on what to wear to a pottery class has you covered.
Learning To Centre The Clay First
Centring is the very first skill taught in almost every pottery wheel class, and for good reason. It means pressing and guiding the spinning clay until it runs perfectly true, without wobbling. Every later step depends on it, since off-centre clay pulls unevenly and quickly collapses.
You’ll start by slapping a ball of wedged clay firmly onto the centre of the wheel head. Then, with the wheel spinning fairly fast and your hands wet, you’ll brace your elbows against your body or thighs and use steady pressure to push the clay into a smooth, even mound.
Instructors often teach coning, where you squeeze the clay up into a tall cone and then press it back down. This helps align the clay and makes centring easier. It feels strange at first, but it quickly becomes satisfying.
Expect centring to be the hardest part of your first class. It takes strength, stillness, and patience, and most beginners need several attempts with help from the instructor. That’s completely normal, even for people who later become skilled potters.
Our article on centering, throwing, and trimming explains how each step fits together if you’d like to read ahead.
Moving On To Basic Shaping
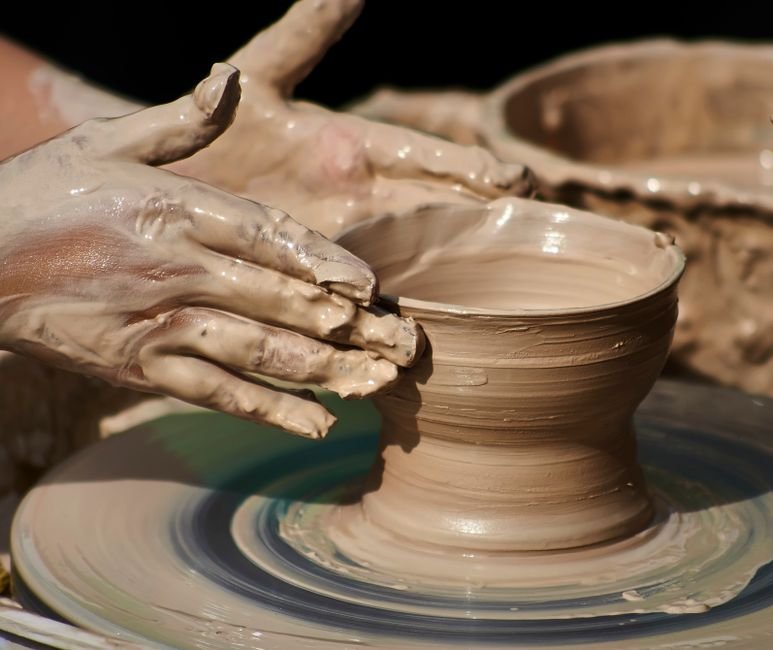
Once your clay is centred, you’ll learn to open it. This means pressing your thumbs or fingers down into the centre of the spinning clay to create a well, while leaving enough thickness at the bottom for a base. Your instructor will show you how to check the base thickness.
Next comes pulling up the walls. With the wheel at a slower speed, you’ll pinch the clay gently between your fingers, one hand inside and one outside, and draw it upward. Each pull thins the wall and raises it a little higher. Beginners typically aim for a simple cylinder or a low bowl.
Shaping follows. By gently pressing from inside or outside, you can widen the form into a bowl or keep it straight for a cup. Finishing touches might include smoothing the rim with a sponge or chamois and cleaning up excess water from inside the piece.
Finally, you’ll use a wire to cut your piece off the wheel head and carefully move it to a board. It’s a nerve-wracking moment the first time, but instructors are there to help.
Throughout this stage, you’ll probably make several attempts. It’s common for instructors to encourage beginners to throw, cut a piece in half to look at the wall thickness, and start again. Seeing the cross section of your pot is one of the fastest ways to understand where the clay is too thick or thin, and it turns a collapse into a genuinely useful lesson.
What Happens To Your Piece After Class
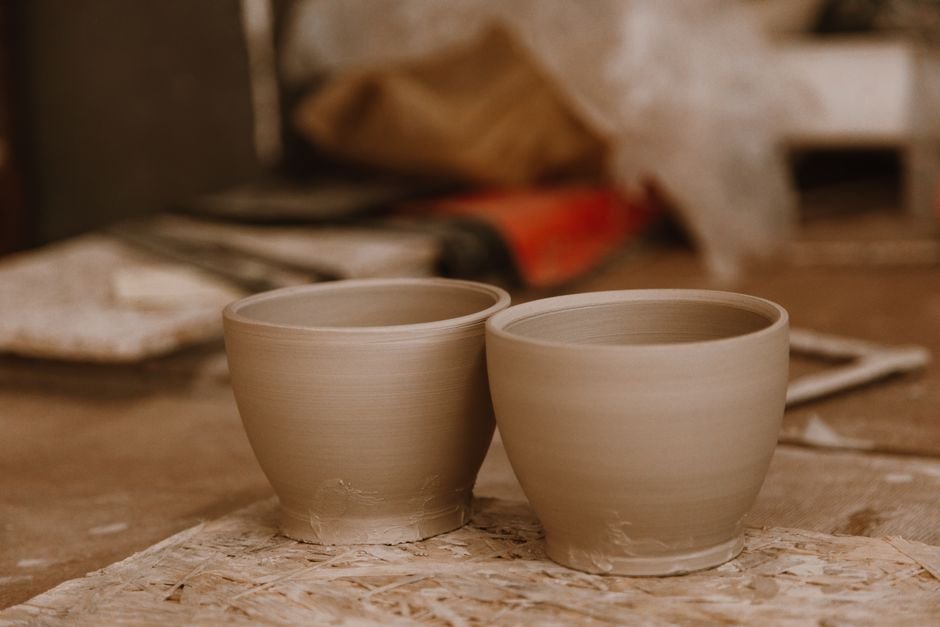
Your piece isn’t finished when you leave. First, it needs to dry to leather hard, a firm but still slightly damp stage. At that point, it’s usually trimmed on the wheel to tidy the base and refine the shape. In some classes you’ll return to trim it yourself, while in others the studio trims it for you.
After trimming, the piece dries completely, which can take several days to a week. It’s then bisque fired in a kiln, turning the clay into hard, porous ceramic ready for glazing.
Glazing may happen in a later session, where you choose colours and apply them yourself, or staff may apply a standard glaze for you, depending on the class. The piece then goes through a second, hotter glaze firing through a firing service like ours.
From throwing to collection, the whole process often takes two to four weeks, depending on the studio’s schedule. It’s worth asking at the start of your class when you can expect to pick up your pieces.
What Competing Guides Leave Out
Many descriptions of wheel classes make it sound clean and serene, but it’s honestly quite messy. Clay slip splashes onto your hands, arms, and often your clothes. Your hands will be covered in wet clay for most of the session. It washes off easily, but it’s worth dressing for mess rather than style.
Guides also rarely show realistic first-attempt results. Most beginners’ first pieces are small, a bit thick, and often lopsided. Some collapse entirely, sometimes more than once. That’s not failure, it’s how everyone learns, and instructors fully expect it.
It’s also common to leave with fewer pieces than you hoped. Many classes allow you to keep one or two of your best attempts, while others are recycled. Focus on the experience and what you learn rather than on the number of finished items.
Finally, wheel throwing is surprisingly physical. Your arms, hands, and back may feel it afterwards, particularly from centring. Taking short breaks and keeping good posture helps.
Cleanup is part of the class too, and it takes longer than people expect. You’ll usually wash your wheel, splash pan, tools, and work area before you leave, and wipe surfaces with a damp sponge rather than sweeping, which keeps clay dust down. Many studios build around fifteen minutes into the end of each class for this, so don’t be surprised when the instructor calls time on throwing a little early.
What To Expect By The End Of Your First Pottery Wheel Class
By the end of your first class, most people have centred clay with help, opened it, pulled up walls at least once, and made one or two simple pieces. They also usually have a much better sense of how clay feels and responds on the wheel.
You probably won’t feel like an expert, and that’s perfectly fine. Wheel throwing takes regular practice to master, and even experienced potters remember their first wobbly bowls fondly. Our guide on how long it takes to learn wheel throwing sets realistic expectations.
What many people do leave with is a sense of calm, a sense of achievement, and a strong urge to try again. If you’d like to compare this to a broader class covering hand building too, see what to expect in a beginners ceramics class.
If the wheel has you hooked, our workshops and classes offer next steps, and our ceramic studio gives you space to keep practising.
Ready for your first spin? Book a pottery wheel class at Le Studio Art Space in Mordialloc, where small groups, patient instructors, and your own wheel make learning to throw a relaxed and memorable experience.
Frequently Asked Questions
Do I need any experience for a pottery wheel class?
No, beginner wheel classes are designed for people who have never touched clay. Your instructor will guide you through every step.
Will I actually make something in my first class?
Most people make one or two simple pieces, like a small cup or bowl. They may be a little wonky, but that’s part of the charm.
Why is centring so hard?
Centring takes steady pressure, good posture, and practice. Almost everyone finds it tricky at first, and it gets easier with each session.
When can I take my pottery home?
Usually two to four weeks later, after drying, trimming, glazing, and firing. Your studio will tell you when pieces are ready to collect.
Is Le Studio Art Space a good place for a first wheel class?
Many first-timers enjoy starting with us. Le Studio Art Space runs small, friendly wheel classes in Mordialloc designed for complete beginners.
This article is provided for general educational purposes by Le Studio Art Space. Class formats, inclusions, and firing timelines vary between studios.