The right sculpting clay holds its shape, supports its own weight, and dries evenly without cracking. For kiln fired sculpture, many potters choose a grogged stoneware or a dedicated sculpture clay, because the grog adds strength and reduces shrinkage problems. Smooth clays suit fine detail, while non fired modelling clays are better for practice pieces and maquettes than permanent work.
You’ve got an idea for a sculpture, maybe a figure, an animal, or an abstract form, and now you’re staring at a wall of clay bags wondering which one to use. Choosing sculpting clay isn’t quite the same as choosing clay for the wheel, and the wrong body can turn a promising piece into a cracked, slumped disappointment.
At Le Studio Art Space in Mordialloc, members planning a sculpture often ask us which clay to grab. This guide explains what a good sculpting clay needs to do, why grog matters, how smooth and textured bodies compare, and how to pick a sensible clay for your very first sculpture.
What Sculpting Clay Needs To Do Well
A good sculpting clay needs to hold its shape. Unlike a thrown pot that’s supported by the wheel and its round form, a sculpture often has overhangs, limbs, and unusual angles. The clay has to stay where you put it without sagging or slumping as you work.
It also needs to support its own weight. Larger sculptures are built upward over hours or days, so the lower sections carry everything above them. A clay with good green strength, meaning strength before firing, makes that far easier.
Even drying is just as important. Sculptures often have thick and thin sections side by side, which dry at different speeds. A clay that tolerates uneven drying is much less likely to crack at joins and thin edges.
Finally, it needs to survive the kiln. Sculpting clay should handle the firing temperature your studio uses, with shrinkage that’s moderate and predictable. Our guide on signs your clay body is wrong for your piece covers what happens when it doesn’t.
Grogged Clay And Why Sculptors Like It
Grog is clay that has already been fired and then crushed into small particles, ranging from fine sand to coarse grit. When it’s mixed into a clay body, it changes how the clay behaves in some very useful ways for sculpture.
First, grog adds structure. Those little fired particles act like a skeleton inside the clay, helping it stand up and hold form, especially in tall or wide pieces.
Second, grog reduces shrinkage and cracking. Because the grog has already been fired, it doesn’t shrink again, so the overall clay body shrinks less. It also creates tiny pathways that help moisture escape, which supports more even drying.
Third, grogged clays tend to cope better with thermal stress in the kiln. That’s why sculpture clays, raku clays, and some fire clays often contain plenty of grog. Our article on what fire clay is used for explains a related family of very tough clays.
The trade off is texture. Grogged clay feels gritty and can be rough on the hands, and it’s harder to get a glassy smooth surface. Many sculptors don’t mind, and some love the character it adds.
Smooth Versus Textured Clay Bodies
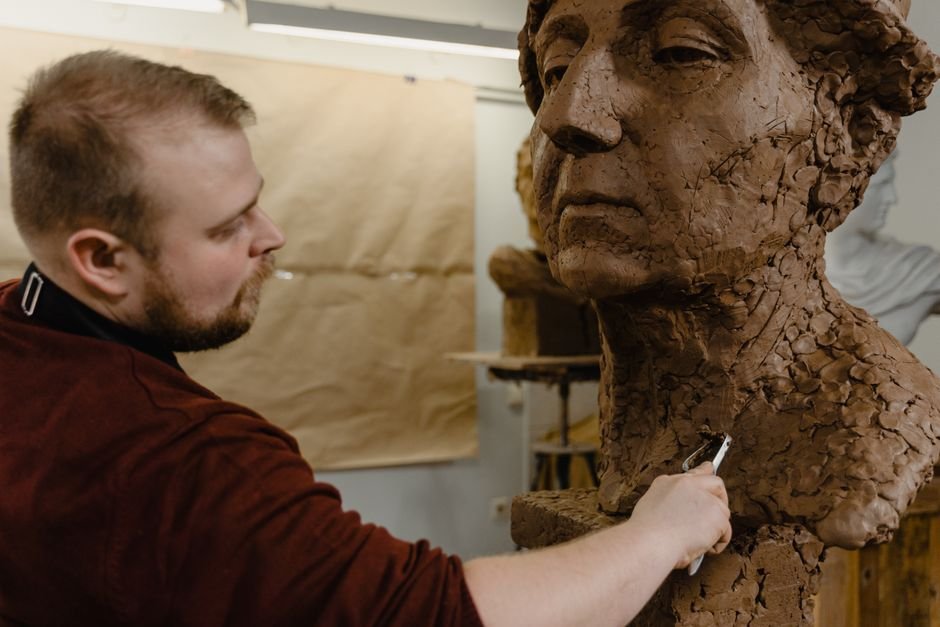
Smooth clays, with little or no grog, are wonderful for fine detail. Facial features, delicate textures, and crisp edges are easier to achieve, and the surface can be polished or burnished beautifully.
The downside is that smooth clays are often less forgiving. They can crack more easily during drying, especially if a piece has thick sections, and they may slump if the form isn’t well supported.
Textured or grogged clays are stronger and more forgiving, which makes them a popular choice for larger pieces and beginners. They suit rustic, organic, or rough finishes, and they take slips and oxides in a way that highlights their texture.
Some sculptors use both, building the main structure in a grogged clay and adding fine details with a smoother clay of the same type and firing range. If you try this, make sure both clays are compatible, ideally from the same supplier and range, so they shrink similarly.
Paper clay is another option worth knowing about. It’s ordinary clay with fine paper fibres mixed in, which burn away in the kiln. The fibres give unfired pieces impressive strength and make it easier to join dry or leather hard sections, so some sculptors use it for thin, ambitious forms. It can be messier to store, though, and not every studio stocks it, so ask before you buy.
Kiln Fired Clay Versus Non Fired Modelling Clay
Not all sculpting clay is meant for a kiln. Air dry clay hardens as it dries, polymer clay is cured in a home oven, and oil based modelling clay, sometimes called plasticine, never fully hardens at all.
These non fired clays have real uses. Oil based clay is popular for sketches, character models, and maquettes that will later be cast in another material. Polymer clay is great for small, detailed pieces like miniatures. Air dry clay suits kids’ projects and decorative pieces that won’t get wet.
Kiln fired clay is a different thing altogether. Once fired, it becomes permanent ceramic that won’t soften in water and can last for centuries. If you want a sculpture that can sit outside, be glazed, or be passed down, fired clay is usually the way to go.
The honest comparison is that non fired clays are easier to start with but more limited, while kiln fired clay needs access to a kiln but gives a much more durable result. Our guide comparing air dry clay and kiln fired clay goes into more detail.
What Competing Guides Leave Out About Sculpting Clay
Many guides to sculpting clay list clay types without mentioning one of the most important steps: hollowing. Thick, solid clay can trap moisture deep inside, which turns to steam in the kiln and can crack or even burst a piece.
A common rule of thumb is to keep walls no thicker than about two centimetres. Larger sculptures are usually built hollow from the start, using coils or slabs, or carved out from underneath once leather hard. A small hole in any enclosed space lets air escape during firing.
The other gap is kiln matching. Every clay has a firing range, and your sculpture needs to be made from a clay that suits the kiln it will go into. A low fire clay in a mid fire kiln can slump or bloat, while a high fire clay fired too low stays weak.
That’s why choosing a clay your studio already fires is such a good idea. If you’re unsure, check the cone number on the bag and compare it with your studio’s firing range. Our guide on what cone numbers mean explains how, and our firing service team can confirm whether a clay suits our kilns.
Picking A Sculpting Clay For Your First Sculpture
For a first sculpture, a mid fire stoneware with a medium amount of grog is a forgiving, reliable choice for many beginners. It holds its shape well, copes with a bit of uneven drying, and fires to a strong, durable finish.
Keep the piece small and compact the first time, and focus on even walls and well scored joins. You’ll learn a lot about how your clay behaves before you try anything larger or more ambitious.
Don’t overthink it. Most sculptors try several clays over time and settle on a favourite through experience. The best first choice is usually one recommended by your studio, because it’s already proven in their kilns.
It also helps to buy a little more clay than you think you’ll need. Sculptures often grow as you work, and you’ll want extra for testing joins, trying textures, and making a small test piece to see how the clay looks once fired. A single 10 kilogram bag is usually more than enough for a first project.
If you’re still building your toolkit, our guide on clay sculpting equipment worth investing in is a helpful next read, and our article on where to buy pottery clay covers sourcing. Our workshops and classes and ceramic studio membership give you clay, tools, and guidance in one place.
Planning a sculpture and not sure which clay to use? Ask which clay bodies suit sculpture at Le Studio Art Space’s ceramic studio in Mordialloc, and we’ll help you choose one that works with your idea and our kilns.
Frequently Asked Questions
What is the best clay for sculpting for beginners?
Many beginners do well with a grogged mid fire stoneware, because it’s strong and forgiving. Ask your studio which clay suits their kilns before buying.
Can I use wheel throwing clay for sculpture?
You can, especially for small pieces. Smooth throwing clays may crack or slump more in larger sculptures, so a grogged clay is often easier.
Is air dry clay good enough for a real sculpture?
It’s fine for indoor decorative pieces and practice. It isn’t waterproof or as durable as fired clay, so it’s not ideal for permanent or outdoor work.
Why does my clay sculpture keep cracking as it dries?
Usually because thick and thin areas are drying at different speeds, or joins weren’t scored and slipped. Slower drying and a grogged clay often help.
Can Le Studio Art Space fire my sculpture if I make it elsewhere?
Our firing service can fire work made outside the studio, as long as the clay suits our kiln temperatures. It’s best to check with Le Studio Art Space about your clay before you start.
This article is provided for general educational purposes by Le Studio Art Space. Results vary with clay type, technique, and firing conditions, so always follow your clay manufacturer’s guidance.