The easiest mug painting ideas for beginners rely on repetition rather than drawing skill: polka dots, stripes, simple repeating shapes, sponge textures and colour blocking all look intentional with very little practice. Stencils, stamps and tape resist add bigger visual impact, while names, initials and small motifs turn a plain mug into a personal gift.
A blank mug can feel surprisingly intimidating. There’s a curved surface, a handle in the way, and a nagging worry that you can’t draw. The good news is that the most satisfying mug painting ideas don’t need any drawing ability at all. They rely on pattern, colour and a bit of planning.
At Le Studio Art Space in Mordialloc we love watching first timers relax once they realise a few dots or stripes can look fantastic. This guide shares easy mug painting ideas, how to use stencils and stamps, ideas for gifts, colour combinations that work, how to plan around the mug’s shape, and a few things that other idea lists tend to ignore.
Simple Mug Painting Ideas That Always Work
Polka dots are the classic starting point for good reason. Dip the end of a brush handle, a pencil eraser or a round sponge into colour and press it onto the mug. Even spacing looks neat, while random spacing looks playful, and both feel finished.
Stripes are just as forgiving. Horizontal bands around the mug are easiest if you use a banding wheel or simply turn the mug slowly while holding the brush still. Vertical or diagonal stripes look lovely when they’re a little uneven, because the handmade wobble adds charm.
Repeating shapes such as hearts, triangles, leaves or tiny crosses build a pattern quickly. Choose one shape and repeat it in rows or scattered across the surface. Repetition is what makes simple marks read as a deliberate design.
Colour blocking is another low stress option. Paint the lower half one colour and the upper half another, or dip the bottom in a contrasting shade. Clean edges aren’t essential, as a soft line can look modern and relaxed.
Sponge texture is perfect for anyone who doesn’t want hard lines at all. Dab a natural sponge lightly in two or three colours over the surface for a speckled, stone like finish that hides small mistakes beautifully.
Mug Painting Ideas Using Stencils And Stamps
Stencils let you create crisp shapes without freehand drawing. Hold a stencil firmly against the mug and dab colour through it with a sponge, rather than brushing, so paint doesn’t creep underneath. Lift it straight off and let that area dry before moving on.
Low tack tape works like a stencil you can cut yourself. Mask off stripes, chevrons or a geometric band, paint over the tape, then peel it away carefully once the paint is touch dry. The result looks surprisingly professional for very little effort.
Stamps add repeating texture fast. Foam stamps, carved rubber stamps or even a cut potato can print shapes onto a mug. Apply a thin, even coat of colour to the stamp so the print is clear rather than blobby. Our guide to using ceramic stamps covers more techniques.
Wax resist is a studio favourite. You paint a design in wax, then paint colour over the top, and the wax repels it to leave your design showing in the base colour. Our article on how wax resist works explains the steps.
Natural objects make great stencils too. Leaves, ferns and lace can be pressed onto a mug and sponged around, leaving a delicate silhouette that’s hard to achieve freehand.
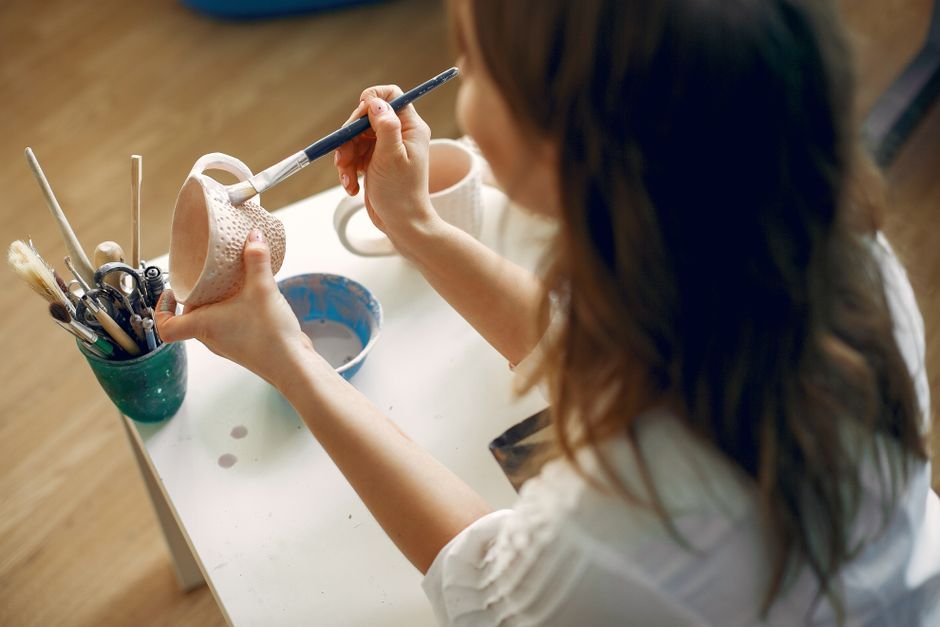
Personal And Gift Mug Painting Ideas
Names and initials are the most popular gift idea. Lightly sketch the letters in pencil first, as the graphite burns away in the kiln. Simple block or rounded letters are easier than script, and a slightly wobbly hand painted name feels warmer than perfect type anyway.
Small motifs that mean something work well too. A favourite flower, a pet’s paw print, a tiny house, a wave, or a coffee bean can sit on one side of the mug and say a lot without needing detailed drawing.
Handprints and fingerprints are wonderful for gifts from children. Fingerprints can be turned into little bees, birds or balloons with a few painted lines, which makes them fun for kids and grandparents alike.
Short words or dates also work well. A meaningful word, a nickname or a special date painted near the rim makes a mug feel personal. Keep text short so it fits comfortably on the curve.
Matching sets are a lovely idea for couples or families. Use the same colour scheme with a different initial or motif on each mug, so they read as a set while each person still has their own.
Seasonal designs are another easy win. Snowflakes, autumn leaves, citrus slices or a simple sun can be built from a few basic shapes, and they make thoughtful presents for birthdays or holidays. Keep the motif small and repeat it two or three times around the mug for a balanced look.
Colour Combinations That Look Good Together
Limiting yourself to two or three colours is the easiest way to make a design look polished. Too many colours on one mug can feel busy, while a small palette feels deliberate and calm.
Analogous colours sit next to each other on the colour wheel, like blue, teal and green or yellow, orange and coral. They blend gently and suit relaxed, natural designs.
Contrasting colours sit opposite each other, like navy and orange or purple and yellow. They create energy and make patterns pop, which works well for dots and stripes.
Neutrals are underrated. White, cream, charcoal and soft grey pair with almost anything, and a single bright accent colour on a neutral base often looks the most stylish of all.
If you’re unsure, look at things you already love, such as a favourite scarf, a print or a garden, and borrow the colours from there. It’s an easy way to find a palette that feels like you.
Planning A Mug Design Around The Shape
A mug isn’t a flat canvas, so a little planning helps. Decide where the front is. For right handed drinkers, the side facing outward when the handle is in the right hand is the one people see.
The handle is a natural break in any wraparound design. Patterns that stop either side of the handle often look tidier than ones that try to continue across it. A small dot or line on the handle itself can tie everything together.
Use the mug’s own lines as guides. The rim, base and any change in curve give natural places for bands or borders, so you don’t need to measure everything.
Turning the mug slowly while you paint is easier than reaching around it. A banding wheel or simple turntable helps keep lines level.
Finally, sketch your idea on paper first. A quick plan for the front, back and handle area saves a lot of second guessing once the brush is loaded.
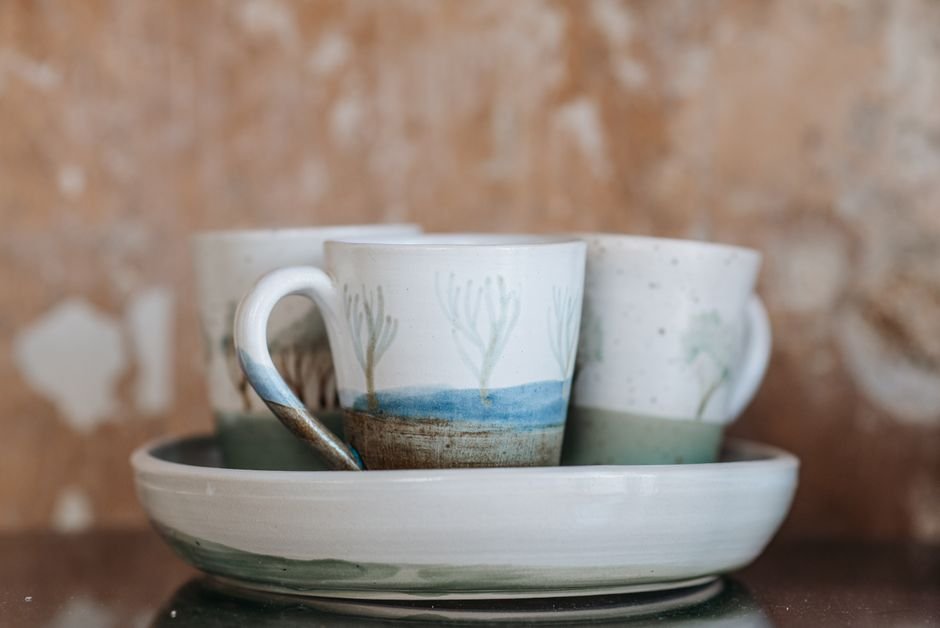
What Competing Mug Painting Ideas Lists Leave Out
Most idea lists show finished mugs without mentioning that colours change in the kiln. Many studio underglazes look pale or chalky while wet, then deepen after the glaze firing. Ask for a fired sample tile so your colour choices aren’t a surprise. Our beginner’s guide to ceramic paint explains why.
They also ignore the rim and base. Many studios ask painters to keep a band near the base clear so glaze doesn’t fuse the mug to the kiln shelf. The rim is where lips touch, so check with your studio about which products are suitable there and follow the product label on any food use.
Overcrowding is another common trap. It’s tempting to fill every space, but blank areas give a design room to breathe. Leaving some background showing often makes the painted parts look stronger.
Coat thickness rarely gets mentioned either. Two or three thin coats of colour look richer and more even than one thick one, which can crack or crawl.
Finally, it helps to know what happens after you leave. Our article on what happens to your piece after a paint your own session walks through glazing, firing and collection, and our firing service page covers the firing side at Le Studio.
Got a mug idea you’d love to try? Ask Le Studio Art Space in Mordialloc about upcoming painting sessions and classes, and see how our in-house firing turns your design into a finished mug.
Frequently Asked Questions
What is the easiest thing to paint on a mug if I can’t draw?
Dots, stripes and sponge textures are the easiest. They rely on repetition rather than drawing skill, and they look intentional even when they’re slightly uneven.
Can I use a pencil to sketch my design first?
Yes, on bisque a light pencil sketch usually burns away during firing. Keep the lines light so they don’t show through pale colours.
Will my mug look the same after firing?
Not exactly. Colours often deepen and become glossier after the glaze firing. Fired sample tiles give the best idea of the final result.
Is a painted mug safe to drink from?
That depends on the products used and how the piece was fired. Follow the product labels and ask your studio. If food use isn’t clearly supported, keep the mug decorative.
Does Le Studio Art Space run mug painting sessions?
Le Studio Art Space runs a rotating mix of classes and painting events. Check our Workshops and Classes page or get in touch to ask what’s currently booking.
This article is provided for general educational purposes by Le Studio Art Space. Results vary between products and kilns, so always follow the manufacturer’s instructions, firing guidance and any food contact advice on the label.