To use porcelain markers, clean and degrease a glazed mug or plate, let it dry fully, then draw with light pressure and short strokes, letting each layer dry before adding more. Most markers then need to be cured, either by air drying for a set time or baking in a home oven, exactly as the manufacturer directs. The finish sits on top of the glaze, so it is less durable than kiln fired decoration.
Porcelain markers look like the easiest way to personalise ceramics. Grab a plain white mug, draw a design, bake it in the oven, done. In practice, results vary a lot, and the difference between a crisp, lasting design and a smudged, peeling one usually comes down to preparation and following the instructions closely.
At Le Studio Art Space in Mordialloc, we see plenty of people experimenting with different ways to decorate ceramics, from kiln fired underglaze to home friendly options like markers. This guide explains what porcelain markers are, how to prepare the surface, how to draw and layer, how to set the design, how to care for finished pieces, and where markers fit compared with studio methods.
What Porcelain Markers Are
Porcelain markers are paint pens designed for glazed ceramic and glass surfaces. They contain a paint, often water based or enamel style, that’s formulated to bond to smooth, non porous surfaces once it’s cured.
They’re usually sold for decorating store bought mugs, plates, vases and tiles at home. Many come in fine and broad tips, and in a range of colours including metallics.
Despite the name, porcelain markers aren’t just for porcelain. They’re used on most glazed ceramics, including stoneware and earthenware mugs, as long as the surface is smooth and glazed.
Different brands use different formulas. Some cure by air drying for several days. Others need baking in a domestic oven at a specific temperature for a specific time. The instructions vary, so always read the label.
Porcelain markers are different from underglaze pencils or pens used in studios. Those are designed for bisque or greenware and need kiln firing. Our guide to drawing on porcelain before firing explains that approach.
It’s also worth checking what a marker is meant for before you buy. Some are labelled for decorative use only, while others make specific claims about washing or food contact. Those claims only apply if you follow the brand’s curing steps exactly.
Preparing The Surface For Porcelain Markers
Preparation is the step most people rush, and it’s often why designs smudge or flake. Start with a clean, glazed piece with no chips or cracks.
Wash it in warm, soapy water to remove dust and residue, then rinse and dry thoroughly. New mugs often have a light coating from manufacturing or packaging.
Next, wipe the area you’ll decorate with rubbing alcohol on a lint free cloth. This removes fingerprints and grease, which can stop paint from bonding.
Let the surface air dry completely. Avoid touching the area afterward, as skin oils can undo your preparation.
If you want guidelines, use a light pencil, a water soluble pencil or small pieces of low tack tape. Test any guideline method on an inconspicuous area first to make sure it wipes away cleanly.
Drawing And Layering With Porcelain Markers
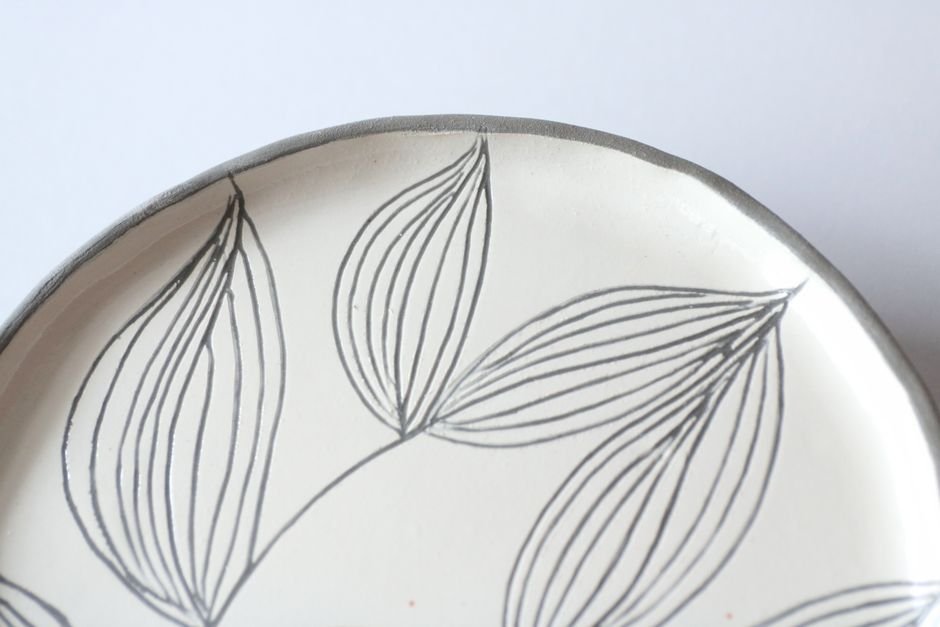
Before drawing, prime the marker as directed. Many paint pens need shaking and pressing the tip on scrap paper until paint flows. Start on paper to get a feel for line width.
Use light pressure and short strokes. Pressing hard can flood paint onto the surface, creating blobs, while long continuous strokes can drag paint unevenly on a glossy curve.
Work in thin layers. If you want stronger colour, let the first layer dry before adding another. Going over wet paint can lift it and leave streaks.
Fix mistakes while they’re fresh. Many markers can be wiped off with a damp cotton bud or a little alcohol before curing. Once baked or fully cured, they’re much harder to remove.
Plan your design around the shape. Curves distort straight lines, so simple patterns, dots and loose drawings often look better than precise geometric designs. Our article on mug painting ideas for beginners has plenty of easy designs that suit markers too.
Turning the piece slowly as you draw helps keep lines smooth. Resting your drawing hand on a folded cloth or the table edge steadies it, which makes a real difference for lettering and fine details.
Setting The Design
Setting, sometimes called curing, is what turns marker paint from a fragile layer into a more durable finish. Skipping or shortening this step is the most common reason designs wash off.
Air cure markers usually need several days at room temperature before they’re fully hardened. Keep the piece somewhere clean and dust free while it cures.
Bake cure markers usually need a drying period first, then baking in a domestic oven. Many instructions recommend placing the piece in a cold oven, heating to the stated temperature, baking for the stated time, then letting it cool in the oven. This gradual heating and cooling helps protect the ceramic from thermal shock.
Follow the exact time and temperature on the label. Different brands specify different settings, and using the wrong ones can leave paint under cured or discoloured.
Make sure the piece is oven safe before baking. Most glazed stoneware and porcelain mugs cope with moderate oven temperatures, but pieces with cracks, metallic decoration or unknown materials may not. If you’re unsure, choose an air cure product instead. An oven thermometer is also handy, since domestic ovens often run hotter or cooler than the dial suggests.
Never put marker decorated pieces into a pottery kiln. Markers aren’t designed for kiln temperatures, and they can burn away or release fumes. Kiln firing is a completely different process.
Caring For Marker Decorated Pieces
Even well cured marker designs are more delicate than kiln fired decoration. Hand washing with a soft sponge is the safest choice.
Avoid abrasive scrubbers, harsh detergents and soaking for long periods. These can wear the paint away over time.
Dishwashers and microwaves can be hard on marker finishes. Only use them if the manufacturer specifically says the product can handle it, and even then, many people choose hand washing to extend the life of the design.
Expect some wear with heavy use. Areas that get handled or scrubbed often, such as near handles or rims, may fade first.
For pieces you want to last, consider using markers for decorative items like vases, ornaments and display plates, where wear is minimal.
Storage matters a little too. Stacking decorated plates or nesting mugs can rub paint off over time, so place a paper towel or felt pad between pieces. If a design starts to wear, it’s usually best to clean the piece completely and start fresh rather than patching small areas, which rarely blend in neatly.
What Competing Porcelain Marker Guides Leave Out
Most marker tutorials show the fun part and skip how markers compare with glaze or underglaze for lasting results. Underglaze and glaze are fired in a kiln, so colour becomes part of the ceramic surface. Marker paint sits on top of the existing glaze, so it’s more vulnerable to wear.
That doesn’t make markers bad. They’re accessible, quick and great for gifts and display pieces. But if you want designs that survive years of daily use, kiln fired decoration is generally more durable. Our beginner’s guide to ceramic paint compares fired and unfired options.
Food contact areas need extra care. Even if a marker is labelled as suitable after curing, many people keep designs away from the rim and inside surfaces, where lips and food touch. Only rely on food contact claims that are clearly stated on the product, and follow the instructions exactly.
Guides also rarely mention that results vary with the base glaze. Very glossy surfaces can resist paint, while some matte glazes absorb it unevenly. Testing on a spare piece first saves frustration.
If you’re curious about kiln fired decoration, our ceramic studio, workshops and classes and firing service offer a path to more permanent results.
Enjoying decorating ceramics with markers? Explore more permanent decorating options at Le Studio Art Space in Mordialloc, where classes and our in-house firing service introduce underglaze and glaze techniques.
Frequently Asked Questions
Do porcelain markers wash off?
They can if they aren’t cured properly or if pieces are scrubbed hard. Proper curing and gentle hand washing help designs last longer.
Can I use porcelain markers on unglazed ceramics?
They’re designed for glazed surfaces. Unglazed bisque absorbs paint differently, so check the product label and test first.
Are porcelain markers food safe?
Only if the product label clearly says so after curing, and only when you follow the instructions exactly. Many people keep designs away from food contact areas to be safe.
Can I bake porcelain markers in a pottery kiln?
No. Markers are designed for air curing or domestic oven baking. Kiln temperatures are far too high and can damage or burn off the paint.
Does Le Studio Art Space teach other ways to decorate ceramics?
Le Studio Art Space’s ceramic studio offers classes and a firing service, which open up kiln fired decorating methods like underglaze and glaze.
This article is provided for general educational purposes by Le Studio Art Space. Products vary, so always follow the manufacturer’s instructions for application, curing, washing and food contact, and keep decorative only pieces away from food use.