Hand throwing pottery means shaping clay with your hands while it spins on a potter’s wheel. The core steps are wedging, centring, opening, pulling up the walls, and shaping, followed later by trimming, drying, and firing. It’s physical, rhythmic work that takes steady practice, and most people improve through good instruction and repetition rather than natural talent.
You’ve probably seen it in films or online: a potter’s hands wrapped around spinning clay, a pot rising smoothly from a lump of mud as if by magic. It looks calm, effortless, and almost hypnotic. Hand throwing pottery can feel like that once you’ve practised, but the reality of learning it is more physical, more gradual, and in many ways more rewarding than the videos suggest.
At Le Studio Art Space in Mordialloc, we introduce new students to the wheel every week, and we love seeing that first moment when the clay finally runs true. This guide gives an honest picture of what hand throwing really involves, from the core steps to the physical side, realistic timelines, what happens after throwing, and how to take your first steps.
What Hand Throwing Pottery Means
Hand throwing is the craft of forming clay on a spinning potter’s wheel using your hands, with help from a few simple tools like sponges, ribs, and needle tools. The word throwing comes from an old English word meaning to twist or turn, which describes the spinning motion.
The term hand throwing is often used to distinguish handmade wheel work from industrial methods like jiggering, slip casting, or pressing, which use moulds and machines to produce identical pieces in large numbers.
When a mug or bowl is described as hand thrown, it means a person shaped it individually on a wheel. Each piece carries small variations and the marks of the maker’s hands, which is part of its appeal.
Hand throwing is different from hand building, which shapes clay without a wheel using pinch, coil, and slab methods. Our guide to wheel throwing vs hand building explains how they compare.
Many potters consider hand throwing one of the most satisfying skills in ceramics, because it combines precision, rhythm, and creative expression.
The Core Steps Of Hand Throwing Pottery
Wedging comes first. Before clay goes on the wheel, it’s kneaded to remove air bubbles and even out moisture. Our guide to what a wedge tool does explains wedging in detail.
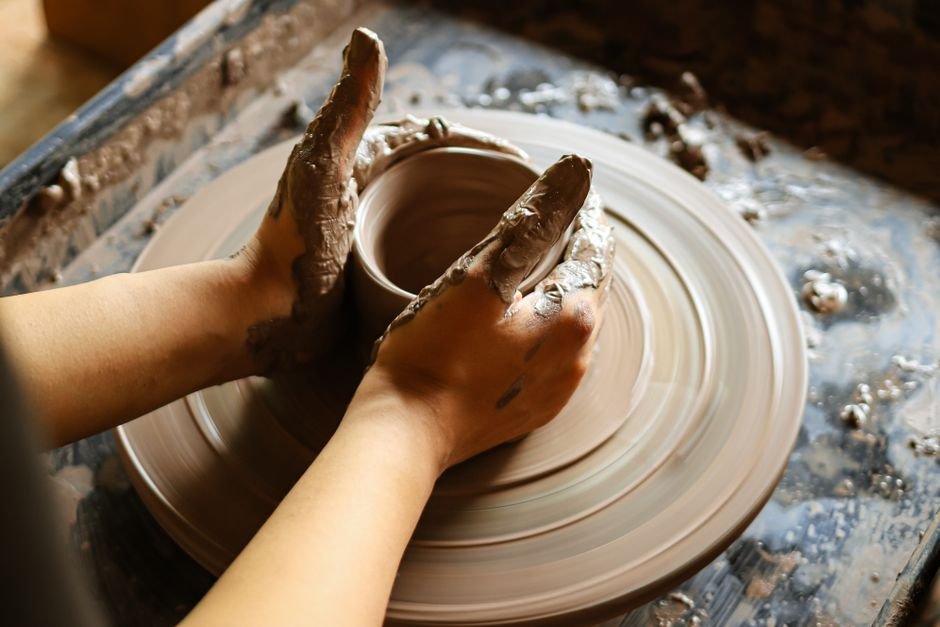
Centring is next, and it’s often the hardest part for beginners. You press the spinning clay with steady pressure until it runs perfectly true in the middle of the wheel head, without any wobble. Everything that follows depends on good centring.
Opening means pressing down into the centre of the clay to create a hollow, leaving a base of even thickness. You then widen the opening to the size you want for the base of your piece.
Pulling up the walls is where the form grows. You squeeze the clay gently between your fingers, inside and out, and draw it upward as the wheel turns. Several pulls are usually needed to reach the height you want.
Shaping comes last on the wheel. You push the walls outward or inward to create a bowl, cylinder, vase, or other form, and refine the rim. Ribs and sponges help smooth and compress the surface.
Finally, you cut the piece off the wheel head with a wire and set it aside to dry. Our guide to the parts of a pottery wheel explains the equipment you’ll be using.
The Physical Side Of Throwing
Hand throwing is more physical than many people expect. Centring in particular uses your arms, shoulders, back, and core. Bracing your elbows against your thighs or body gives you stability and lets you use your body weight rather than straining your wrists.
Posture matters. Sitting close to the wheel, with your back as straight as you can comfortably manage, helps prevent strain. Some potters raise their wheel or use a standing setup to reduce bending.
Hand pressure needs to be steady and controlled. Too little pressure and the clay won’t centre. Too much, or jerky movements, and the clay goes off centre or collapses. Learning this balance is a big part of the early learning curve.
Water is part of the process too. You keep your hands and the clay wet so they glide, but too much water softens the clay and can cause walls to collapse.
Many beginners feel it in their muscles after their first sessions. That usually eases as technique improves and you learn to work with the clay rather than forcing it.
Taking short breaks, stretching, and washing up with warm water can help your hands and back recover between sessions.
How Long It Takes To Feel Comfortable
There’s no single timeline, and progress varies a lot from person to person. Many beginners spend their first few sessions mostly learning to centre, and that’s completely normal.
Once centring starts to feel more natural, many people can throw simple cylinders and bowls within a few weeks of regular practice. Refining shapes, thinning walls, and making matching pieces takes longer.
Common frustrations include clay going off centre, walls collapsing, rims tearing, and bases that are too thick or too thin. Our guide to why your pot keeps collapsing on the wheel covers the most common causes.
Consistency matters more than intensity. Regular sessions, even short ones, tend to build skill faster than occasional long ones. Our guide on how long it takes to learn wheel throwing gives a more detailed picture.
Many potters say that comfort on the wheel arrives gradually, then suddenly. One day, centring just clicks, and everything starts to feel easier.
What Competing Guides Leave Out About Hand Throwing Pottery
Most descriptions of hand throwing pottery make it sound like a natural gift. In reality, instruction and repetition matter far more than talent. Almost everyone struggles at first, and most people who keep practising with good guidance make steady progress.
Good instruction helps you avoid bad habits, understand why problems happen, and fix them faster. Repetition builds the muscle memory that eventually makes throwing feel natural. Our guide on what happens in a pottery wheel class shows how lessons are usually structured.
Competing guides also skip what happens after throwing. A thrown piece isn’t finished when it comes off the wheel. It needs to dry slowly to leather hard, then it’s usually trimmed upside down on the wheel to refine the base and create a foot ring.
After trimming, the piece dries completely to bone dry, then goes through a bisque firing. It’s then glazed and fired again in a glaze firing. The whole process can take several weeks from wheel to finished piece.
Understanding this full journey helps set realistic expectations. Hand throwing is one stage in a longer process, and each stage has its own skills to learn.
Another thing guides rarely mention is how much of throwing happens in your head. Staying relaxed, slowing down, and not panicking when the clay wobbles make a real difference. Many beginners grip harder when things go wrong, which usually makes it worse. Learning to ease off, reset, and try again is a skill in itself, and it’s one that teachers spend a lot of time helping with.
Taking Your First Steps At The Wheel
Start with a beginner wheel class. Having someone guide your hands and explain centring makes a huge difference in the early stages.
Be patient with yourself. Expect to collapse plenty of pots, and treat each one as practice rather than failure. Collapsed clay can simply be wedged and used again.
Focus on one skill at a time. Early on, centring is the priority. Once that’s coming along, focus on opening, then pulling walls.
Practise regularly if you can. Studio membership or regular classes give you consistent wheel time, which helps skills build steadily.
Enjoy the process. Many people find hand throwing deeply absorbing and calming once they relax into it. Our workshops and classes are a friendly place to start, members of our ceramic studio can keep practising between lessons, and our firing service completes the journey once your first pieces are ready.
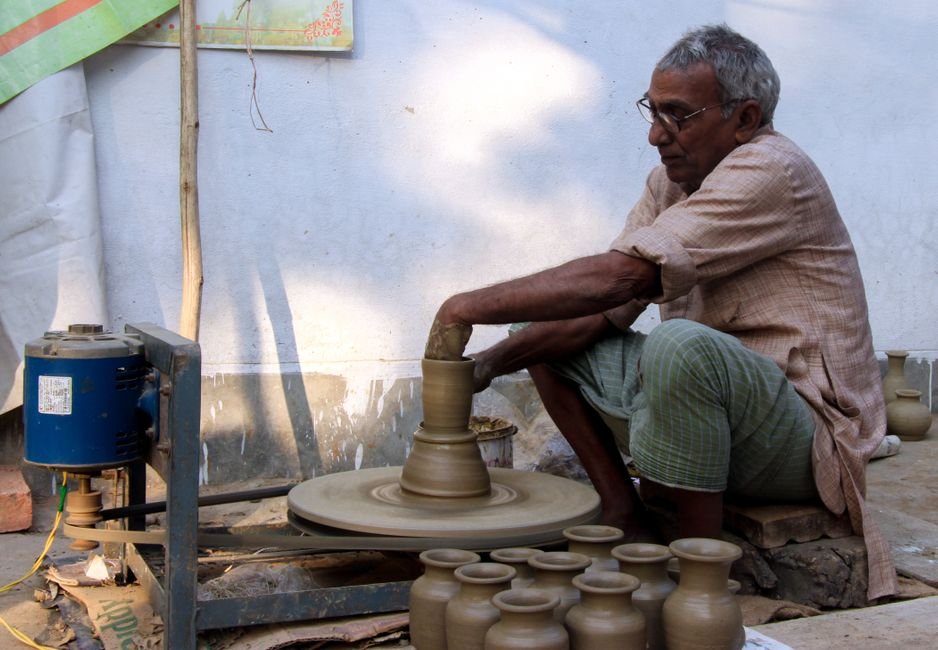
Ready to feel clay spinning under your hands? Try hand throwing in a beginner wheel class at Le Studio Art Space in Mordialloc, with patient guidance from centring to your first finished pot.
Frequently Asked Questions
Is hand throwing pottery hard to learn?
It has a steep early learning curve, especially centring. With regular practice and good instruction, most people make steady progress.
Do I need natural talent to throw pottery?
No. Practice and guidance matter much more than talent. Almost everyone struggles at first and improves with repetition.
Why does throwing make my arms and back sore?
Centring and pulling walls use your arms, shoulders, and core. Good posture and bracing usually reduce strain as technique improves.
How long does it take to finish a hand thrown pot?
From throwing to final firing, it often takes several weeks, including drying, trimming, bisque firing, glazing, and glaze firing.
Can I try hand throwing at Le Studio Art Space?
Yes. Le Studio Art Space runs wheel classes for beginners in Mordialloc, where you can learn hand throwing with real wheels and friendly guidance.
This article is provided for general educational purposes by Le Studio Art Space. Learning pace and results vary from person to person.